Game-production workflow
Turn a real photo into a game-ready surface
Follow the full production path from a camera image to a repeat-safe tile, reviewed PBR channels, an engine-specific ZIP, and a material tested on real game geometry.
Reviewed:
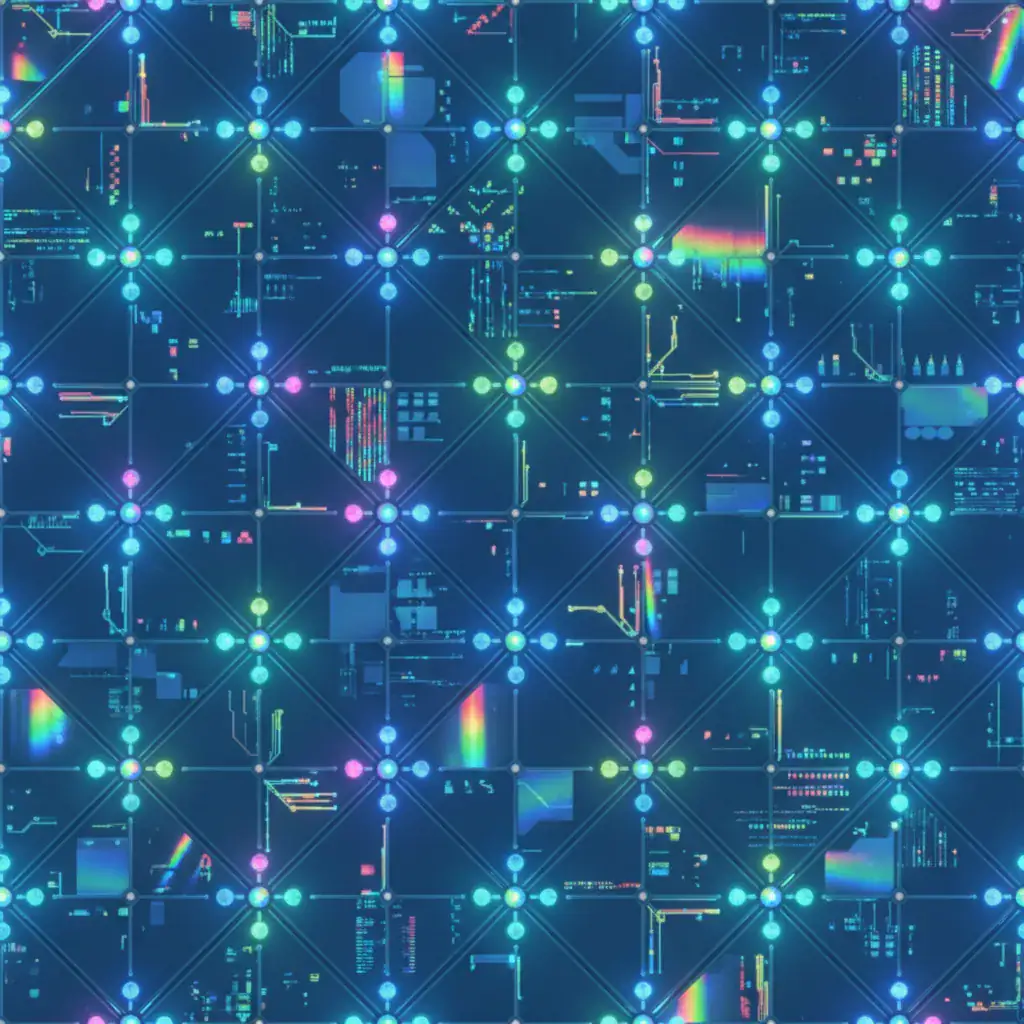
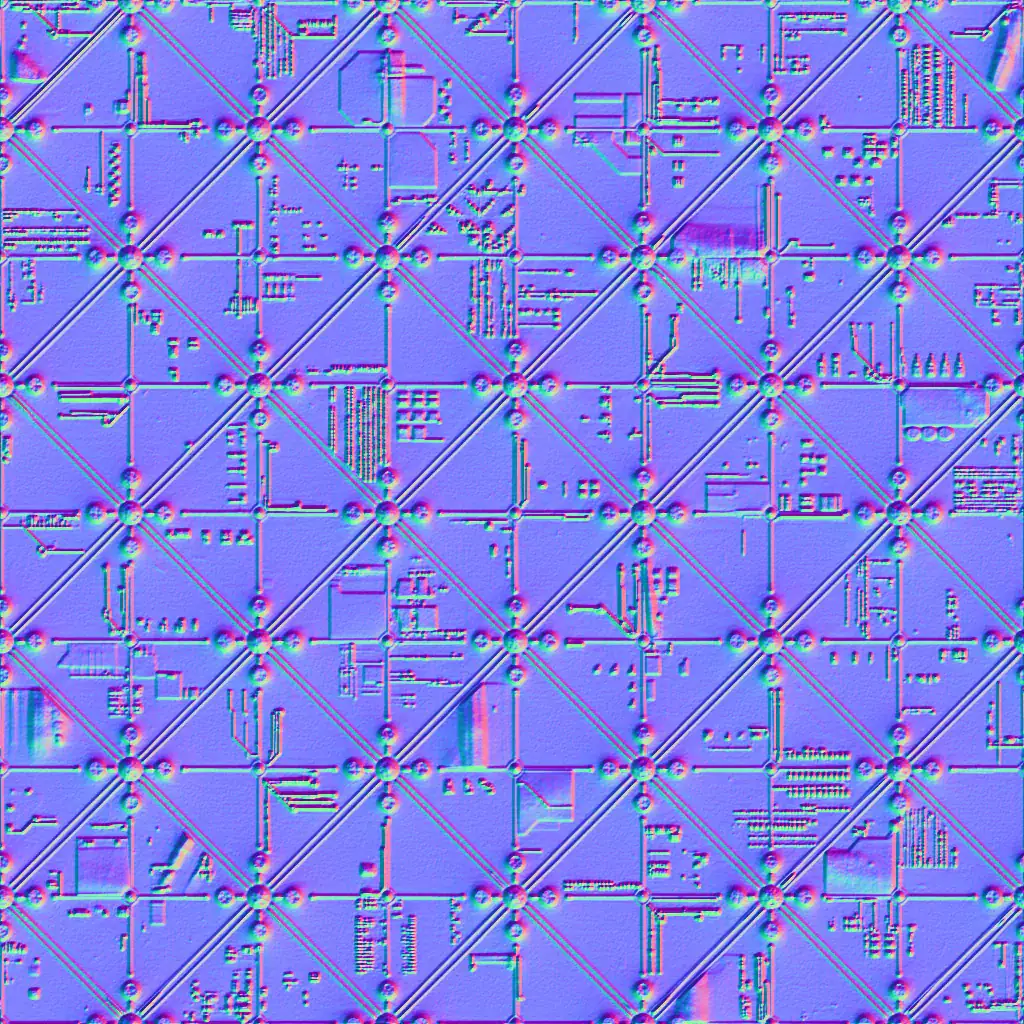
Direct answer: Photo to Game Texture
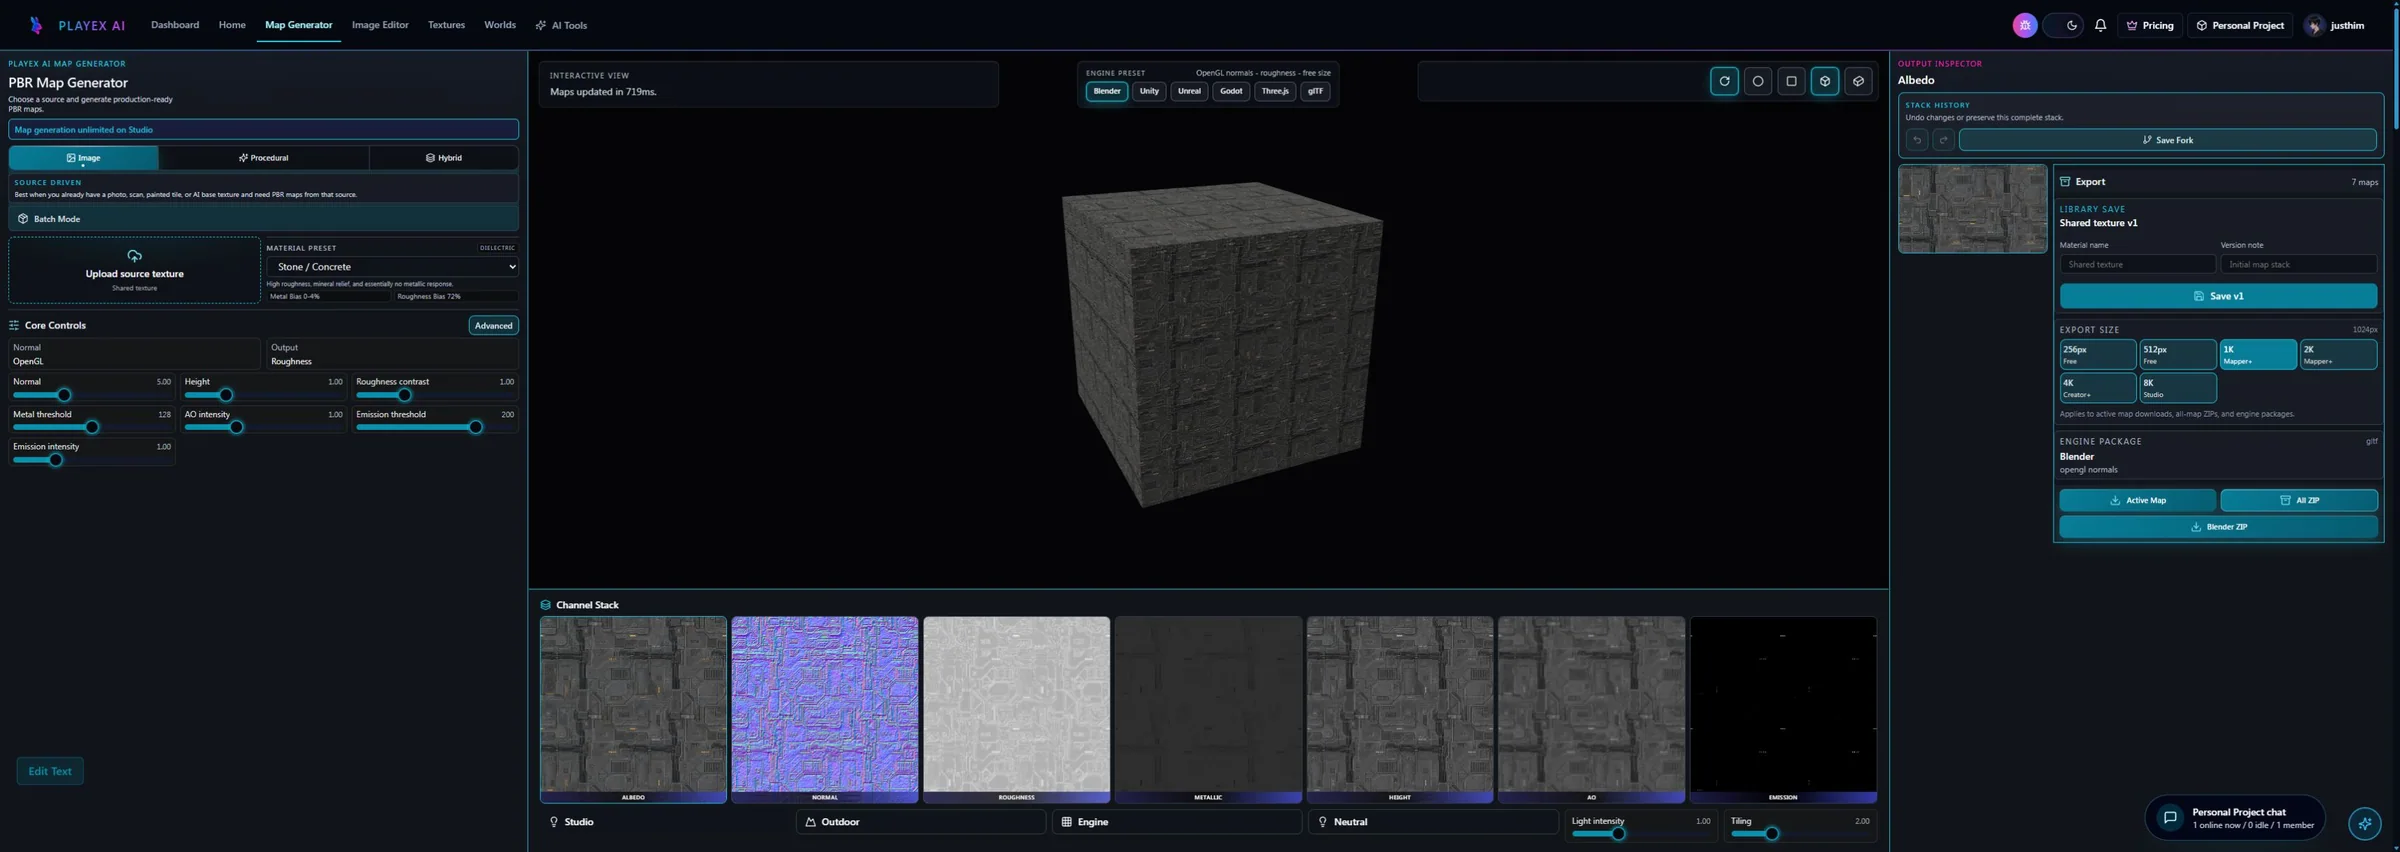
To turn a photo into a game texture, isolate a front-facing material patch, correct perspective and baked lighting, make the image repeat without a visible edge or obvious landmark, generate the PBR channels, then choose the destination preset. PLAYTEX AI packages the approved set for Blender, Unity, or Unreal with one ZIP click. Import, shader assignment, compression, texel density, and scene validation remain engine-side work.
- Source
- Photo · scan · screenshot
- Material output
- Tile + PBR channels
- Final PLAYTEX AI action
- One engine ZIP click
Why an attractive photo can fail as a game material
A camera records a lit scene from one viewpoint. A game texture must survive repetition, dynamic lighting, mipmaps, compression, and many camera distances.
| Symptom | Likely cause | Fix |
|---|---|---|
| Every repeated tile has the same shadow | Scene lighting is baked into the photo. | Remove the lighting gradient before PBR generation and relight the material in the engine. |
| Bricks or boards narrow toward one side | The source plane was photographed at an angle. | Crop or flatten a front-facing patch before seamless repair. |
| The wall forms a visible grid from far away | A unique crack, knot, stain, or hotspot repeats at a fixed interval. | Inspect a wider repeated field and reduce dominant landmarks, not only edge seams. |
| The asset looks sharp nearby but shimmers at distance | Detail scale, mipmaps, filtering, or compression is wrong for the target. | Test at production texel density and camera distance inside the destination engine. |
| The sky appears warped or has cube-edge seams | A surface photo was used as an environment texture. | Generate a 2:1 panorama and export a target-oriented cubemap pack from the HDRI workflow. |
Where each part of the job happens
- Image to Texture
- Crop · flatten · delight · tile
- PBR Map Generator
- Derive and review material channels
- Engine preset
- Normal · roughness/smoothness · packing
- One-click export
- Current engine package ZIP
- Destination engine
- Import · wire · compress · test
- Skybox alternative
- HDRI panorama + cubemap package
Sources used for this review
- Official: Blender Image Texture node
- Official: Blender Environment Texture node
- Official: Unity URP Lit material inputs
- Official: Unity cubemap creation and layouts
- Official: Unreal material inputs
- Official: Unreal Sky Light cubemap workflow
From source to reviewed handoff
Photograph useful material evidence
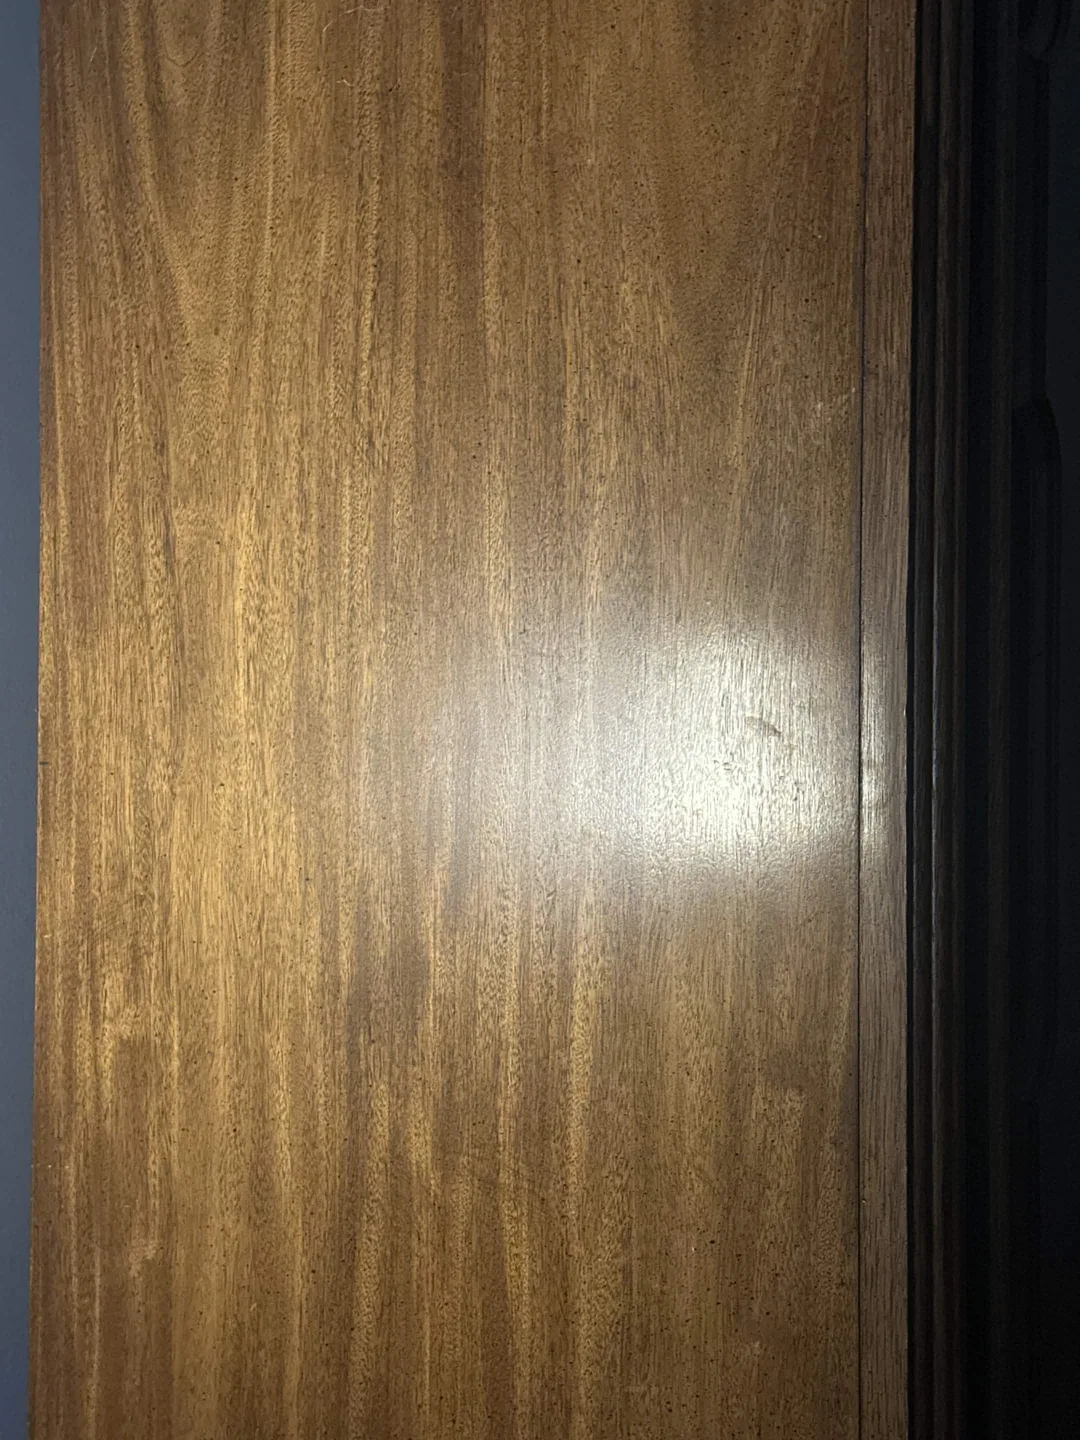
Fill the frame with one surface, keep the camera as square to it as possible, avoid hard shadows and glare, and capture enough real detail for the intended texel density.
Extract and prove the repeating tile
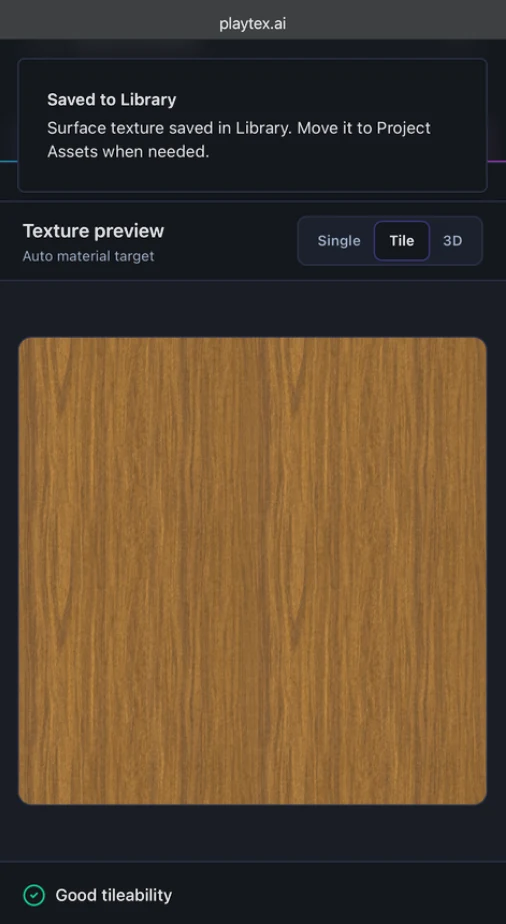
Use Image to Texture for crop, flattening, lighting removal, and seamless reconstruction. Inspect both the offset seam and a 3x3 or 5x5 repeated field.
Generate and review the PBR material
Create the required channels from the approved tile, then inspect roughness, metallic, normals, AO, and height rather than trusting one combined preview.
Pick the engine, download once, and validate
Select the matching engine preset and click its ZIP button once. Import the package, wire the material, choose compression, set scale, and test under representative scene lighting.
Choose the destination setup without mixing material and sky workflows
The same source can inform different assets, but the renderer inputs and file shapes are not interchangeable.
| Destination job | Use this output | Finish in the destination |
|---|---|---|
| Blender surface material | Blender/glTF PBR ZIP | Image Texture nodes, Non-Color scalar data, and tangent-space normal setup |
| Unity URP or HDRP surface | Unity-oriented PBR ZIP | Smoothness, packed channels, normal import type, and render-pipeline shader |
| Unreal surface material | Unreal PBR ZIP with ORM when available | DirectX normals, linear mask sampling, and project texture settings |
| Scene sky or reflection environment | 2:1 HDRI or engine cubemap ZIP | Horizon, seam, orientation, exposure, and environment-specific import |
Review before export
- Source plane is corrected
- Baked light and glare are reduced
- Wide tile preview hides edges and landmarks
- PBR channels are reviewed individually
- Correct engine preset is selected
- Imported material is tested at production scale
Photo to Game Texture FAQ
What kind of photo makes the best game texture?
Use a front-facing, evenly lit image filled by one material, with minimal glare, hard shadow, depth discontinuity, text, or unique focal objects. Preserve enough real detail for the intended screen size.
Does one-click export put the material into my project?
No. One click builds the selected engine package ZIP. You still import the files, assign shader inputs, configure compression and color space, and test the material inside Blender, Unity, or Unreal.
Should a photo texture be square?
A repeating surface tile is often square and power-of-two for common game workflows, but the final choice depends on the asset and engine. A sky environment is different: it normally starts as a 2:1 equirectangular panorama or six cube faces.
Can I turn an ordinary landscape photo into a skybox?
Not reliably by stretching it. A useful skybox needs full 360-degree coverage, a level horizon, a clean wrap, and the correct projection. Use the HDRI Sphere Generator to create and review that environment, then export the engine cubemap pack separately.
Which page should I use for the technical PBR details?
Use Image to PBR for channel derivation, normal conventions, roughness or smoothness, packing, and engine-package review. This page focuses on the larger photo-to-game production path.