Guided conversion workflow
Image to PBR: prepare, derive, review, and export
Use this instructional workflow to decide when a source is ready, derive seven aligned material channels, inspect what the pixels mean, then choose an engine preset and download the matching ZIP.
Reviewed:
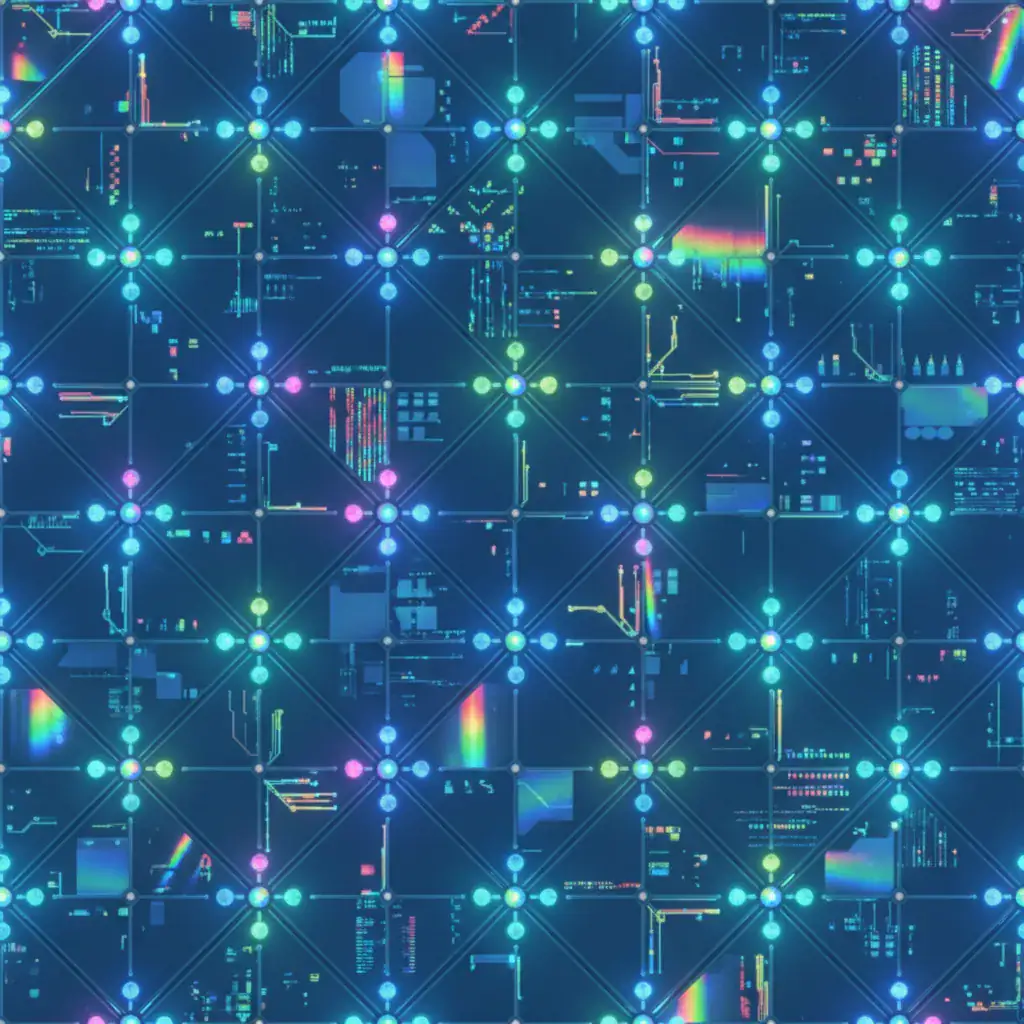
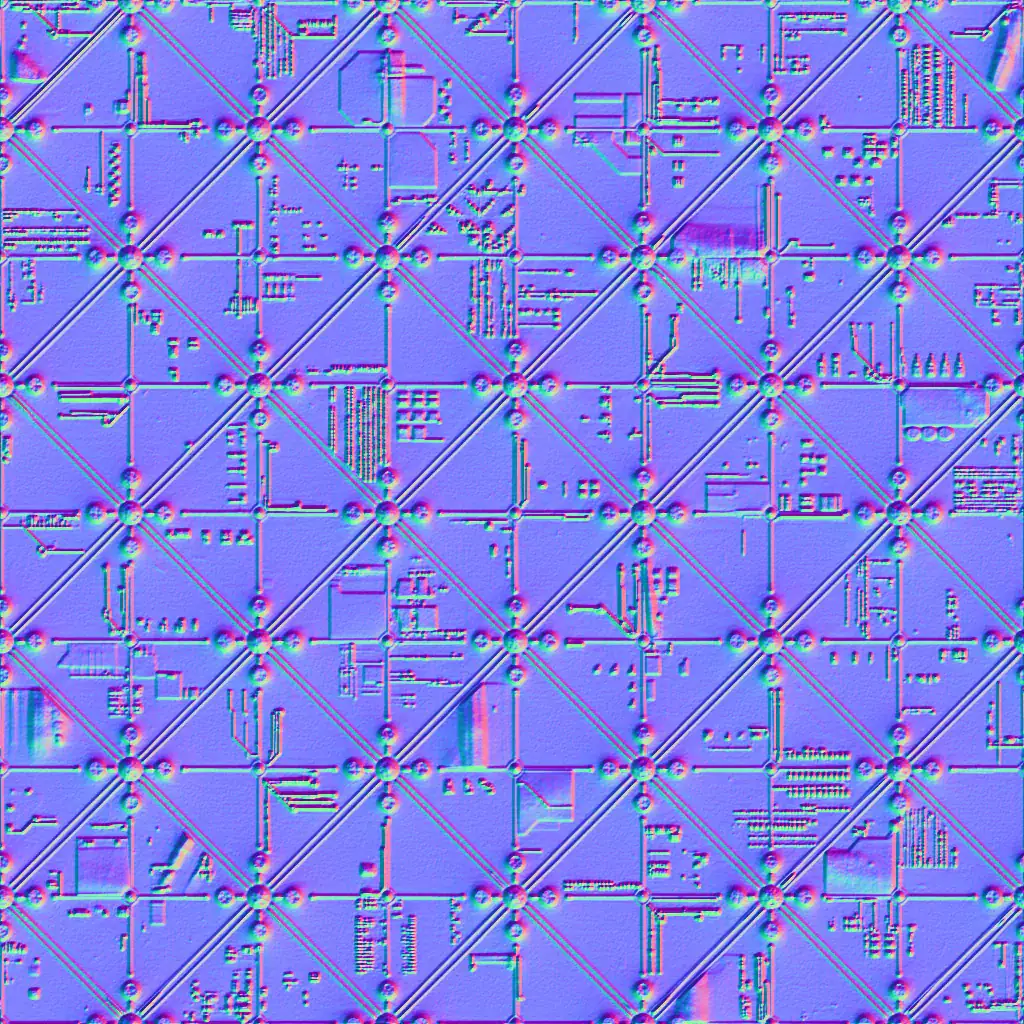
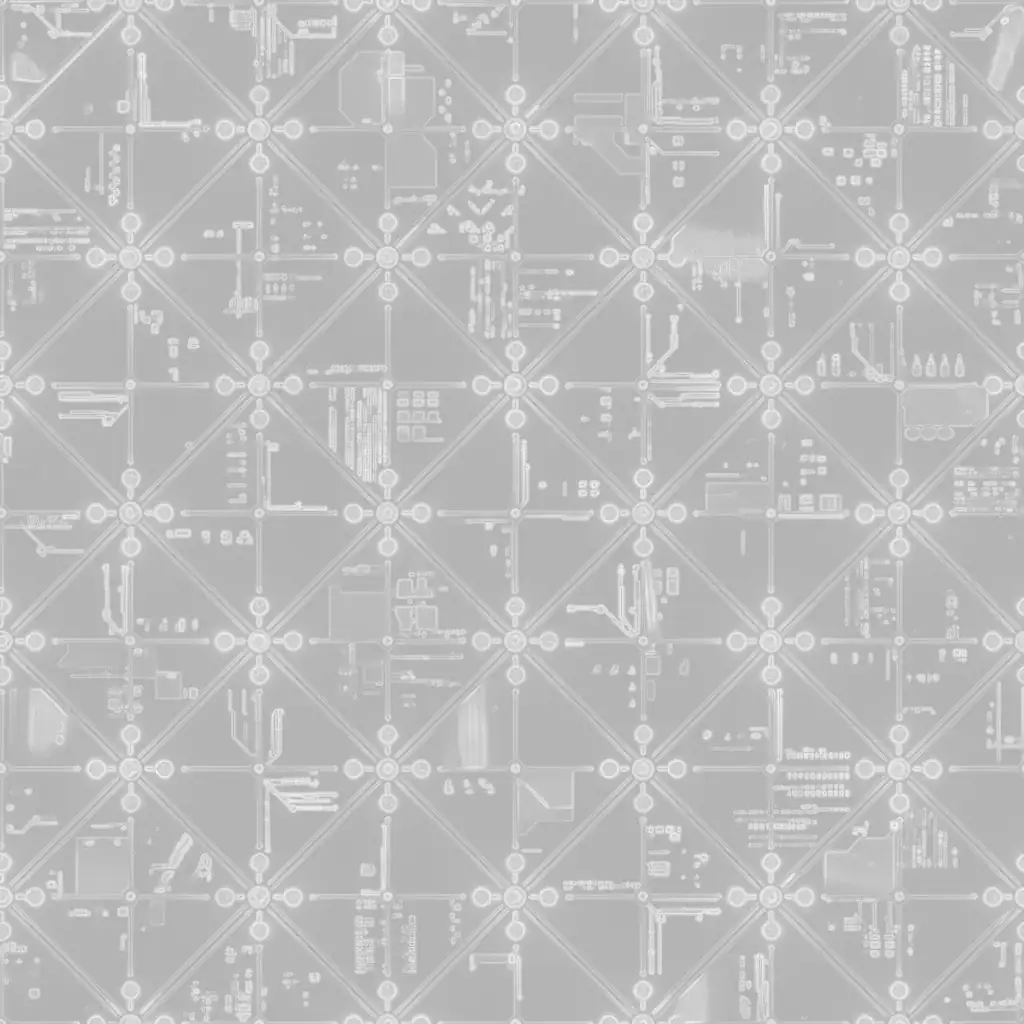
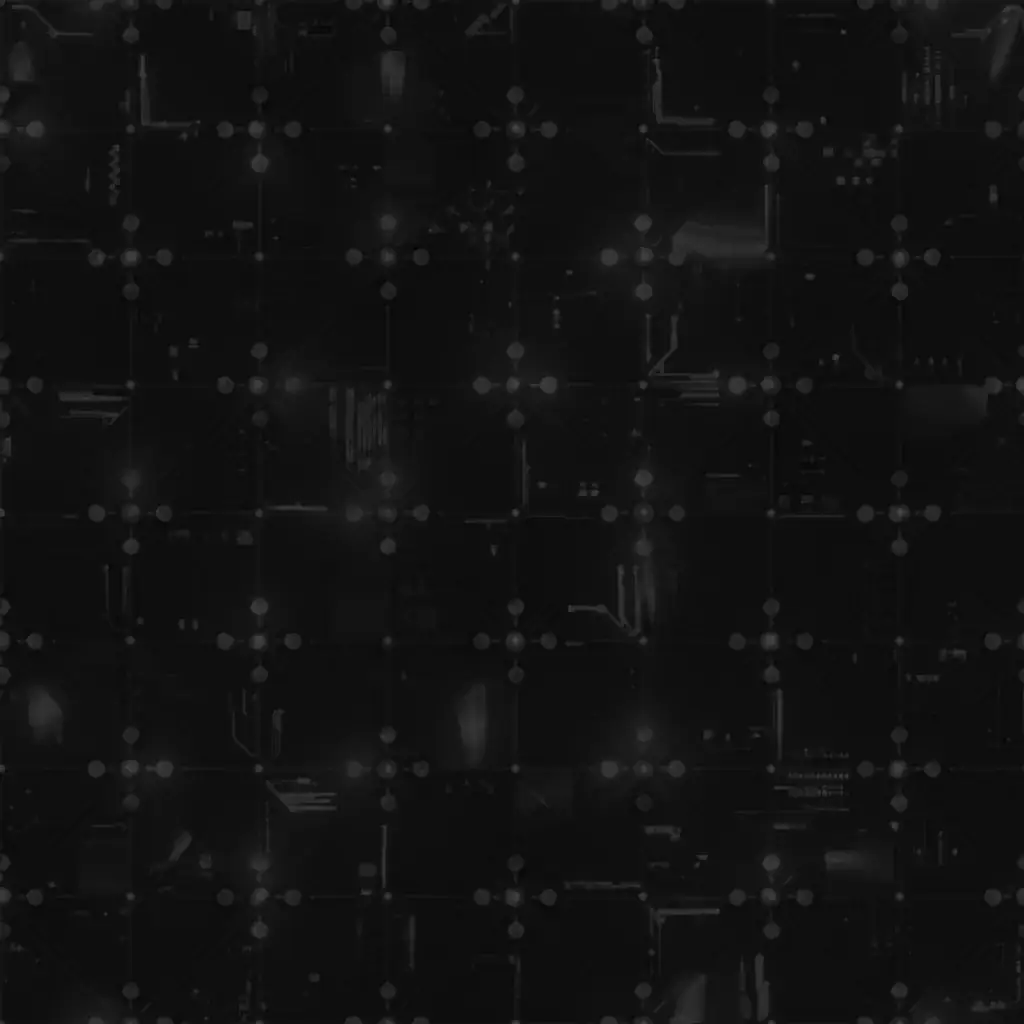
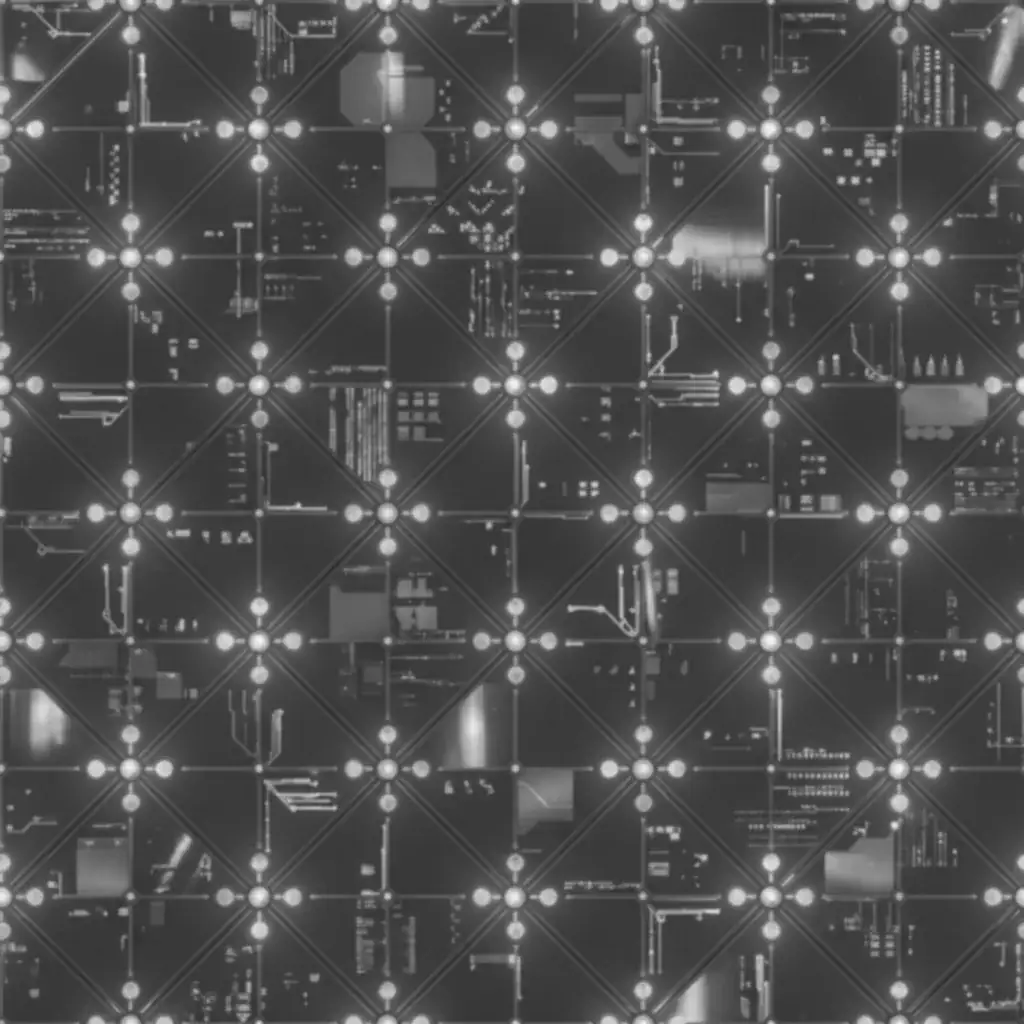
Direct answer: Image to PBR Workflow
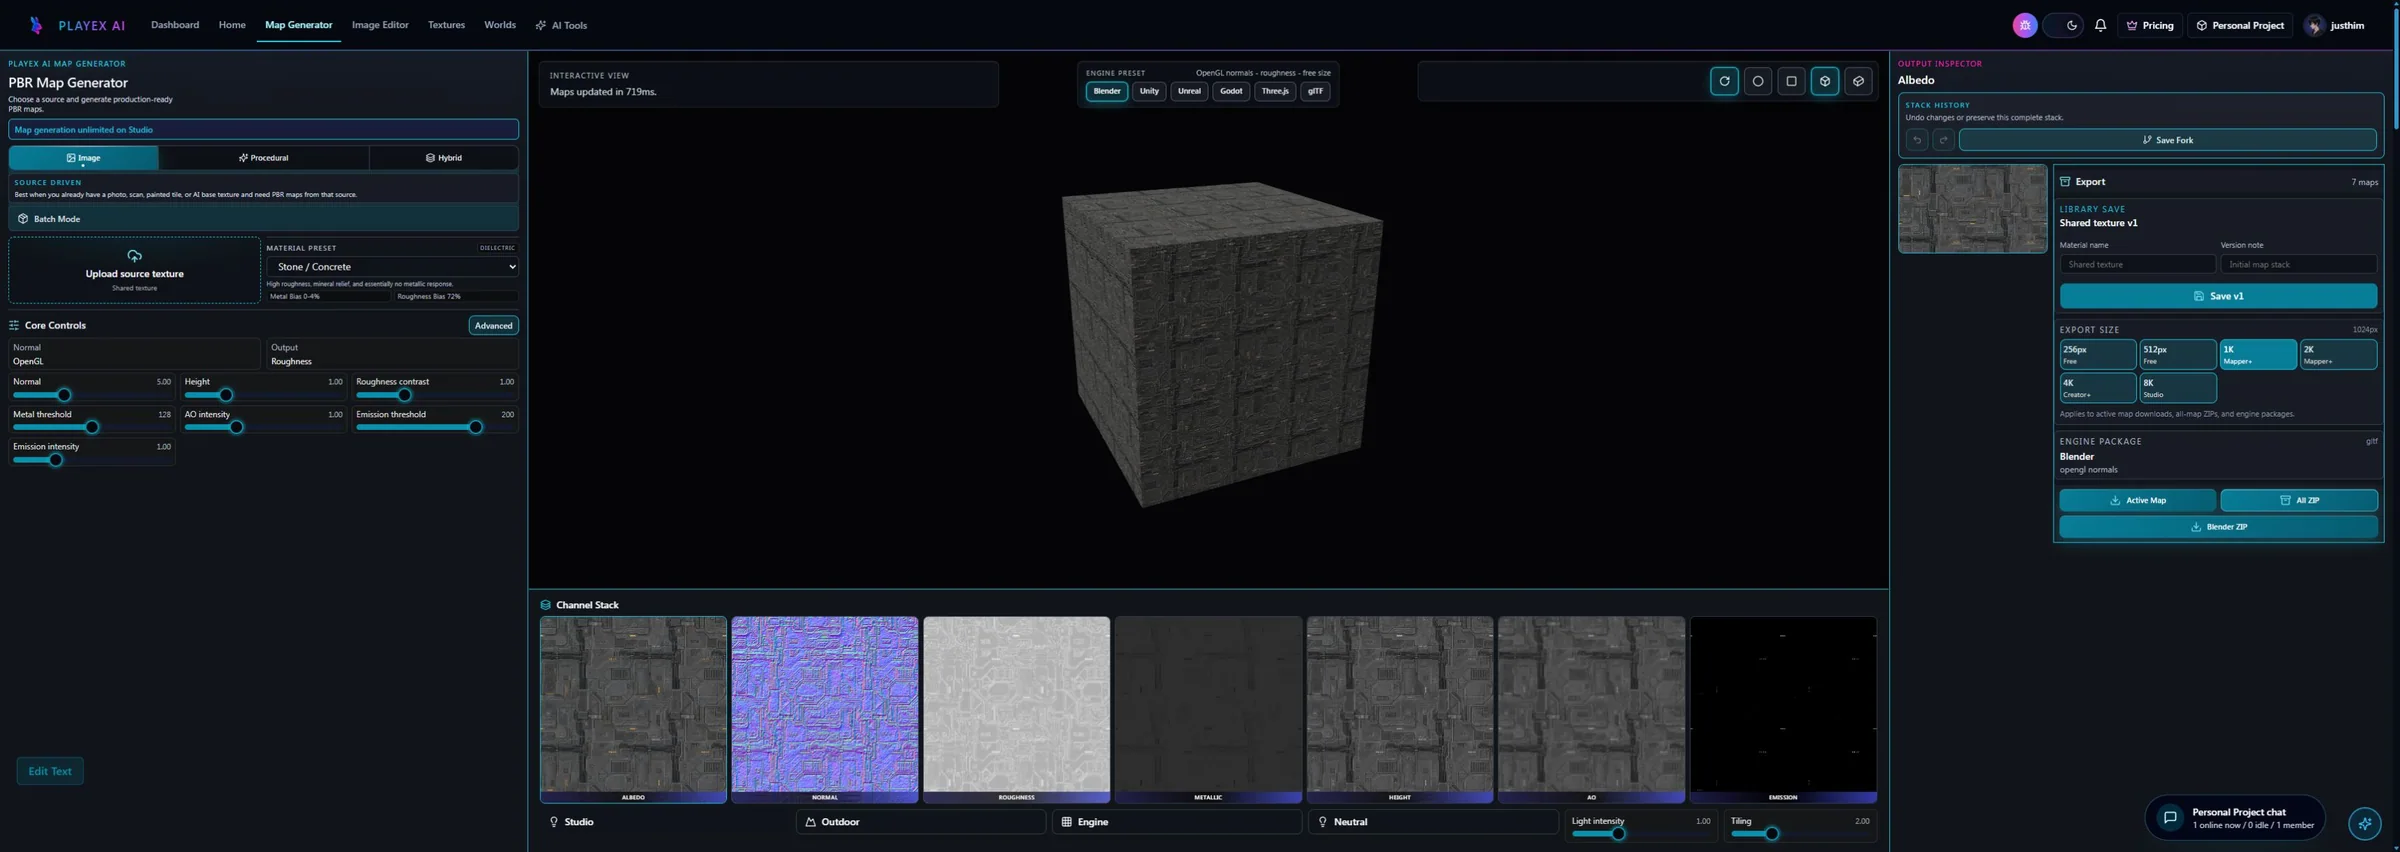
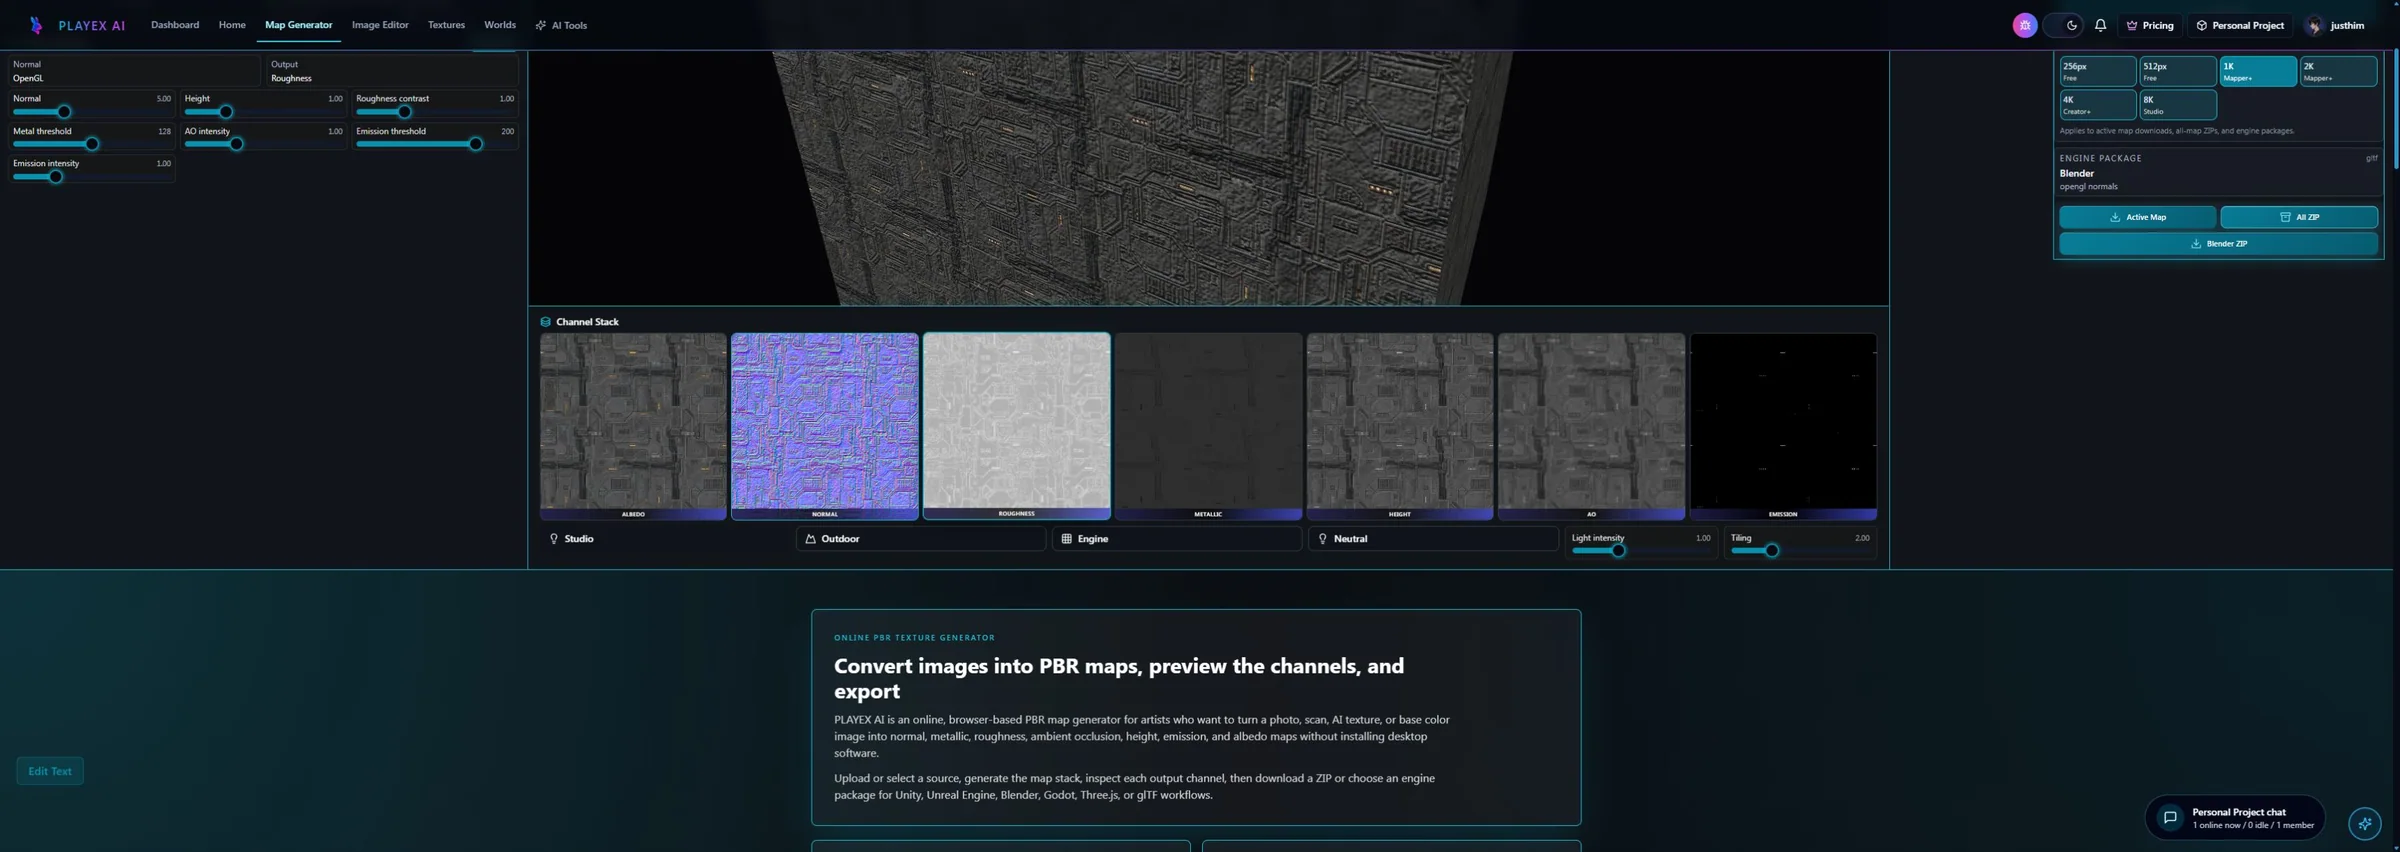
Image-to-PBR conversion starts after the color source is clean. PLAYTEX AI derives albedo, normal, roughness, metallic, ambient occlusion, height, and emission from that one source, keeps the channels visible for review, and applies Blender, Unity, or Unreal conventions when you choose an engine preset. The engine ZIP button packages the current set in one click; it does not install or wire a native material inside the destination application.
- Generated maps
- 7 aligned channels
- Engine presets
- Blender · Unity · Unreal
- Package action
- One ZIP click
What to inspect before the engine ZIP is trustworthy
Derived maps are estimates from visible image evidence. A convenient package cannot repair a bad source or decide the real material class for you.
| Symptom | Likely cause | Fix |
|---|---|---|
| A highlight stays painted onto the material | Directional lighting remains in the base image. | Delight the source before map derivation; albedo should not carry a fixed scene light. |
| Wood, stone, or paint reads as metal | Brightness was treated as material identity. | Review metallic as a material-class mask, not a contrast effect. |
| Bumps look inverted after import | The normal Y convention does not match the destination. | Use the engine preset: Blender and current Unity use OpenGL Y+; the Unreal preset uses DirectX Y-. |
| Unity looks glossy where PLAYTEX AI looked rough | Smoothness and roughness were interpreted as the same scalar. | Use the Unity preset and verify the target shader channel layout and sRGB setting. |
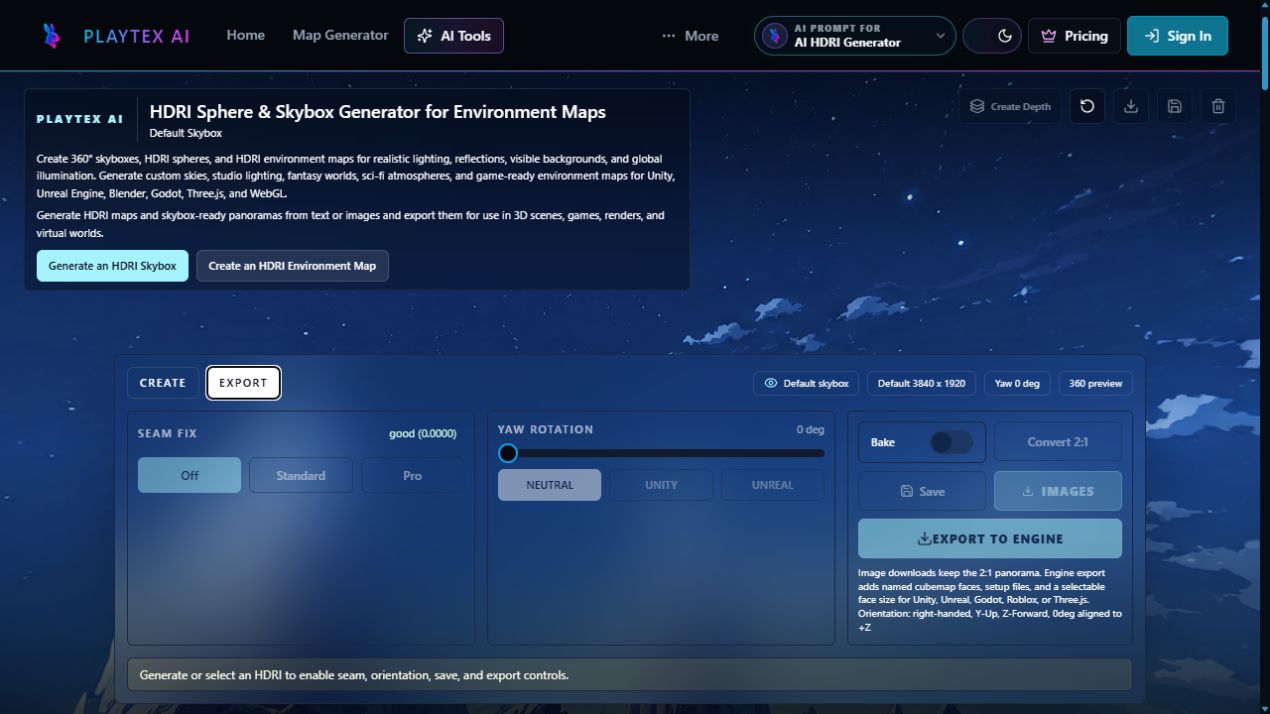
| A six-face sky import looks like a tiled wall | A square surface texture was mistaken for an environment map. | Create a 2:1 panorama in HDRI Sphere Generator and use its separate Export to Engine cubemap action. |
Current PLAYTEX AI engine presets
- Blender
- glTF · OpenGL normals · roughness
- Unity
- URP · OpenGL normals · smoothness · POT lock
- Unreal
- DirectX normals · roughness · POT lock
- Unreal packed map
- ORM: R AO · G roughness · B metallic
- Surface export
- Engine material ZIP
- Skybox export
- Separate HDRI cubemap ZIP
Sources used for this review
- Official: Khronos PBR overview
- Official: Blender Principled BSDF inputs
- Official: Unity URP channel-packed textures
- Official: Unreal texture masks and channel packing
From source to reviewed handoff
Start with an approved surface image
Use Image to Texture first when perspective, baked lighting, crop, or repetition still needs correction. Skip that step when the source is already clean and tile-ready.
Generate all required PBR channels
Create albedo, normal, roughness, metallic, ambient occlusion, height, and emission from the same source so every channel stays registered.
Review meaning, not only appearance
Inspect normals, material class, roughness response, AO strength, and derived height separately before trusting the combined beauty preview.
Choose the engine and click its ZIP button
Select Blender, Unity, or Unreal in the engine preset row, then click the labeled engine ZIP action once. Import and final material wiring still happen in the destination.
Choose where to start
Not every source needs the preparation step. Start at the first unresolved problem in the pipeline.
| Source state | Start here | Watch for |
|---|---|---|
| Phone photo or angled scan | Image to Texture | Perspective, shadows, glare, and edge repetition |
| Clean but non-tileable image | Image to Texture | Large features that reveal the repeat |
| Approved seamless base color | PBR Map Generator | Material classification still needs review |
| Approved seven-map set | Engine preset and ZIP export | The package does not perform native engine import or material wiring |
| 2:1 sky panorama | HDRI Sphere Generator export | Do not send a skybox through the surface-texture package |
Review before export
- Source is front-facing, evenly lit, and tile-safe
- Every requested map uses the same dimensions
- Metallic matches actual surface material
- Normal convention matches the preset
- Scalar maps import as non-color data where required
- Engine ZIP is tested in the destination material
Image to PBR Workflow FAQ
Is image-to-PBR really one click?
Generation and review are separate from export. After the map stack is approved and an engine preset is selected, one click on the engine-labeled ZIP action packages the material. Native import and shader wiring still happen in Blender, Unity, or Unreal.
Does image-to-PBR create real measured depth?
No. Height and normal information are derived from the visible image and remain estimates that require review.
What maps does PLAYTEX AI generate?
Albedo, normal, roughness, metallic, ambient occlusion, height, and emission maps.
Do I need Image to Texture first?
Only when the source needs crop, perspective, cleanup, or tiling work. A clean texture can go directly to PBR Map Generator.
Can I use the same image as a skybox?
Usually no. A material tile is commonly square and repeats over a surface; a skybox needs a 2:1 equirectangular panorama or six correctly oriented cube faces. Use HDRI Sphere Generator and its separate engine export for that job.