Capture and Source Preparation
Even Lighting for Texture Photos
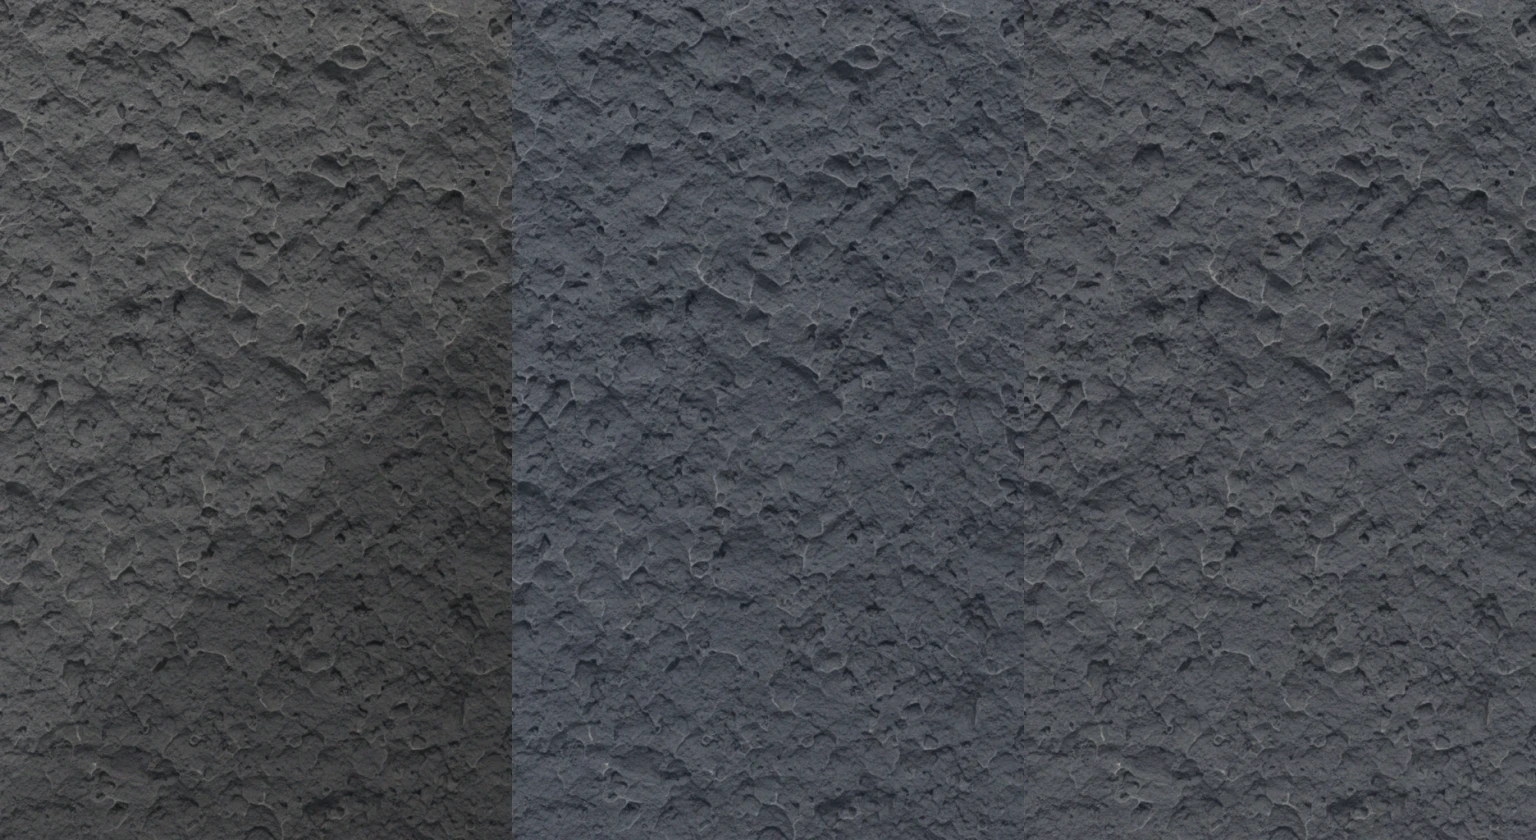
Photograph a flat, front-facing material patch under broad, diffuse light; lock exposure and white balance; then compare all four corner luminance values before you crop or tile. Uneven capture light becomes a repeated grid and contaminates later base-color and roughness decisions.
Direct answer
What is the best lighting for a texture photo?
Use the largest, softest source available: bright overcast, open shade facing the sky, or a lamp bounced through a large diffuser. Keep the camera sensor parallel to the surface, turn off flash and automatic exposure changes, and reject the capture when shadows or highlights clip. In the controlled PLAYTEX AI test below, a corner range at or below 10% was the practical pass screen before an 8 × 8 repeat; that threshold is a workflow heuristic, not a calibrated albedo tolerance.
Intent boundary: This guide owns the capture, measurement, correction, and repeat check. Photo to Game Texture owns the complete journey from camera image through PBR maps and engine validation.
What you will get
- Choose direct sun, open shade, or diffusion by the gradient each setup leaves in the source.
- Measure four corner patches in linear light and interpret range, variation, clipping, and color drift.
- Prove the source at 8 × 8, then decide whether to recapture, use Material Delighter, or continue to Image to Texture Generator.
Best use cases
- A phone or camera photo will become a repeating stone, brick, wood, fabric, soil, or plaster texture.
- A surface looks acceptable once but reveals a checkerboard brightness pattern when tiled.
- The intended base color contains a broad shadow, hotspot, sky cast, or exposure ramp.
- A source needs a fast, documented go/no-go check before seamless processing and PBR inference.
Acceptance test
Approve the asset only when these are true
- The surface is front-facing, sharp, and free of unique objects that will dominate repetition.
- No important RGB channel clips in the highlight or shadow warnings.
- Exposure, focus, and white balance remain locked for the full capture set.
- Four corner patches show no unexplained spatial color cast and pass the chosen relative-luminance screen.
- The 8 × 8 view shows material variation—not a repeated brightness grid or obvious landmark.
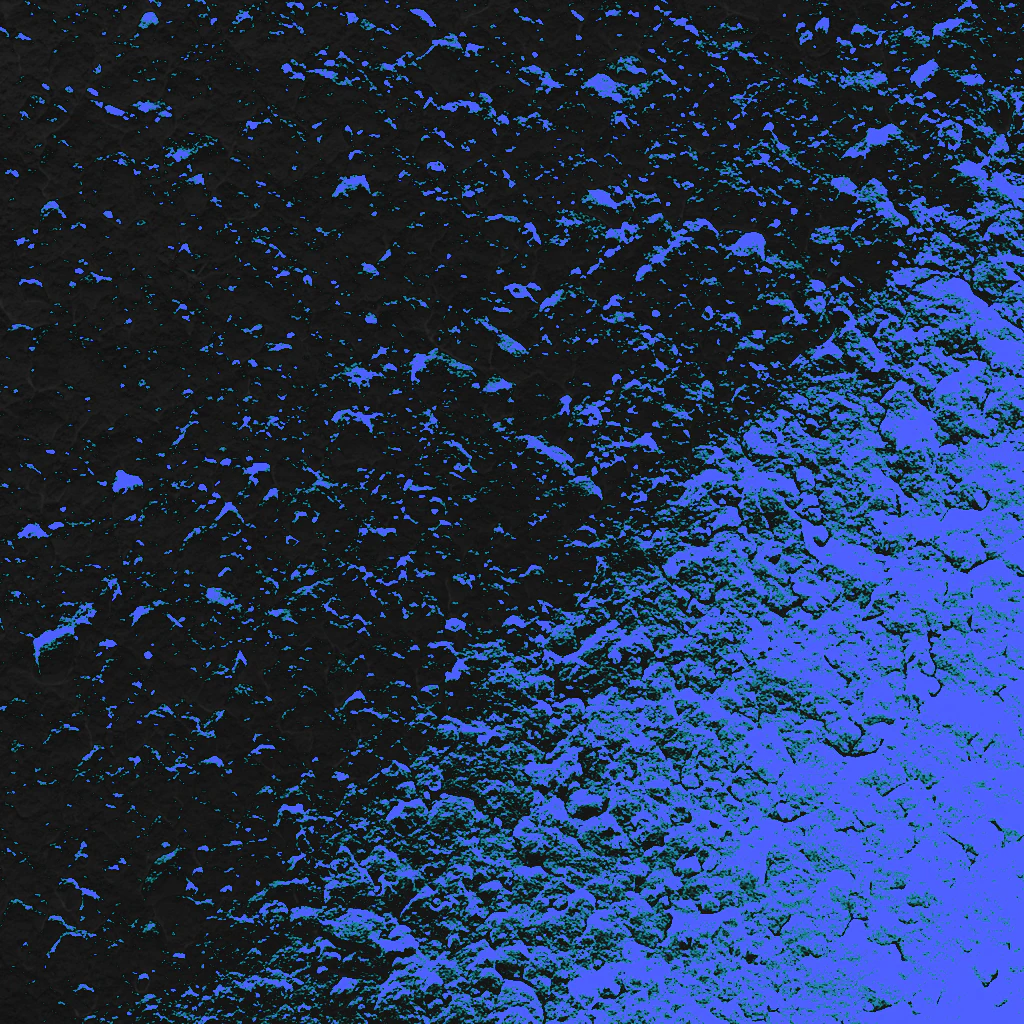
- Any delighting output is reviewed beside the original, heatmaps, warnings, relighting proof, and repeated field.


Why a lighting gradient becomes a tiled grid
A texture repeat copies both the material and the illumination stored in the pixels. If one corner is darker, every copy puts that dark corner in the same place. At 8 × 8 the repeated low-frequency field reads as a checkerboard or diagonal grid even when the outer pixel rows meet cleanly.
The same gradient also biases downstream inference. A dark capture region can be mistaken for darker base color, higher occlusion, or a roughness change; a bright directional patch can be mistaken for smoother material or shallower relief. Correct capture removes one ambiguity before PBR map generation begins.
Relative luminance is a screen, not a light meter
The downloadable PLAYTEX AI dataset uses relative linear-light luminance Y. It decodes the 8-bit sRGB pixels, applies Y = 0.2126R + 0.7152G + 0.0722B, and averages four 128 × 128 patches. Because no calibrated target, lens response, or luminance meter was used, the values are unitless and must not be reported as cd/m².
Corner range describes broad unevenness, while coefficient of variation describes how far all four readings spread around their mean. Neither number separates illumination from real stone variation. Pair the values with the image, histogram, heatmap, and repeated-field view.
Keep color textures and data maps in the right transfer function
Measure and correct lighting in linear light. Encode the finished base-color texture according to the destination convention. For glTF 2.0, Khronos requires the baseColorTexture RGB values to use the sRGB transfer function and requires metallic-roughness and normal data textures to use a linear transfer function.
A JPEG or WebP phone capture is a display-referred source with baked processing and lossy compression. A RAW capture preserves more exposure and white-balance latitude, but it still needs a controlled development step. Export a lossless PNG for the corrected working source when practical; apply runtime compression only after the material is approved for its engine.
When to recapture and when to delight
Recapture when a highlight is clipped, a shadow is crushed, the surface is wet or mirror-like, mixed light changes color across the frame, or the corner gradient can be removed by repositioning the light. These cases contain missing or view-dependent information that a one-image estimate cannot recover reliably.
Use Material Delighter for broad recoverable shading. Inspect its shadow and highlight heatmaps, neutral estimate, warnings, relighting proof, and seam evidence. Protect real stains, paint changes, decals, and deep cavities. The output remains an estimated neutral base color, not measured physical albedo.
Capture settings that change the result
Capture controls
Lock the variables that otherwise shift between frames or across one panorama of a surface.
- Exposure: Sets the recorded brightness and highlight/shadow headroom. Expose for recoverable mid-tones without clipping any important RGB channel; stabilize the camera instead of raising ISO when possible.
- White balance: Maps the capture light to a neutral reference and controls color cast. Set it from a gray target under the same light and lock it. Do not use auto white balance across a multi-frame material set.
- Focus and aperture: Controls resolved texture detail and depth of field. Keep a flat patch in focus from corner to corner. Avoid the smallest aperture if diffraction erases fine surface detail.
Lighting controls
Change source size, angle, and color before asking software to remove a gradient.
- Apparent source size: Larger sources produce softer shadow transitions and a lower-frequency field that is easier to balance. Move a diffuser closer, bounce the light, or capture under a broader part of the sky when one side or relief edge is too dark.
- Incidence angle: Changes directional shading and view-dependent reflection across the surface. Keep the source broad and near the camera axis for base color; move the camera or polarize when a glossy hotspot appears.
- Mixed light: Creates spatial color drift that a single white-balance setting cannot neutralize. Block the second source or match its color. Do not combine blue skylight with a warm lamp across one texture crop.
Capture an evenly lit texture photo in six checks
Photograph a flat, front-facing material patch under broad, diffuse light; lock exposure and white balance; then compare all four corner luminance values before you crop or tile. Uneven capture light becomes a repeated grid and contaminates later base-color and roughness decisions.
Step 1: Choose broad light
Prefer bright overcast, open shade facing the sky, or a large diffused source close enough to wrap across the sample. Avoid direct sun, bare bulbs, a phone flash, and mixed-color sources. Epic RealityScan likewise recommends overcast conditions because shadows, glare, and changing light distort surface appearance.
Step 2: Square the camera to the surface
Keep the sensor plane parallel to the material. Use a level or grid, stand far enough back to reduce perspective change, and fill the frame with a flat patch that contains enough non-unique detail to tile. Perspective correction cannot restore detail that was never sampled evenly.
Step 3: Lock exposure, focus, and white balance
Use manual exposure and focus when the camera allows it. Pick the lowest practical ISO, choose shutter speed for a stable sharp frame, and set white balance from a neutral target under the capture light. Do not let auto white balance or auto exposure change between overlapping frames.
Step 4: Protect highlight and shadow detail
Read the histogram and channel clipping warnings, not just the preview. Adobe documents that spikes at either end can indicate lost shadow or highlight detail. Reduce exposure, move the light, increase diffusion, or change the camera angle before capture; a one-image correction cannot reconstruct clipped diffuse color.
Step 5: Measure four corner patches
Decode the preview from sRGB to linear light, average a patch near each corner, then calculate range as (maximum Y − minimum Y) ÷ mean Y. A center sample alone can miss a diagonal or edge-to-edge gradient. Keep the patch away from borders and avoid a unique dark crack or bright inclusion when possible.
Step 6: Tile at 8 × 8 before committing
Shrink one repeat and display it eight times in both axes. Low-frequency brightness, color casts, and landmarks become easier to see at this scale. If the field forms a grid, fix the capture first; use Material Delighter only when the source remains recoverable. Then continue through Image to Texture Generator, PBR Map Generator, and PBR Engine Converter for the approved source-to-engine handoff.
One surface under three controlled lighting fields
| Condition | TL Y | TR Y | BR Y | BL Y | Corner range | Corner CV | Detector score |
|---|---|---|---|---|---|---|---|
| Direct sun | 0.0985 | 0.0649 | 0.0382 | 0.0803 | 85.4% | 31.3% | 82/100 Severe |
| Open shade | 0.0849 | 0.0724 | 0.0705 | 0.0782 | 18.8% | 7.3% | 47/100 Moderate |
| Diffused | 0.0823 | 0.0771 | 0.0813 | 0.0810 | 6.5% | 2.5% | 41/100 Moderate |
Read the failure pattern before editing
- One dark side usually means directional light or the camera/light rig blocked part of the source.
- A bright patch usually means reflection, glare, or clipping; change the angle or exposure instead of painting it gray.
- A checkerboard or diagonal repeat means a low-frequency lighting field survived crop and seam repair.
- Color drift across the frame usually means mixed light, auto white balance, lens shading, or a colored nearby surface.
- A clean seam score does not prove even lighting; opposite borders can match while the interior still contains a broad gradient.
- A low detector score does not prove physical albedo; local relief and real color variation can influence one-image estimates.
Why is even lighting important for texture photos?
A texture repeats every lighting error stored in its pixels. Broad shadows and highlights become a visible grid, stay fixed when the game light moves, and bias base-color, roughness, height, and occlusion decisions.
Is open shade good enough for texture photography?
Often, if the surface faces a broad patch of sky and receives no direct sun or colored bounce. In this controlled test, open shade reduced corner range from 85.4% to 18.8%, but only the diffused condition passed the guide’s 10% practical screen at 6.5%. Measure your own frame.
Can I fix uneven lighting in post?
Broad recoverable shading can be estimated with Material Delighter or manual flat-field correction. Recapture when highlights clip, shadows crush, reflections move with the view, mixed lights change color across the frame, or physical accuracy matters.
What camera settings should I use?
Use manual exposure, fixed white balance, fixed focus, the lowest practical ISO, and a shutter speed that remains sharp on a tripod or stable support. Choose an aperture that keeps the flat patch sharp without excessive diffraction. Exact numbers depend on the camera, lens, light level, and desired texel density.
Should I measure texture brightness in sRGB?
Decode sRGB to linear light before averaging luminance or applying multiplicative illumination correction. Re-encode the finished base-color texture for the destination convention; glTF 2.0 expects base color in sRGB and its metallic-roughness and normal data textures in linear encoding.
How large should the tile test be?
Use at least 8 × 8 for low-frequency lighting diagnosis. A 2 × 2 view is useful for edge seams, but it can hide a slow gradient or repeated landmark that becomes obvious across a larger field.
Primary sources
Official specifications and renderer documentation
PLAYTEX AI guidance is paired with official specifications and platform documentation where the handoff depends on an outside convention.
Open the live workflow that this guide is documenting.
How to Remove Lighting from a Texture and Create a Cleaner Albedo MapAs of August 2026, Material Delighter analyzes one photo or scan for broad shadows, highlights, exposure loss, and directional light, then estimates a more neutral base color for material authoring. The detector is free; editable correction and full-resolution export require Starter or higher.
Image to Texture: Convert a Photo into a Seamless TextureExtract a usable surface from a photo, scan, artwork crop, or generated reference; correct the source problems first; then tune seamless reconstruction while protecting the material character.
How to Create PBR Textures: A Production Workflow from Source to EngineCreate a PBR texture by preparing a neutral, tile-safe source; deriving a coordinated map set; reviewing each channel as data and as a lit material; validating dimensions, normals, seams, and classifications; then exporting with the destination engine’s color-space, normal, and packing conventions.