PLAYTEX AI

Make room for your next idea.

Opening your workspace…

Engine Workflows

PBR Map Generator for Blender Materials

Generate and inspect the technical texture channels for Principled BSDF, apply the Blender preset, and download the reviewed material package once.

Reviewed:

Generate Blender Maps

Read the PBR Map Guide

Seven aligned material channelsOpenGL normal + roughness presetOne-click Blender ZIP

Direct answer: Blender Texture Generator

Start with an approved base texture, generate the aligned PBR channels, inspect normal, roughness, metallic, AO, height, and emission, then select the Blender preset and click Blender ZIP once. The preset uses OpenGL-style normals, roughness, and a glTF-friendly package. In Blender, load the maps with Image Texture nodes, keep data maps on Non-Color, route the normal through a Normal Map node, and connect each channel to its intended Principled BSDF or bump/displacement destination.

One reviewed stack, separate Blender material inputs

Base Color is color data. Roughness, metallic, normal, AO, and height carry technical material data and should not be sampled as ordinary display color.

  • Albedo map: Generated brick albedo map preview
  • Normal map: Generated brick normal map preview
  • Roughness map: Generated brick roughness map preview
  • AO map: Generated brick ambient occlusion map preview
  • Height map: Generated brick height map preview
  • Emission map: Generated brick emission map preview
  • Metallic map: Generated brick metallic map preview
Base color to relightable Blender material

The base image establishes appearance; the aligned normal, roughness, metallic, AO, and height channels establish how Blender lighting responds.

Input - approved base color to Output - applied PBR material

Blender handoff controls

The Blender preset uses OpenGL normals and roughness, then packages the reviewed set for a glTF-friendly handoff.

  • Normal convention: OpenGL Y+
  • Surface response: Roughness
  • Package target: glTF
  • Export action: Blender ZIP

Select Blender, then click Blender ZIP once

PLAYTEX AI applies its Blender export convention and packages the current material. Final Image Texture nodes, shader connections, UV scale, displacement choice, and scene lighting still happen in Blender.

This is not a Blender add-on and does not create a native .blend material automatically. The one click downloads the reviewed PBR package; node assignment, UV scale, displacement, and render validation remain in Blender.

  • albedo.png
  • normal.png
  • roughness.png
  • metallic.png
  • ao.png
  • height.png
  • gltf_material_config.json

Step 1: Start from an approved base texture

Use a clean, correctly oriented, repeat-safe color source. This workflow begins at map generation; source invention and photo correction have their own Blender pages.

Step 2: Generate and inspect the full map set

Create base color, normal, roughness, metallic, AO, height, and emission where needed. Compare channels at the same crop and resolution so features stay aligned.

Step 3: Validate Blender-specific interpretation

Keep the normal convention on OpenGL, inspect roughness under moving light, and confirm metallic is limited to actual metal. Treat technical maps as Non-Color in Blender.

Step 4: Select Blender, download once, and wire the material

Click Blender ZIP once, import the images, connect them to Principled BSDF and the Normal Map or bump/displacement nodes, then validate UV scale and response in the target scene.

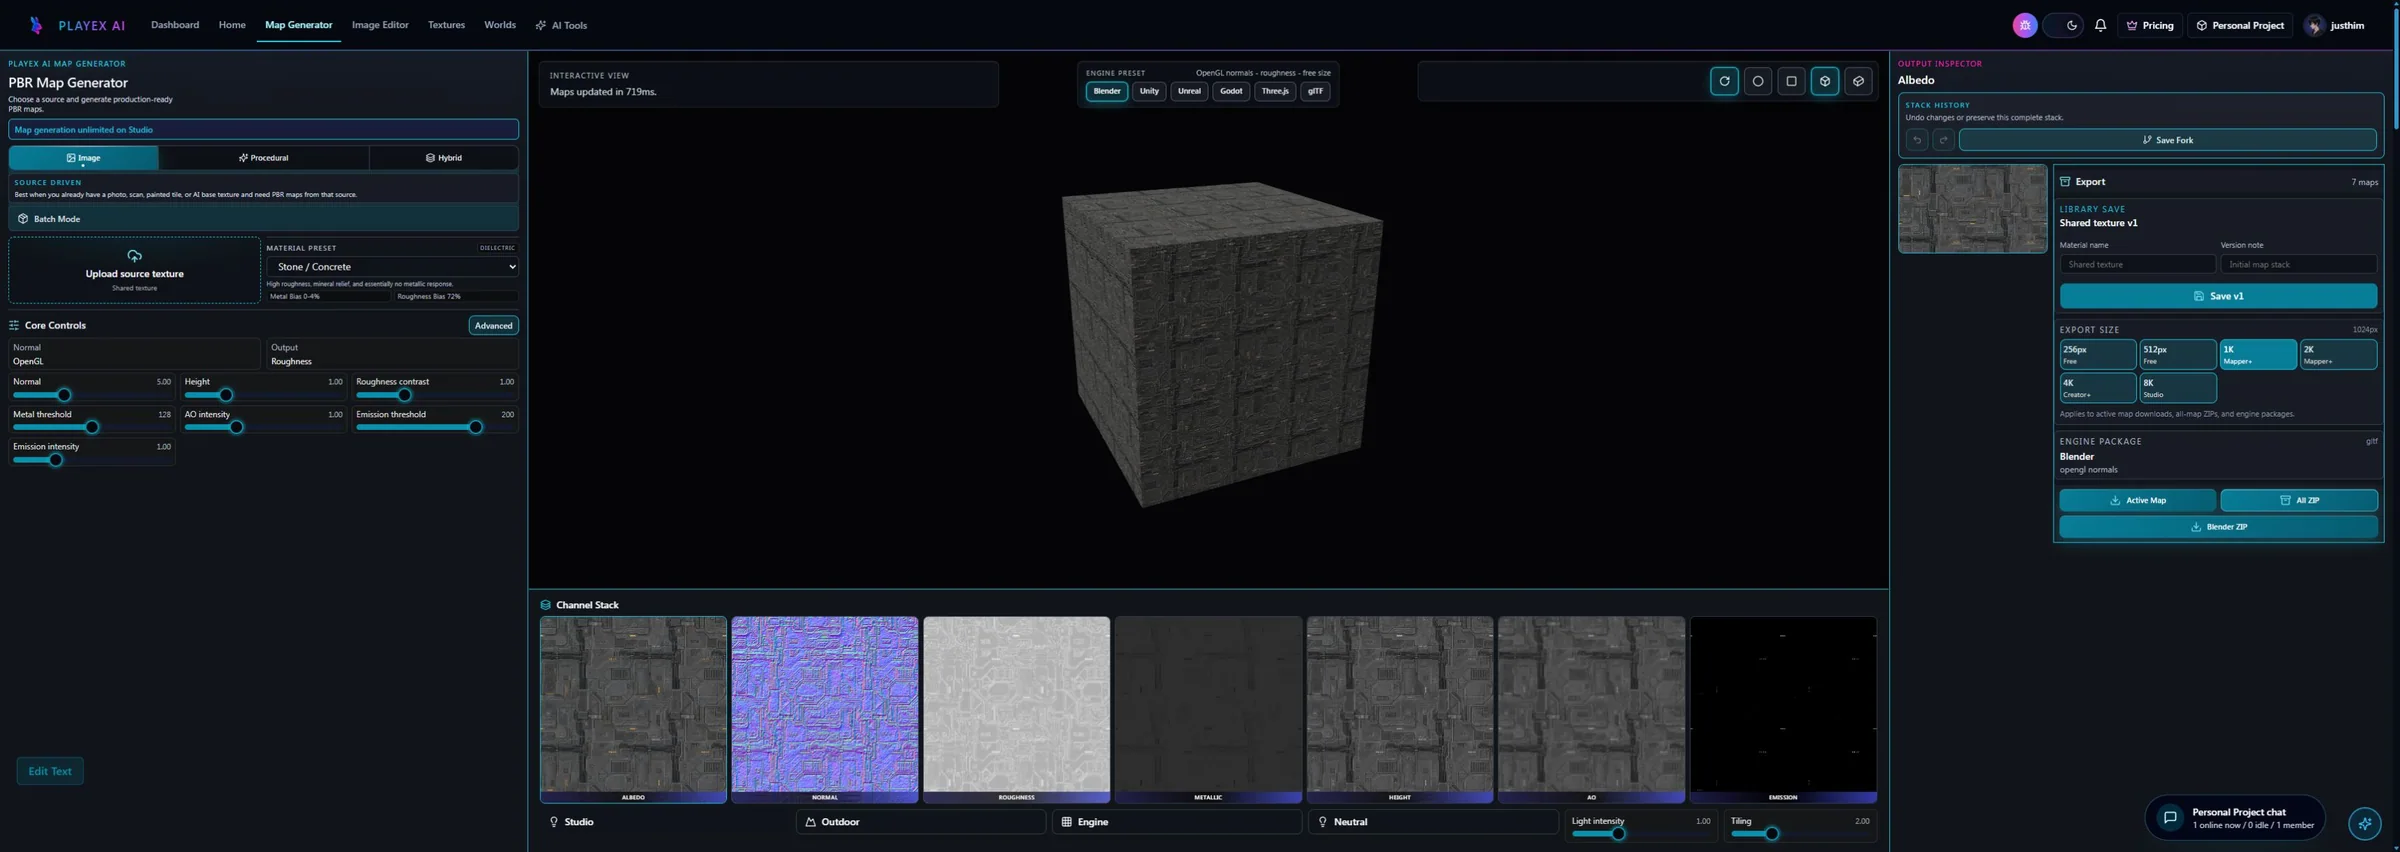
PLAYTEX AI PBR Map Generator with Blender selected, seven material maps, and a Blender ZIP export action
Blender is selected beside the map stack Inspect every channel, keep the Blender preset active, then click Blender ZIP once. The downloaded files still need Image Texture and shader-node setup inside Blender.
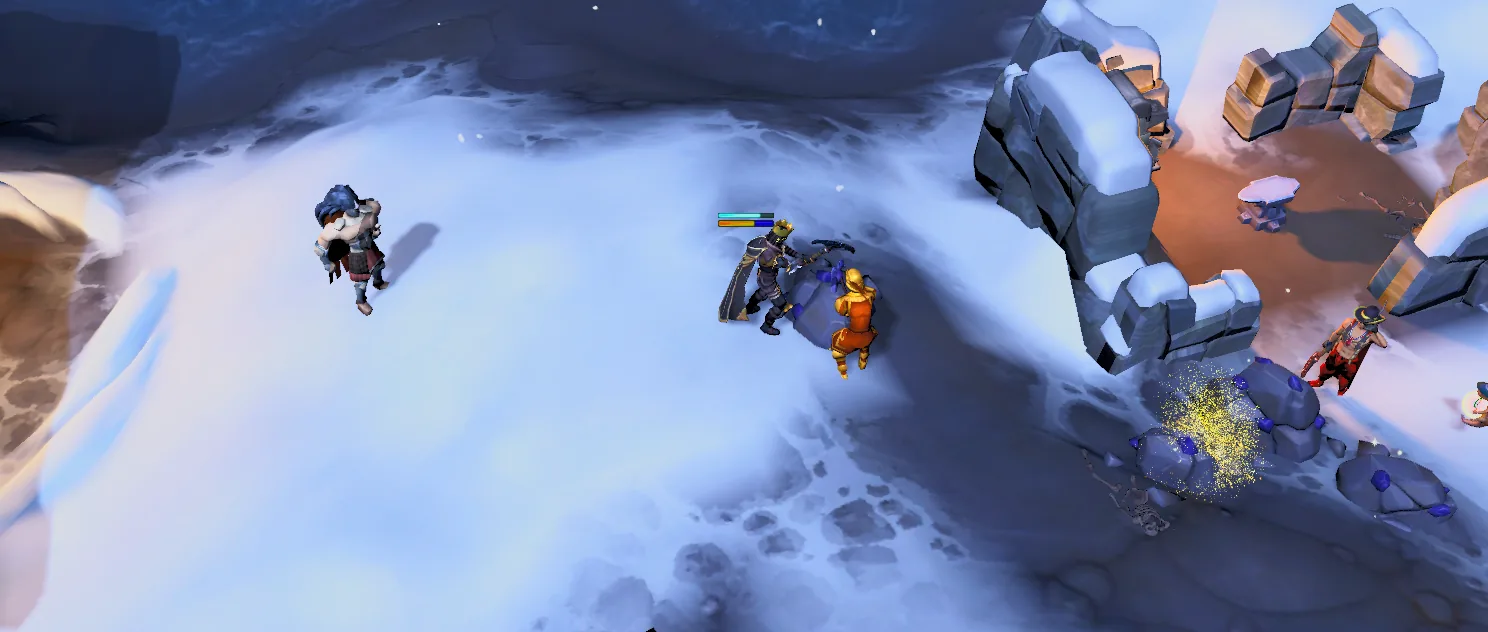
A tiled snow material applied over scene geometry to show scale and repetition
Validate on geometry, not only in a flat preview In Blender, check UV scale, grazing light, mip behavior, visible repetition, and normal strength on the mesh and at the camera distance that matters.

Surface images use the Image Texture node

Blender documents Image Texture as the node that supplies image data to a shader, commonly using UV coordinates for an object surface.

Blender Image Texture documentation

Principled BSDF exposes the core PBR inputs

Base Color, Roughness, Metallic, Normal, and emission-related inputs remain distinct so each exported map can be assigned and validated deliberately.

Blender Principled BSDF documentation

Tangent normal maps need the Normal Map node

Blender notes that tangent-space normal maps must match the UV map and that the source image should be treated as Non-Color data.

Blender Normal Map documentation

Best-fit use cases

  • Generating an aligned Principled BSDF map stack from an approved base texture.
  • Preparing Blender materials for props, environments, renders, asset packs, or glTF handoff.
  • Reviewing normal, roughness, metallic, AO, height, and emission before node-graph work begins.

Blender Texture Generator targets

  • Base Color: Color image
  • Roughness: Non-Color data
  • Metallic: Non-Color mask
  • Normal: Non-Color via Normal Map
  • Height: Bump or displacement
  • Emission: Color input where needed

Does one-click Blender export create a material in my .blend file?

No. Selecting Blender and clicking Blender ZIP once downloads the texture package and setup context. You still import the images and build or adapt the shader nodes in Blender.

How do I connect the normal map in Blender?

Load the normal image with an Image Texture node set to Non-Color, connect it to a Normal Map node, and connect that node to Principled BSDF Normal. Keep the UV map consistent with the other surface textures.

Should roughness, metallic, and normal images use sRGB in Blender?

No. Those images carry material data rather than display color, so use Non-Color data. Base Color is the ordinary color-texture exception.

Where should ambient occlusion go in Blender?

Principled BSDF has no dedicated AO input. A common real-time-oriented setup multiplies AO with Base Color before the shader, but whether to do that depends on the renderer and target pipeline. Keep the original AO file available.

Should height use Bump or true displacement?

Use a Bump node when you need shading relief without changing the silhouette. Use true displacement only when the renderer, subdivision, material settings, and scene budget support actual geometry movement.

Workflow selection guide

When is the Blender Texture Generator the right workflow?

Generate and inspect the technical texture channels for Principled BSDF, apply the Blender preset, and download the reviewed material package once. Use the source-state table below to decide whether this workflow, reference conversion, or direct PBR mapping is the shortest path.

Updated by PLAYTEX AI Editorial Team.

What changed

  • Added an answer-first explanation for the Blender Texture Generator.
  • Added a decision table covering source selection, 7-channel review, and target handoff.
  • Added a dated editorial review, explicit limitations, authorship, and direct canonical workflow links.

reviewable channels

7

Albedo, Normal, Roughness, AO, Height, Emission, Metallic

workflow stages

4

Start from an approved base texture, Generate and inspect the full map set, Validate Blender-specific interpretation, Select Blender, download once, and wire the material

handoff targets

6

Base Color, Roughness, Metallic, Normal, Height, Emission

Decision table

Choose the Blender Texture Generator path by source readiness

Decision guide for Blender Texture Generator
SituationChooseWhy
Generating an aligned Principled BSDF map stack from an approved base texture. Generate Blender Maps Base Color is color data. Roughness, metallic, normal, AO, and height carry technical material data and should not be sampled as ordinary display color.
A photo, scan, or visual reference must be preserved. Image to Texture Generator Clean the source, repair edge continuity, and review the repeated tile before map extraction.
A clean, tileable base texture already exists. PBR Map Generator Skip source creation and review the 7 aligned material channels directly.
The material is ready for Base Color. Select Blender, then click Blender ZIP once This is not a Blender add-on and does not create a native .blend material automatically. The one click downloads the reviewed PBR package; node assignment, UV scale, displacement, and render validation remain in Blender.

Scope and limitations

PLAYTEX AI prepares texture maps and handoff guidance. Material-node assignment, color-space settings, displacement scale, and final render validation happen in Blender.

How this page was reviewed

The editorial team checked the current page claims, visible channel stack, workflow steps, engine handoff copy, FAQs, and internal links against the public PLAYTEX AI product paths.

Read the PLAYTEX AI editorial policy.