Using PLAYTEX AI on Your Phone to Turn a Photo into a Texture
Learn how to transform everyday photos from your phone into production-ready, seamless PBR textures for your games. This guide covers the workflow from capture to engine export, including generating PBR maps and performing 3D previews.
game devpbr texturesmobile workflowtexture generation
Key Takeaways
Your phone camera can capture real-world details to create game-ready, seamless PBR textures.
The workflow involves capturing photos with optimal lighting, processing them for seamless tiling, and generating a full suite of PBR maps (Albedo, Normal, Roughness, Metallic, AO).
3D preview is crucial for quality control, allowing you to check tiling, normal response, and lighting before export.
PLAYTEX AI streamlines this process by offering an Image-to-Texture Generator, automatic PBR map generation, and a robust 3D preview, specifically tailored for game development pipelines.
Using mobile photos for textures is highly effective for organic surfaces and rapid prototyping, but careful attention to initial photo quality and PBR values is essential for best results.
Who Informed This
The article draws on knowledge of modern game development texture pipelines, PBR material concepts, and the capabilities of various AI texture generation tools. It synthesizes information from PLAYTEX AI's product features with general industry best practices for photogrammetry and texture creation.
How It Was Evaluated
Not applicable; this content is an educational guide based on documented features and industry workflows, not a hands-on product test.
Proof And Evidence
PLAYTEX AI's Image-to-Texture Generator is confirmed to convert phone photos into square, repeating images. The platform supports the generation of PBR maps and includes a 3D preview for material inspection, as detailed in internal PLAYTEX AI documentation.
Limits And Caveats
The article does not compare PLAYTEX AI's performance or pricing against competitors, nor does it delve into advanced photogrammetry techniques beyond simple phone capture. It focuses on the initial image-to-texture conversion workflow, not comprehensive 3D asset creation or full material authoring from scratch.
Your phone is already a powerful tool for communication, entertainment, and even productivity. But did you know it can also be a secret weapon for your game development pipeline? With the right workflow, that high-resolution camera in your pocket can capture real-world details and transform them into game-ready textures.
This guide will walk you through the process of converting a simple phone photo into a polished, seamless texture with all the necessary PBR (Physically Based Rendering) maps. We'll cover everything from getting the right shot to reviewing your material in 3D, ensuring your assets look fantastic in-engine.
The Concept: From Real-World Photo to Digital Texture
At its core, turning a photo into a texture for games involves translating a real-world surface into a digital material that a game engine can understand. This isn't just about grabbing a snapshot; it's about extracting visual information like color, surface detail, and reflective properties, then formatting it for 3D environments.
The goal is to create a seamless, tileable image and a set of corresponding PBR maps. These maps tell the game engine how light should interact with the surface, making it look realistic and grounded in your virtual world. Think of it as giving your game a taste of the real world, one pixel at a time.
Why Mobile Photo Textures Matter for Game Development
Leveraging your phone for texture capture offers several compelling advantages, especially for indie developers and artists on the go:
Accessibility: Nearly everyone has a smartphone with a decent camera. This lowers the barrier to entry for capturing unique, high-quality reference material.
Realism: Capturing real-world surfaces brings an authentic touch to your game environments that can be hard to replicate from scratch.
Speed: A quick photo can kickstart a texture creation process much faster than generating an entire material from zero or relying solely on generic asset libraries.
Cost-Effectiveness: While dedicated photogrammetry setups exist, your phone can get you surprisingly far for many common textures without additional hardware investment.
The Workflow: Capturing and Processing Your Texture
Transforming a raw photo into a polished game texture follows a logical sequence. Each step builds upon the last, ensuring the final output is both visually appealing and technically sound.
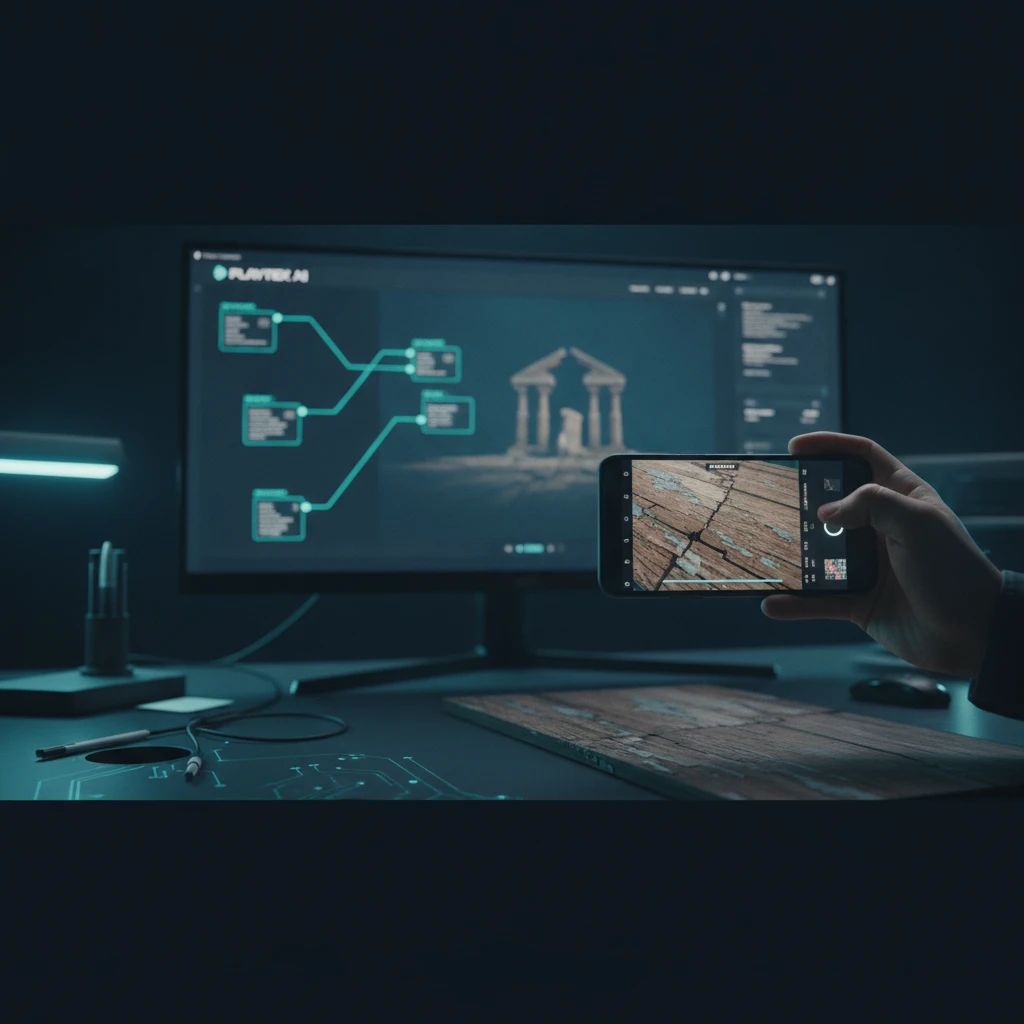
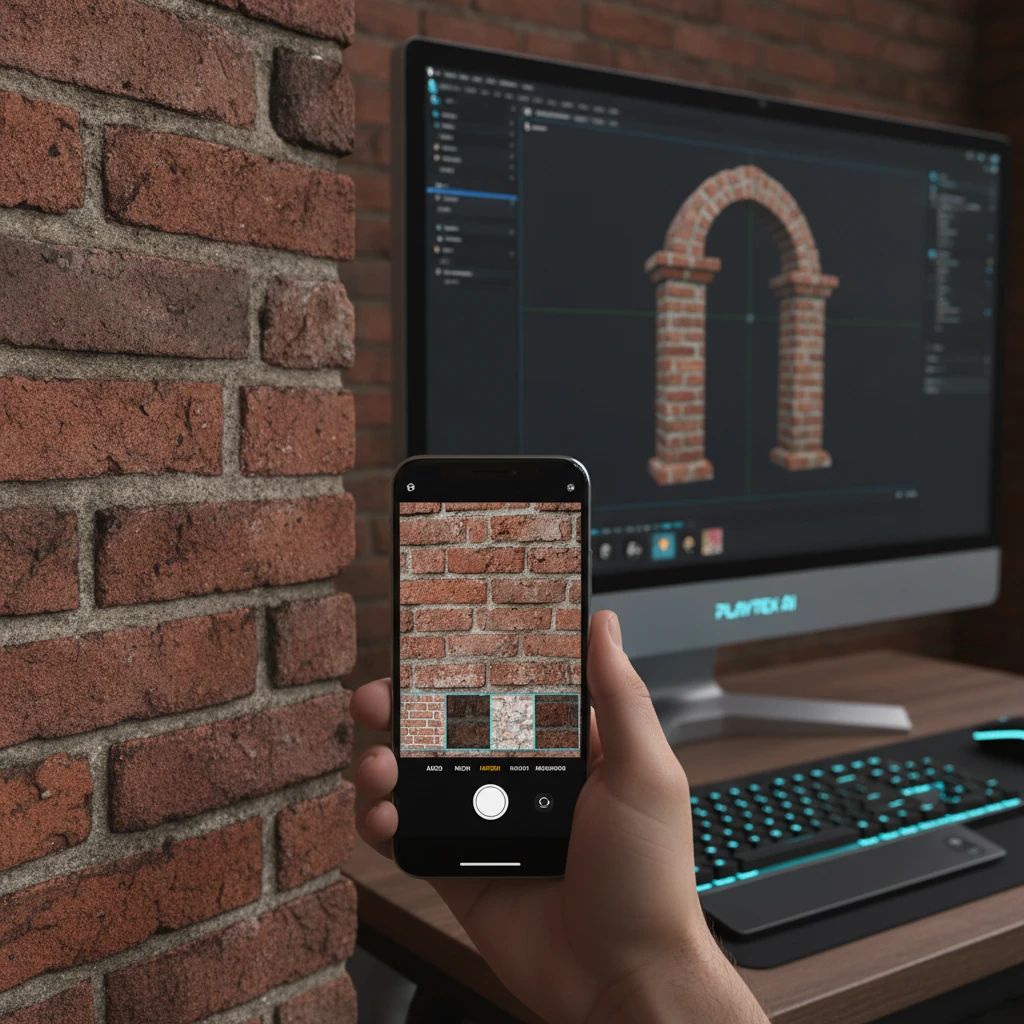
From a quick phone photo to a foundational texture, the journey to game-ready assets begins with a keen eye for detail.
Capturing the Right Photo: Tips for Optimal Texture Capture
A good texture starts with a good source image. When using your phone, keep these tips in mind:
Even Lighting: Overcast days are your best friend. Avoid harsh shadows or direct sunlight, which can bake lighting information directly into your texture and make it look flat or inconsistent in-game.
Flat Surface: Look for flat, uniform areas of the material you want to capture. This makes the later steps of de-lighting and creating a seamless tile much easier.
High Resolution: Use your phone's highest resolution setting. More pixels mean more detail to work with.
Consistent Distance: Try to keep your phone parallel to the surface and maintain a consistent distance to minimize perspective distortion.
Processing Your Photo into a Seamless Texture
Once you have your photo, the next step is to prepare it for 3D use. This typically involves:
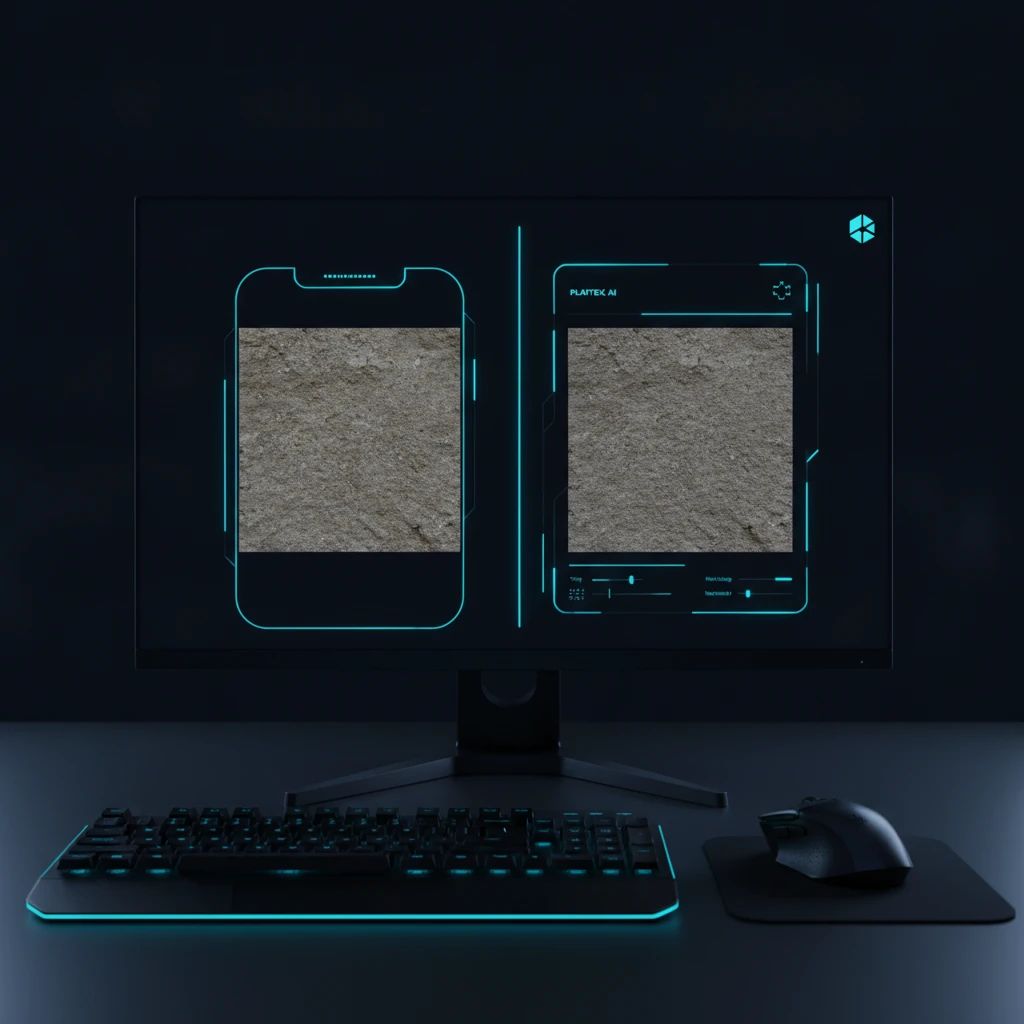
The transformation from a raw image to a production-ready seamless tile requires careful processing, removing distractions and perfecting repetition.
De-lighting: Removing any remaining shadows or lighting variations from the photo to get a pure albedo (color) map.
Perspective Correction: Straightening out any slight distortions from your camera angle.
Creating a Seamless Tile: The magic step! This involves techniques to ensure the edges of your texture match up perfectly when repeated, preventing visible seams in your game world. It's like solving a tiny visual puzzle, making sure every piece fits just right.
Generating PBR Maps: The Core of Game-Ready Materials
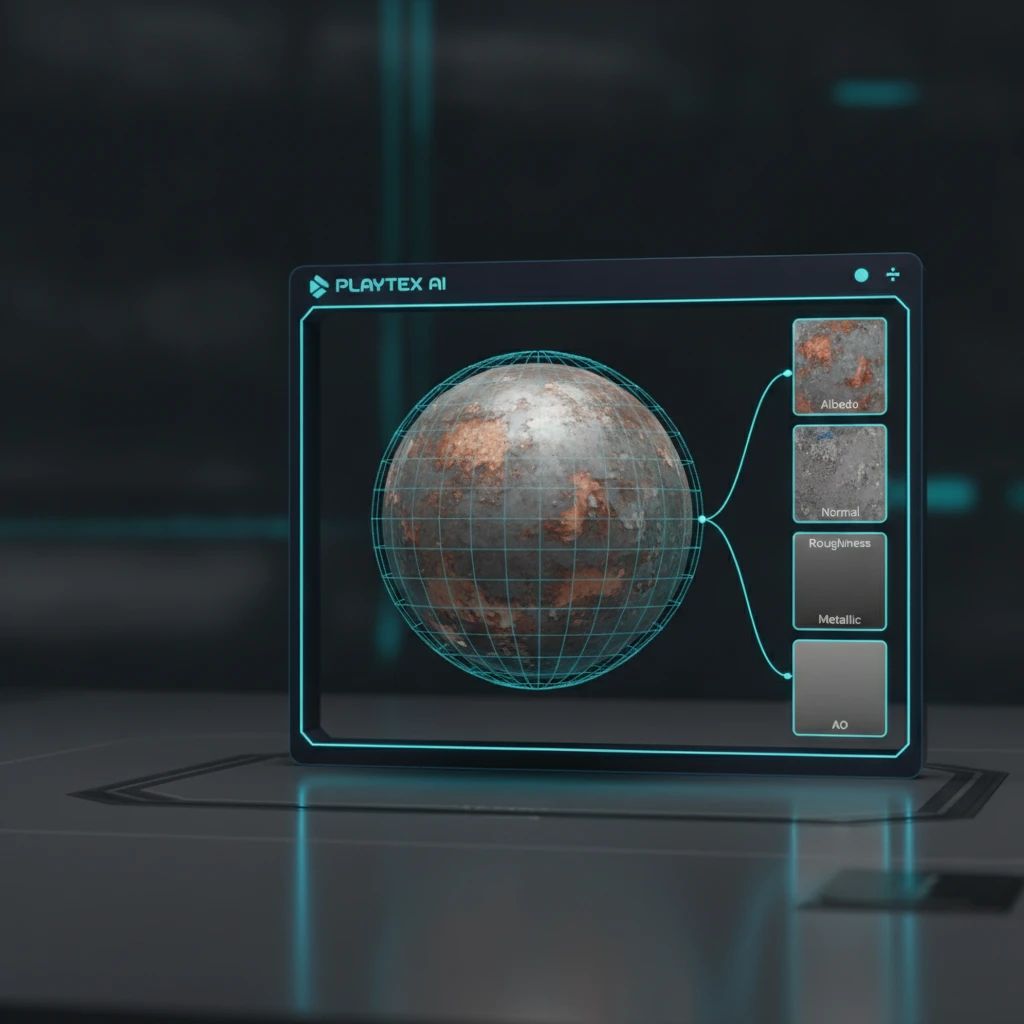
For modern game engines, a single color image isn't enough. You need a full stack of PBR maps to define how light interacts with your surface. These typically include:
Albedo (Base Color): The pure color of the surface, free from lighting.
Normal Map: Adds fine surface details and bumps without needing extra geometry. It's a clever illusion that makes flat surfaces appear intricate.
Roughness Map: Dictates how rough or smooth a surface is, affecting how light scatters and reflects.
Metallic Map: Identifies which parts of the surface are metal and which are dielectric (non-metal).
Ambient Occlusion (AO) Map: Simulates soft shadows where objects or parts of an object block ambient light, adding depth.
Generating these maps accurately from a single photo can be a complex task, often requiring specialized software to interpret the visual data.
Reviewing Your Material in 3D: Quality Checks
Before exporting your texture, it's crucial to see it in action. A dedicated 3D preview environment allows you to:
A 3D preview allows artists to inspect how each PBR map contributes to the final material's look and feel, ensuring it reacts realistically to light.
Check Tiling Artifacts: Spot any obvious repetitions or seams that weren't caught in the processing stage.
Verify Normal Response: Ensure the normal map is accurately representing surface details and not creating odd distortions.
Inspect Roughness and Lighting: Observe how light interacts with your material under various conditions. Does the metal shine correctly? Does the wood have the right amount of sheen? This is where your texture truly comes to life, or, occasionally, reveals it needs a little more time in the oven.
Refining and Exporting for Your Game Engine
The final steps involve making any last-minute adjustments and preparing your texture for integration into your game. This includes:
Color and Intensity Adjustments: Tweaking values to match your game's art style or correct any slight color shifts.
Format and Resolution: Choosing the appropriate file format (e.g., PNG, JPG, TGA) and resolution (e.g., 2K, 4K) based on your engine's requirements and performance targets.
Engine Compatibility: Ensuring your exported maps are correctly named and configured for seamless import into engines like Unity, Unreal Engine, or Godot.
When to Use Mobile Photos for Textures
Mobile photo-to-texture workflows excel in specific scenarios:
Natural, Organic Surfaces: Ideal for capturing textures like stone, wood grain, dirt, concrete, fabric, or foliage. The organic imperfections translate well.
Quick Prototypes: Rapidly generate placeholder or final textures for environment assets during early development.
Background Elements: Perfect for less critical surfaces that need realistic detail without demanding bespoke artistry.
However, this method is less suitable for highly stylized assets, intricate geometric patterns, or anything requiring pixel-perfect control over every detail without significant manual cleanup. For those, traditional 3D painting software like Adobe Substance 3D Painter remains invaluable.
Common Mistakes and How to Avoid Them
Even with the best tools, a few common pitfalls can derail your mobile photo texture efforts:
Poor Initial Photo Quality: If your source image has baked-in shadows or blur, it's an uphill battle. Always prioritize good lighting and sharp focus.
Ignoring Seamlessness: Visible seams break immersion. Always review your texture's tiling in a 3D preview.
Incorrect PBR Values: A material that looks too shiny, too dull, or simply 'off' often comes down to incorrect roughness or metallic maps. Reference real-world materials to guide your adjustments.
Over-Reliance on Automation: While AI tools are powerful, they're not mind-readers. Always review and refine generated maps to ensure they meet your artistic vision.
Choosing the Right Tools for Your Texture Pipeline
The market offers a range of tools that help turn real-world captures into game-ready assets. For game developers looking to streamline this process, platforms like PLAYTEX AI offer a direct path from a phone photo to a production-ready PBR material.
The PLAYTEX AI Image-to-Texture Generator is specifically designed to take a selected surface from your photo and transform it into a square, repeating image. This is the first critical step toward a usable game asset. From there, PLAYTEX AI automatically generates all necessary PBR maps from that single source image, supporting up to 7 PBR map outputs to ensure your material is engine-ready.
You can then inspect the generated material behavior in a PLAYTEX AI 3D preview environment. This allows you to catch tiling, normal response, roughness, and lighting issues before export, ensuring quality control. While other platforms like Meshy AI and Polycam also offer image-to-texture capabilities, often with PBR map generation and high-resolution support (up to 8K, as seen with Meshy AI), PLAYTEX AI is purpose-built for game development pipelines, focusing on repeatable, production-grade outputs and multiple engine export paths. It simplifies turning real-world captures into engine-ready game assets efficiently, making it a powerful addition to any artist's toolkit.
Conclusion: Elevate Your Game with Real-World Textures
Your phone is more than just a communication device; it's a portable texture scanner waiting to be unleashed. By understanding the workflow of capturing, processing, and generating PBR maps from your photos, you can inject unparalleled realism and detail into your game environments.
Ready to transform your phone's camera roll into a valuable asset library? Explore PLAYTEX AI's Image-to-Texture Generator and streamline your journey from real-world capture to production-ready game texture. Your next great material might just be a photo away.
Sources and further reading
Primary documentation and research consulted for the claims in this article.