Image to Texture · 30-second overview
Turn an image into a seamless texture
Watch a 30-second PLAYTEX AI overview: upload an image, extract a surface with AI, inspect its repeat and 3D preview, then download the texture or continue to PBR maps.
Reviewed by the PLAYTEX AI Editorial Team · Updated
Try Image to Texture → · Read the transcript
An animated overview using PLAYTEX AI source and result examples. The material spheres illustrate the workflow; generation time is not shown in real time.
Direct answer
How do you turn an image into a seamless texture?
Upload a PNG, JPG, or WEBP image to the PLAYTEX AI Image to Texture Generator. Choose Auto or a surface type, generate a texture with AI, and inspect the result in Tile and 3D preview. Download the approved texture or send it to the separate PBR Map Generator to create material maps with deterministic image processing.
Video chapters
-
0:00 — From image to inspiration
A source screenshot becomes the starting point for a lava texture.
-
0:03 — Upload and choose a surface
Start with your image and select the material you want to extract.
-
0:06 — Extract the texture with AI
Turn the selected surface into a square texture result.
-
0:10 — Inspect the repeating tile
Look for visible seams and distracting repetition.
-
0:13 — Explore the 3D preview
See lava and snow textures presented as material studies.
-
0:18 — Download or continue to PBR maps
Export the texture or take the image into the separate PBR Map Generator.
-
0:26 — Make it yours
Try the Image to Texture Generator with your own image.
Try the workflow
- Choose your image. Use a photo, screenshot, scan, or artwork with a clear surface. Upload a PNG, JPG, or WEBP file; an account is required to generate.
- Extract the surface. Choose Auto or the closest surface type, then generate the texture with AI. Keep the material target clear so the result matches your intended use.
- Inspect before export. Use Tile preview to check the edges and repeated pattern. Explore the 3D preview and refine the result when needed.
- Download or create material maps. Download the texture image. For albedo, normal, roughness, and other material maps, continue to the PBR Map Generator, which uses deterministic image processing.
Key decisions
- A clean, well-lit source gives you more useful surface detail.
- Inspect the actual repeated result before using it across a large surface.
- AI texture extraction and deterministic PBR map generation are separate stages.
Source image and texture result
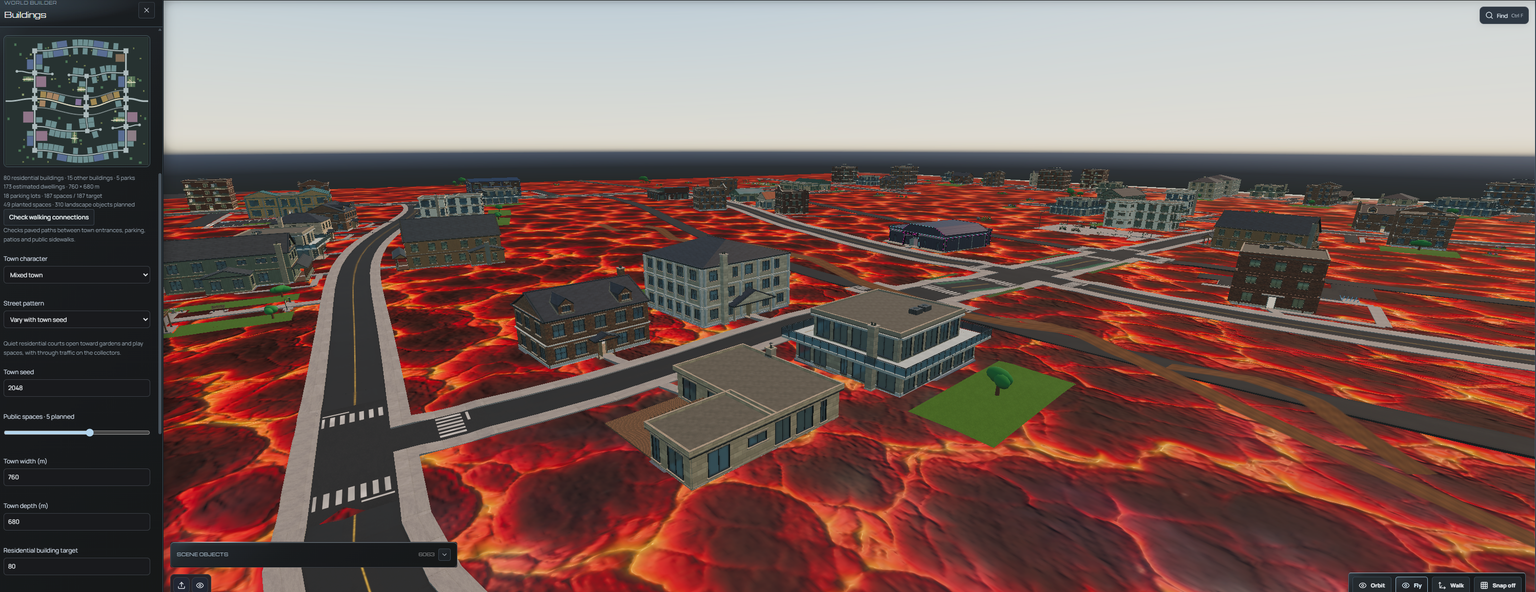
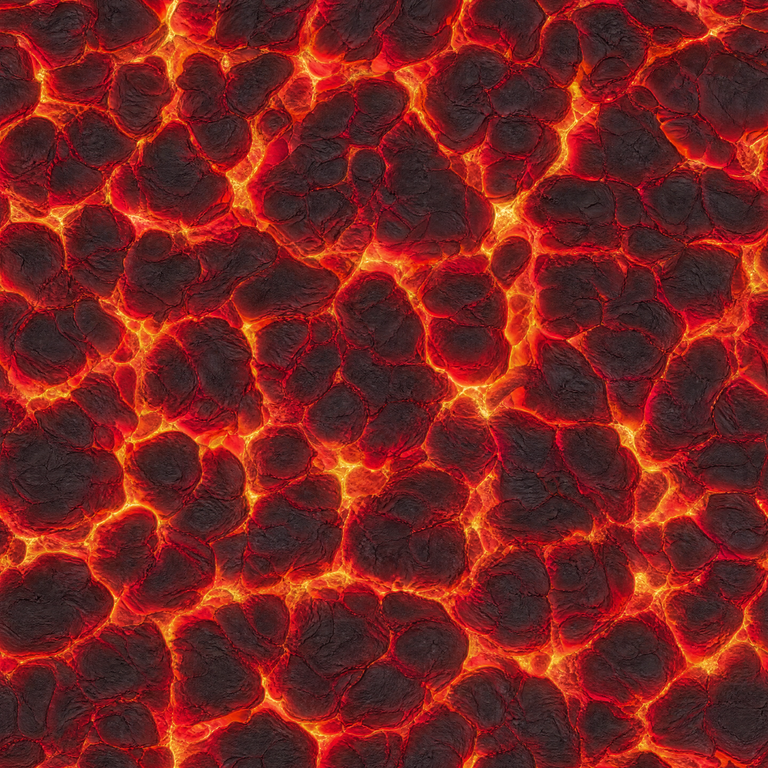
Video and captions
- Download the 30-second video (MP4) — 1080p MP4 with the original music and narration.
- Download English captions (VTT) — Timed captions matching the spoken narration.
How to know the result is correct
Repeat the texture across several tiles and look for seams or an obvious repeated feature. Inspect the surface in 3D, then check the downloaded image before using it in your project.