Unreal Engine photo and scan workflow
Turn an Image into a Texture for Unreal Engine
Correct the reference before it reaches the Content Browser, then control tiling and performance in Unreal.
Direct answer: Upload a photo, scan, or concept image, crop it to one material, correct perspective and baked lighting, repair the image boundary, and inspect a wide repeated field. Click Download texture once for the corrected PNG. In Unreal Engine, import it as a Texture asset, keep sRGB enabled when connecting it to Material Base Color, and use TextureCoordinate to set U and V tiling. The corrected PNG is not an ORM pack or native Material and it cannot serve as a full sky environment.
Reviewed:
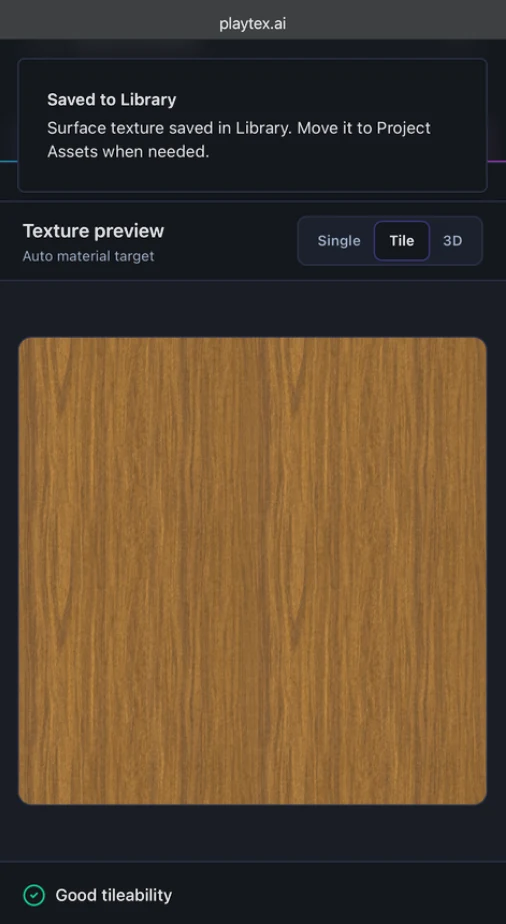
What this Image to Texture Generator page covers
This page preserves an existing visual reference. Use AI Texture Generator when no source exists, Unreal PBR Map Generator for technical channels, and HDRI Sphere Generator for Sky Light or HDRI Backdrop.
How to use Image to Texture Generator with Unreal Engine
Isolate a physically coherent material patch
Crop away perspective edges, objects, trim, deep recesses, and mixed surfaces. Retain enough detail to define scale without one feature dominating the repeat.
The source can be sampled across an Unreal mesh without scene artifacts.
Delight and straighten before tiling
Reduce camera shadows, glare, vignetting, and perspective skew before the seam is reconstructed. Unreal lighting cannot undo those artifacts once they are baked into Base Color.
The texture can respond convincingly under the project lighting rig.
Prove edge and pattern continuity separately
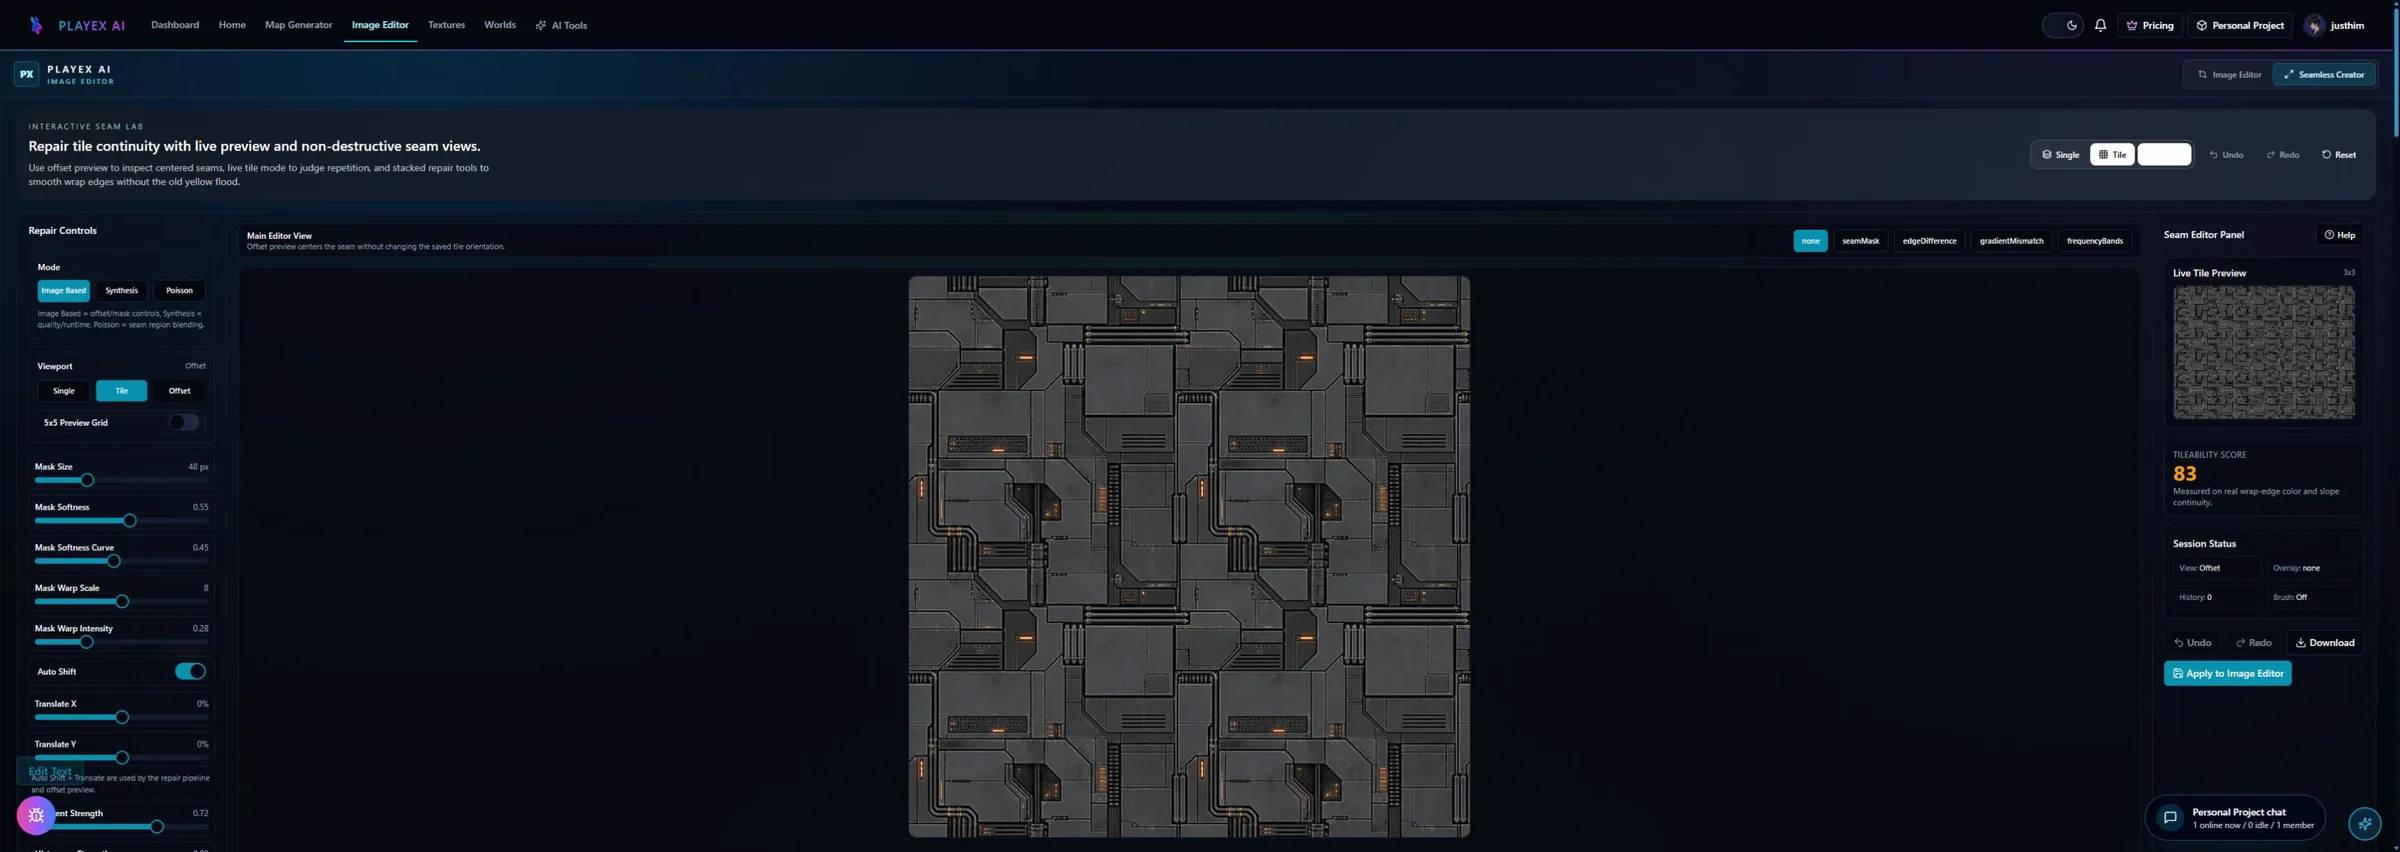
Use offset view to inspect the original outside border and a wide tile view to expose internal landmarks. Test with the repeat count expected on landscapes or modular pieces.
Both the join and the larger pattern pass review.
Download and apply through an Unreal Material
Click Download texture, import the PNG, connect it to Base Color, and drive UVs with TextureCoordinate. Review mips, texture streaming, compression, and tile scale on the final asset.
The corrected reference becomes a production-testable Unreal texture input.
Using the corrected PNG in an Unreal Material
The Texture asset stores the image; the Material graph decides how it is sampled and shaded.
| PLAYTEX AI output | Unreal Engine destination | Verify in engine |
|---|---|---|
| Corrected color PNG | Texture Sample RGB → Base Color | sRGB on and baked lighting sufficiently reduced. |
| Repeat and scale | TextureCoordinate UTiling/VTiling → UVs | No grid or seam at production coverage. |
| Runtime texture asset | Texture Asset Editor settings | Mips, compression, max size, and streaming suit the platform. |
Download texture is one click after review
Click Download texture to save the selected corrected PNG.
What remains after the click
It does not create an Unreal Material, Texture asset, normal map, ORM pack, virtual texture, landscape layer, or sky cubemap.
Included in this handoff
- Corrected photo- or scan-based PNG
- Repeat-ready base source
- Input for Unreal Base Color or later PBR processing
Photogrammetry cleanup
Turn a useful surface frame or scan output into a better repeating source before deeper material work.
Architecture and terrain
Preserve recognizable real surfaces while preparing them for large Unreal coverage.
Reference-matched production
Build from art-approved photography instead of regenerating a visually different AI material.
Pre-handoff QA
- One material and scale are isolated in the crop.
- Perspective and baked light are reduced.
- Offset seam and wide repeat both pass.
- Unreal mips, compression, streaming, and tiling are tested in scene.
Image to Texture Generator and Unreal Engine FAQ
Why does the texture look repetitive on my Unreal landscape?
The seam may be correct while an internal feature forms a grid. Reduce distinctive landmarks, vary scale or blending in the material, and validate from the player camera across the actual landscape extent.
How do I change the tile size in Unreal Engine?
Use TextureCoordinate UTiling and VTiling, often exposed through scalar parameters in a Material Instance. Match the resulting feature size to the world rather than choosing a visually convenient number.
Can Image to Texture export Unreal ORM?
No. It exports the corrected base image. Continue to the Unreal PBR workflow to generate and review AO, roughness, metallic, DirectX normal, and ORM outputs.
Can this image be used as an Unreal skybox?
A square surface tile does not contain full environment coverage. Use the Unreal HDRI Sphere workflow for a 2:1 environment or projected cubemap pack.
TextureCoordinate controls material repetition
Epic documents U and V tiling and coordinate-channel selection for material texture sampling.
Texture Asset Editor controls texture runtime behavior
Epic documents sRGB, compression, maximum size, power-of-two, mip, and streaming settings for imported texture assets.
Base Color remains separate from PBR data inputs
Epic documents the physical Material inputs separately, preserving the boundary between this corrected color image and later technical maps.