Unity photo and scan workflow
Turn an Image into a Texture for Unity
Clean an existing reference without replacing its identity, then let Unity handle tiling and platform import.
Direct answer: Upload the photo or scan to PLAYTEX AI, crop to the material, flatten perspective, reduce baked lighting, repair opposite edges, and check a wide repeated field. Click Download texture once to save the corrected PNG. Import it into Unity as a Default texture, enable Repeat wrapping for tiled surfaces, keep sRGB on when it is used as Base Map color, and adjust tiling on the material. Generate the PBR channels separately only after this source is approved.
Reviewed:
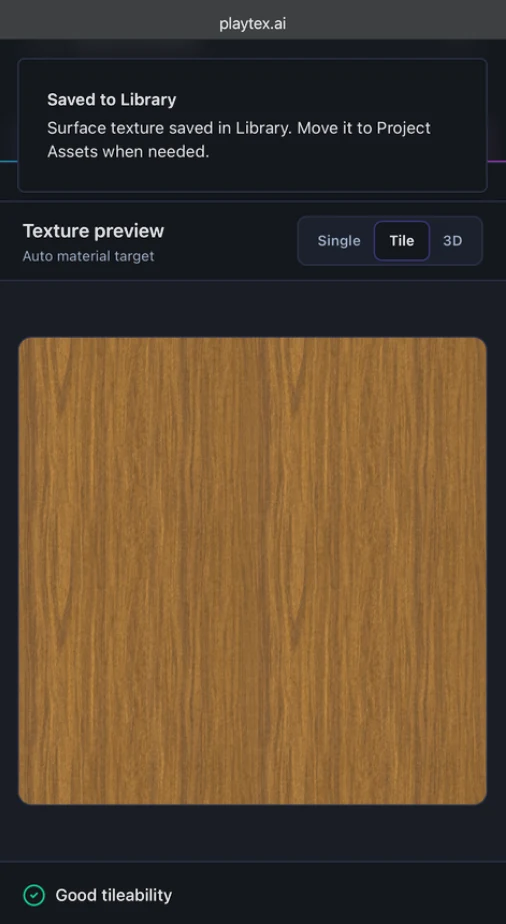
What this Image to Texture Generator page covers
Image to Texture preserves and corrects an existing reference. It does not invent a replacement, build a Unity Material, create a mask map, or turn a square surface into a skybox.
How to use Image to Texture Generator with Unity
Crop to one surface plane
Avoid large perspective changes, object silhouettes, grout depth changes, and mixed materials. Select a region that can plausibly repeat in Unity.
The source represents one material at a consistent scale.
Remove camera and lighting artifacts
Correct perspective and reduce highlights, shadows, vignetting, and color gradients before seam repair. Preserve texture detail rather than flattening everything.
Unity’s lights can shade the material without fighting the photo.
Repair the join and inspect the rhythm
Use offset view for the original border and 3x3 or 5x5 preview for recurring landmarks. Both checks are required for floors, terrain, and modular walls.
The image tiles technically and visually at useful scale.
Download once, then configure Unity
Click Download texture, place the PNG in Assets, set Default type and Repeat wrap, then use the material tiling controls. Apply platform overrides only after representative device testing.
The corrected reference becomes a reusable Unity color texture.
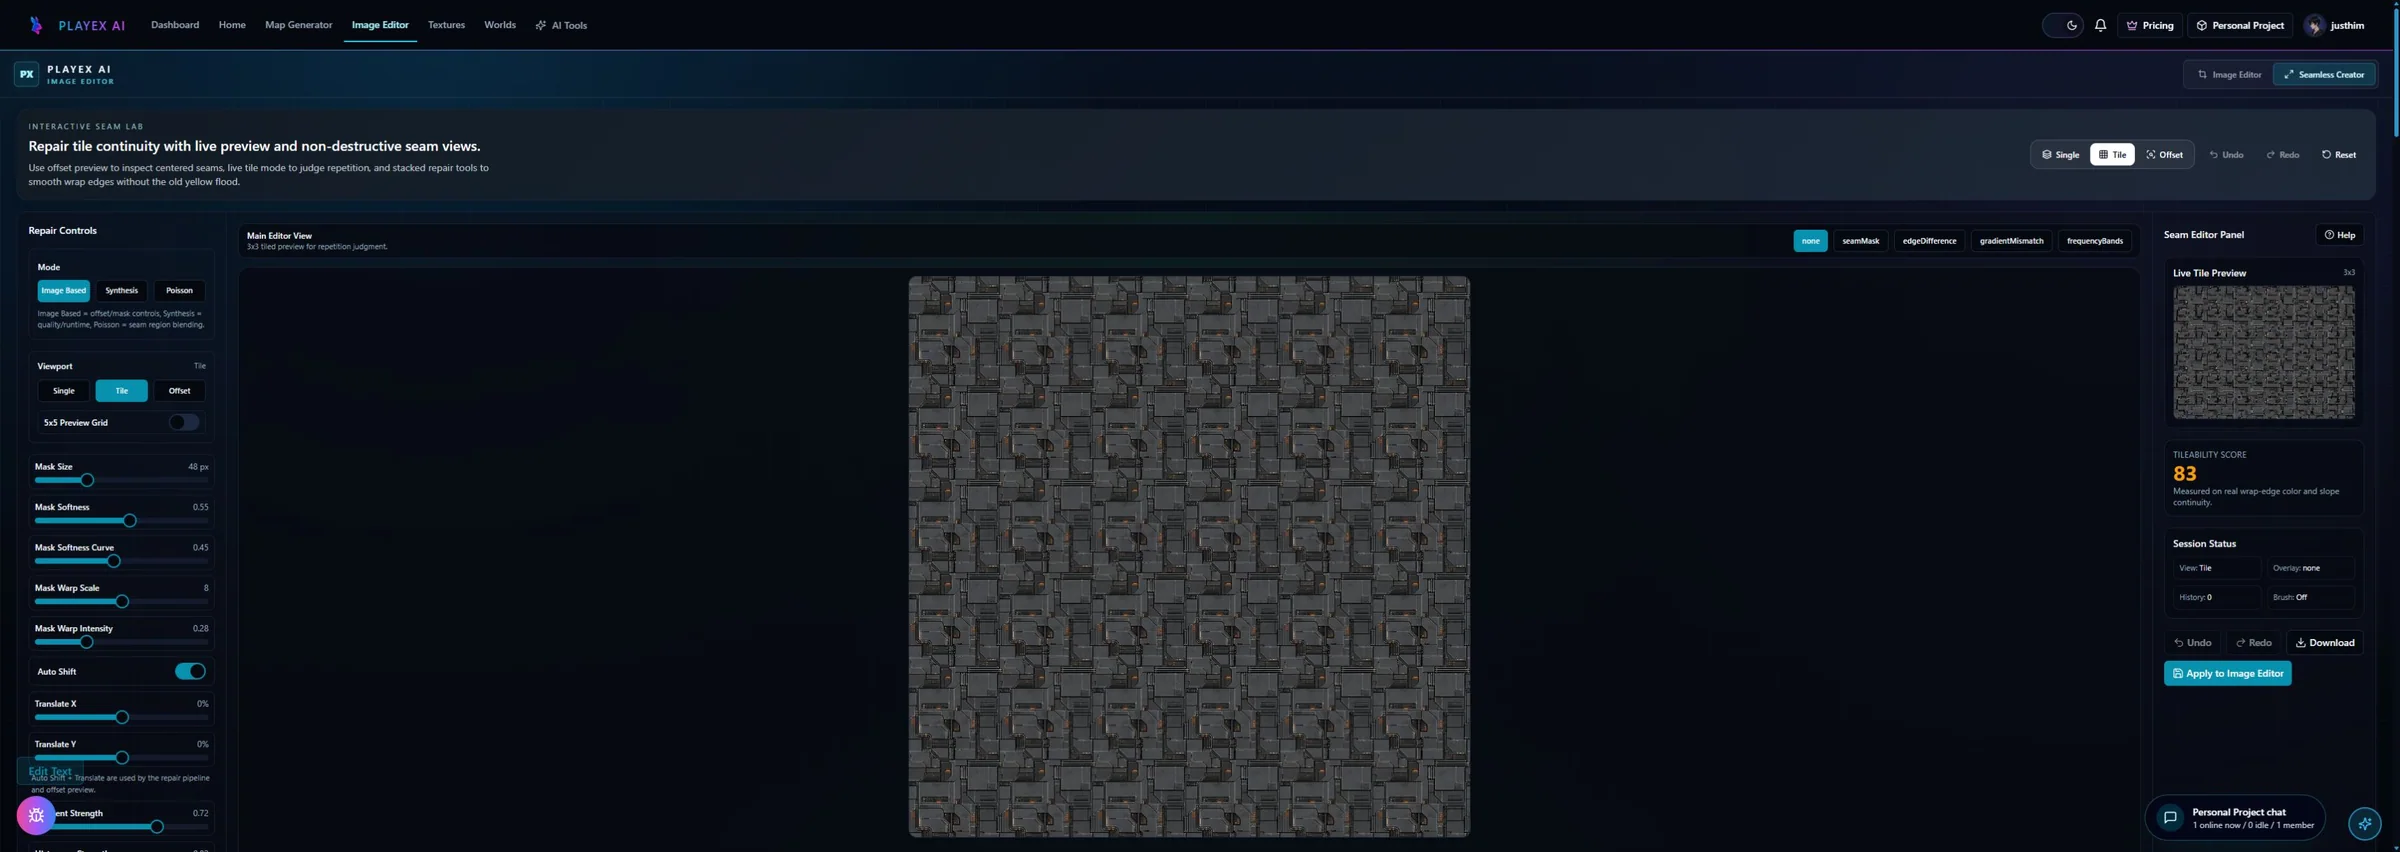
Unity surface import after conversion
Keep source correction in PLAYTEX AI and runtime sampling decisions in Unity.
| PLAYTEX AI output | Unity destination | Verify in engine |
|---|---|---|
| Corrected PNG | Assets → Default texture → material Base Map | sRGB on for color; alpha meaning and transparency are intentional. |
| Edge continuity | Wrap Mode: Repeat | No line appears at UV boundaries under target filtering. |
| Physical repetition | Material tiling and mesh UVs | Feature size matches meters per tile and avoids an obvious grid. |
Download texture is the one-click handoff
After the conversion passes seam and repeat review, click Download texture once.
What remains after the click
The file is not a UnityPackage, Material, Sprite, terrain layer, PBR stack, or cubemap. Those are separate Unity-side or PLAYTEX AI workflows.
Included in this handoff
- Corrected reference-based PNG
- Selected texture resolution
- Base source ready for Unity or PBR mapping
Environment scans
Convert photographed ground, walls, roofs, cloth, rock, and architectural surfaces into repeatable Unity inputs.
Art-direction matching
Keep a specific photographed surface in the visual language of an existing scene.
Mobile-conscious sources
Create a clean master, then let Unity choose per-platform size and compression instead of generating separate art prematurely.
Pre-handoff QA
- The crop contains one material plane and consistent scale.
- Baked highlights and shadows are reduced before tiling.
- Repeat wrap and material tiling are both tested.
- Platform compression is checked on representative hardware.
Image to Texture Generator and Unity FAQ
Why does my seamless texture still show lines in Unity?
Verify Wrap Mode is Repeat, the material UVs cross boundaries correctly, and compression or mip filtering has not revealed an edge mismatch. Also inspect the source at the exact exported resolution.
Should I resize the image before importing into Unity?
Keep a useful master and use Unity platform overrides for target-specific downscaling. Choose the PLAYTEX AI export size sensibly, but avoid permanently shrinking the only clean source.
Can I use Image to Texture for a Unity normal map?
This workflow produces the corrected base image. Use the Unity PBR map workflow for normal, smoothness, metallic, AO, and packed outputs.
Why can’t a seamless square image become my Unity skybox?
A surface tile repeats in UV space and does not represent every viewing direction. Use a 2:1 panorama or six cubemap faces from the Unity HDRI Sphere workflow.
The importer controls type, color, wrapping, and platform copies
Unity exposes the settings that determine how a downloaded PNG is sampled and stored by the project.
Repeat is the tiling wrap mode
Unity defines Repeat for sampling a texture beyond the zero-to-one coordinate range.
Default texture type is the ordinary 2D image path
Unity documents the Default type for common textures used by materials and other project assets.