Blender reference-conversion workflow
Turn an Image into a Texture for Blender
Preserve the reference, correct its camera and lighting problems, then apply the repeatable PNG to Blender geometry.
Direct answer: Upload a photo, scan, or existing image to PLAYTEX AI Image to Texture Generator, correct the crop and perspective, reduce baked lighting, repair the seam, and inspect the result in a repeated field. Click Download texture once to save the corrected PNG. In Blender, load it through Image Texture and map it with the object UVs. This workflow preserves a specific reference; it does not invent a new surface or automatically create PBR maps.
Reviewed:
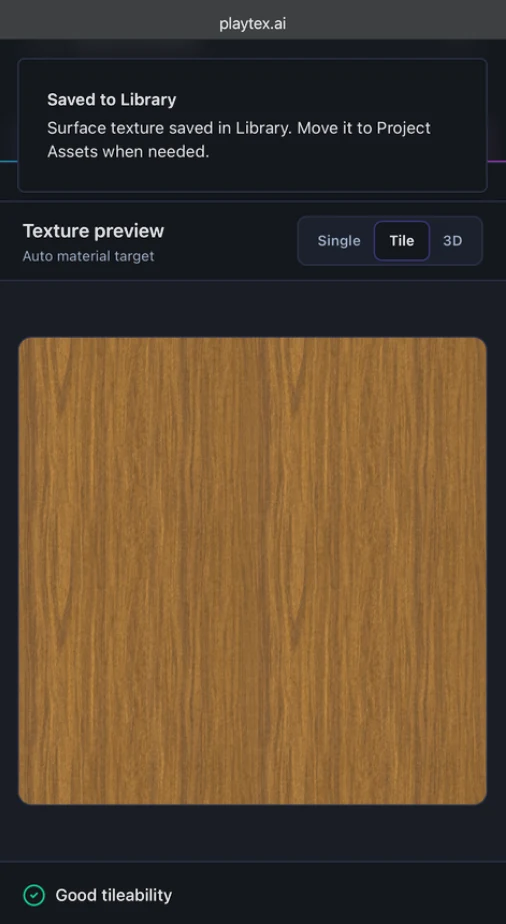
What this Image to Texture Generator page covers
This page is specifically for converting an existing image into a Blender base texture. The AI page invents a source, the PBR page derives material channels, and the HDRI page creates the World environment.
How to use Image to Texture Generator with Blender
Choose a reference with useful surface information
Use a front-facing image with enough resolution and limited glare, deep shadow, perspective, and foreground clutter. Crop to a material region rather than an entire scene.
The source describes the material instead of the camera view.
Correct the image before making it repeat
Flatten perspective, reduce directional illumination, and preserve scale-bearing features. A seam repair cannot fix a wall photographed at a steep angle.
Blender can relight the texture without competing with baked source lighting.
Use offset and wide-tile review
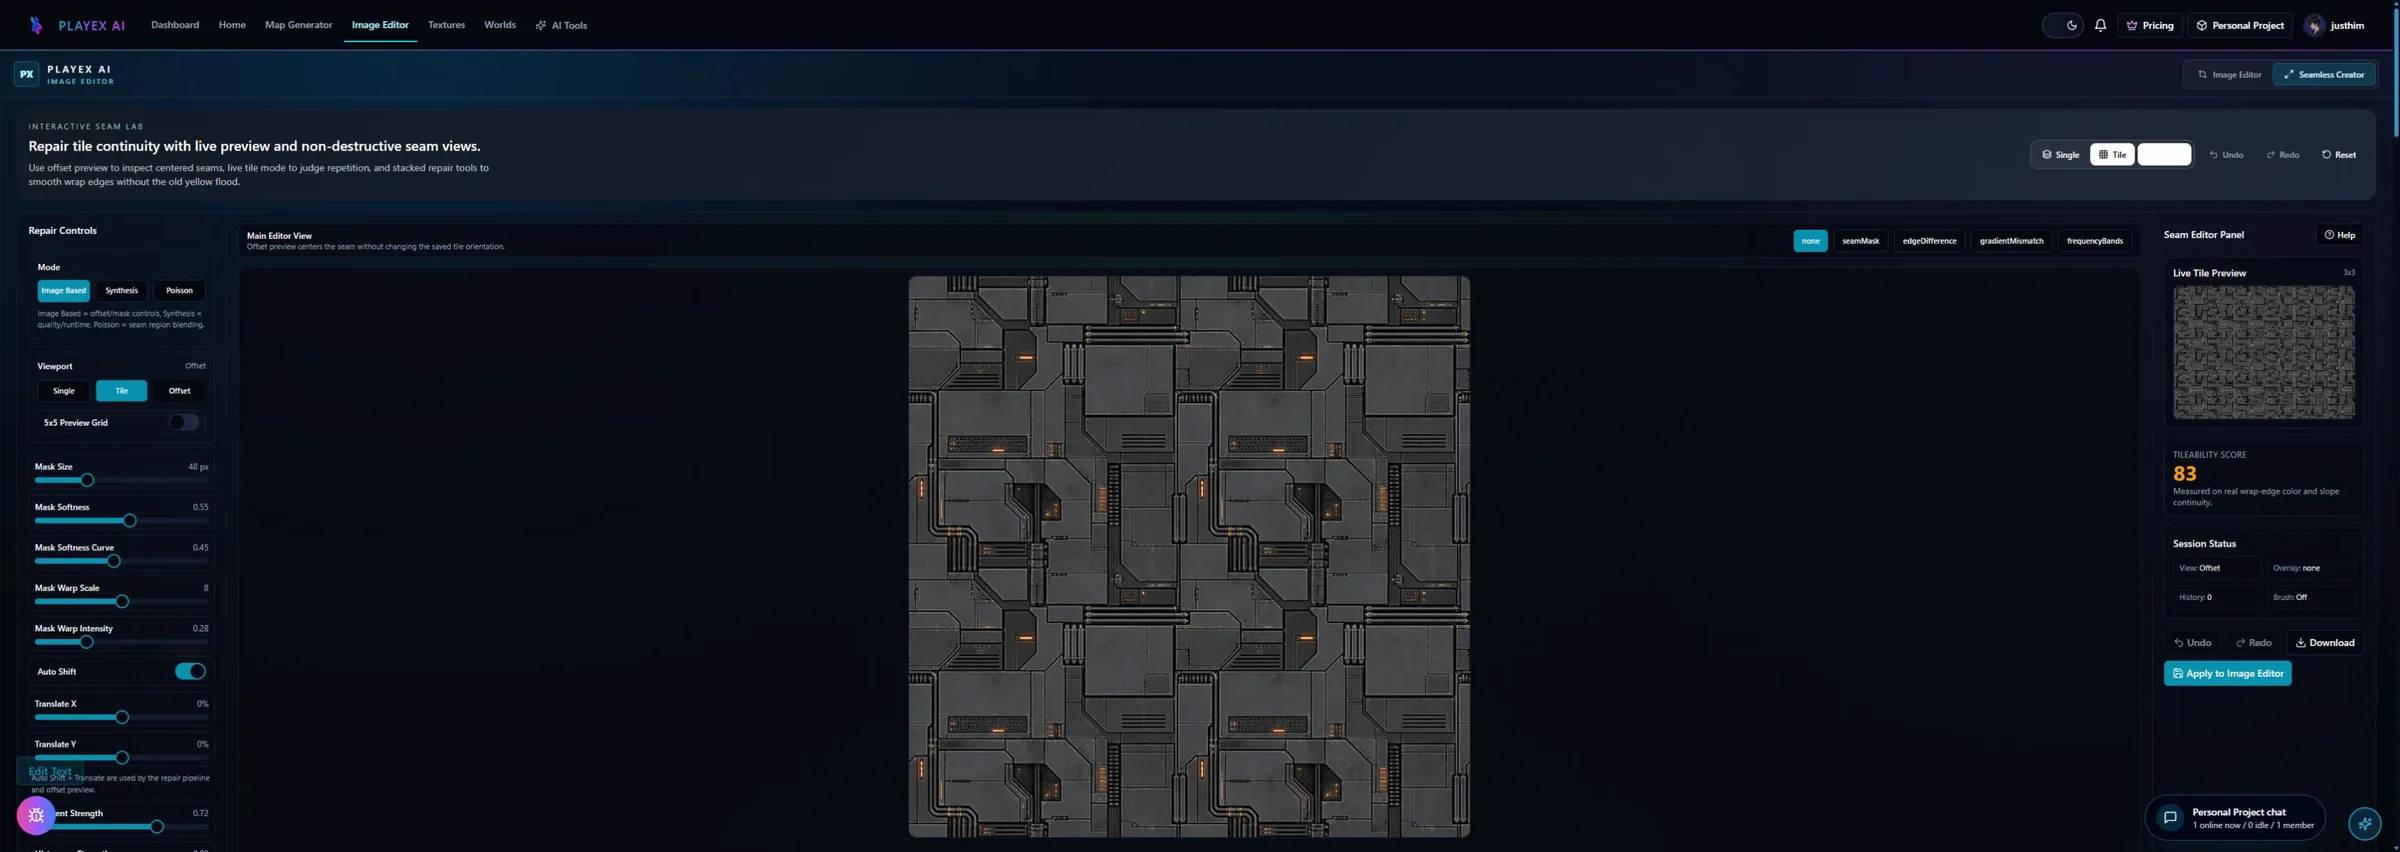
Move the original borders into the center to repair the true join, then inspect a 3x3 or 5x5 field for repeated knots, stains, cracks, or bright spots.
Both edge continuity and pattern rhythm pass review.
Download and map the PNG in Blender
Click Download texture once, load the PNG in an Image Texture node, and use a consistent UV map. Adjust scale through UVs or Mapping rather than repeatedly editing the source image.
The reference becomes a reusable, non-destructive Blender texture source.
How the corrected texture is used in Blender
The downloaded image remains the base surface. Blender controls projection, tiling scale, and final shading.
| PLAYTEX AI output | Blender destination | Verify in engine |
|---|---|---|
| Corrected texture PNG | Image Texture → Principled BSDF Base Color | Use color data and compare against the original reference. |
| Repeat behavior | Image Texture extension plus UV layout | Confirm the correct wrap and no visible join on the object. |
| Tile scale and direction | UV editor or Mapping node | Match real-world feature size and grain direction. |
One click downloads the corrected texture
After correction and tile review, click Download texture to save the selected PNG.
What remains after the click
This click does not create normal, roughness, metallic, AO, or height maps and does not add the texture to a .blend file.
Included in this handoff
- Reference-preserving corrected image
- Tileable PNG at the selected size
- Source ready for Blender or PBR generation
Photo-scanned surfaces
Convert wood, brick, stone, fabric, ground, painted metal, or plaster references into reusable Blender sources.
Look-matched assets
Retain the visual identity of a specific real surface instead of asking AI to replace it.
Material libraries
Create a clean base image first, then derive consistent PBR maps and store the approved result.
Pre-handoff QA
- Perspective is flattened before seam repair.
- Large baked highlights and shadows are reduced.
- Both the centered seam and the larger repeat are inspected.
- The Blender object uses intentional UVs and believable feature scale.
Image to Texture Generator and Blender FAQ
Why is the image seamless but still obviously tiled in Blender?
The outer edges may match while an internal landmark repeats in a grid. Return to the wider repeat view and reduce or redistribute unique knots, cracks, stains, or highlights.
Should I use Generated or UV coordinates for a photo texture?
UV coordinates give the most deliberate control for production assets. Generated coordinates can be useful for quick tests, but the correct choice depends on the mesh and projection needs.
Can Image to Texture make the Blender normal map too?
The conversion tool downloads the corrected base texture. Use the separate Blender PBR Map Generator workflow for normal and the other technical channels.
Can I wrap this square texture around the Blender World?
No. A square tile is for object surfaces. The World shader needs a full environment projection such as a 2:1 equirectangular panorama from HDRI Sphere Generator.
Image Texture handles object-surface images
Blender documents the node used to load and sample a texture image for a shader.
Mapping changes texture coordinates non-destructively
Location, rotation, and scale can be adjusted in the shader graph without baking those transforms into the downloaded PNG.
Principled BSDF separates color from technical inputs
A corrected color texture connects to Base Color; any later PBR data maps use their respective material inputs and data handling.