Blender World environment workflow
HDRI Sphere Generator for Blender Worlds
Create the environment around the scene, review the full wrap, then load it through Blender’s Environment Texture node.
Direct answer: Generate a 2:1 equirectangular environment in PLAYTEX AI, rotate through the 360-degree preview to inspect the seam, horizon, sun direction, and poles, then click Image or HDR to download the panorama. In Blender, add an Environment Texture to the World shader, connect it through Background to World Output, and rotate the environment with texture coordinates and Mapping when needed. Blender does not use the PLAYTEX AI engine-pack picker; the neutral panorama or HDR is the correct handoff.
Reviewed:
Generate a Blender environment
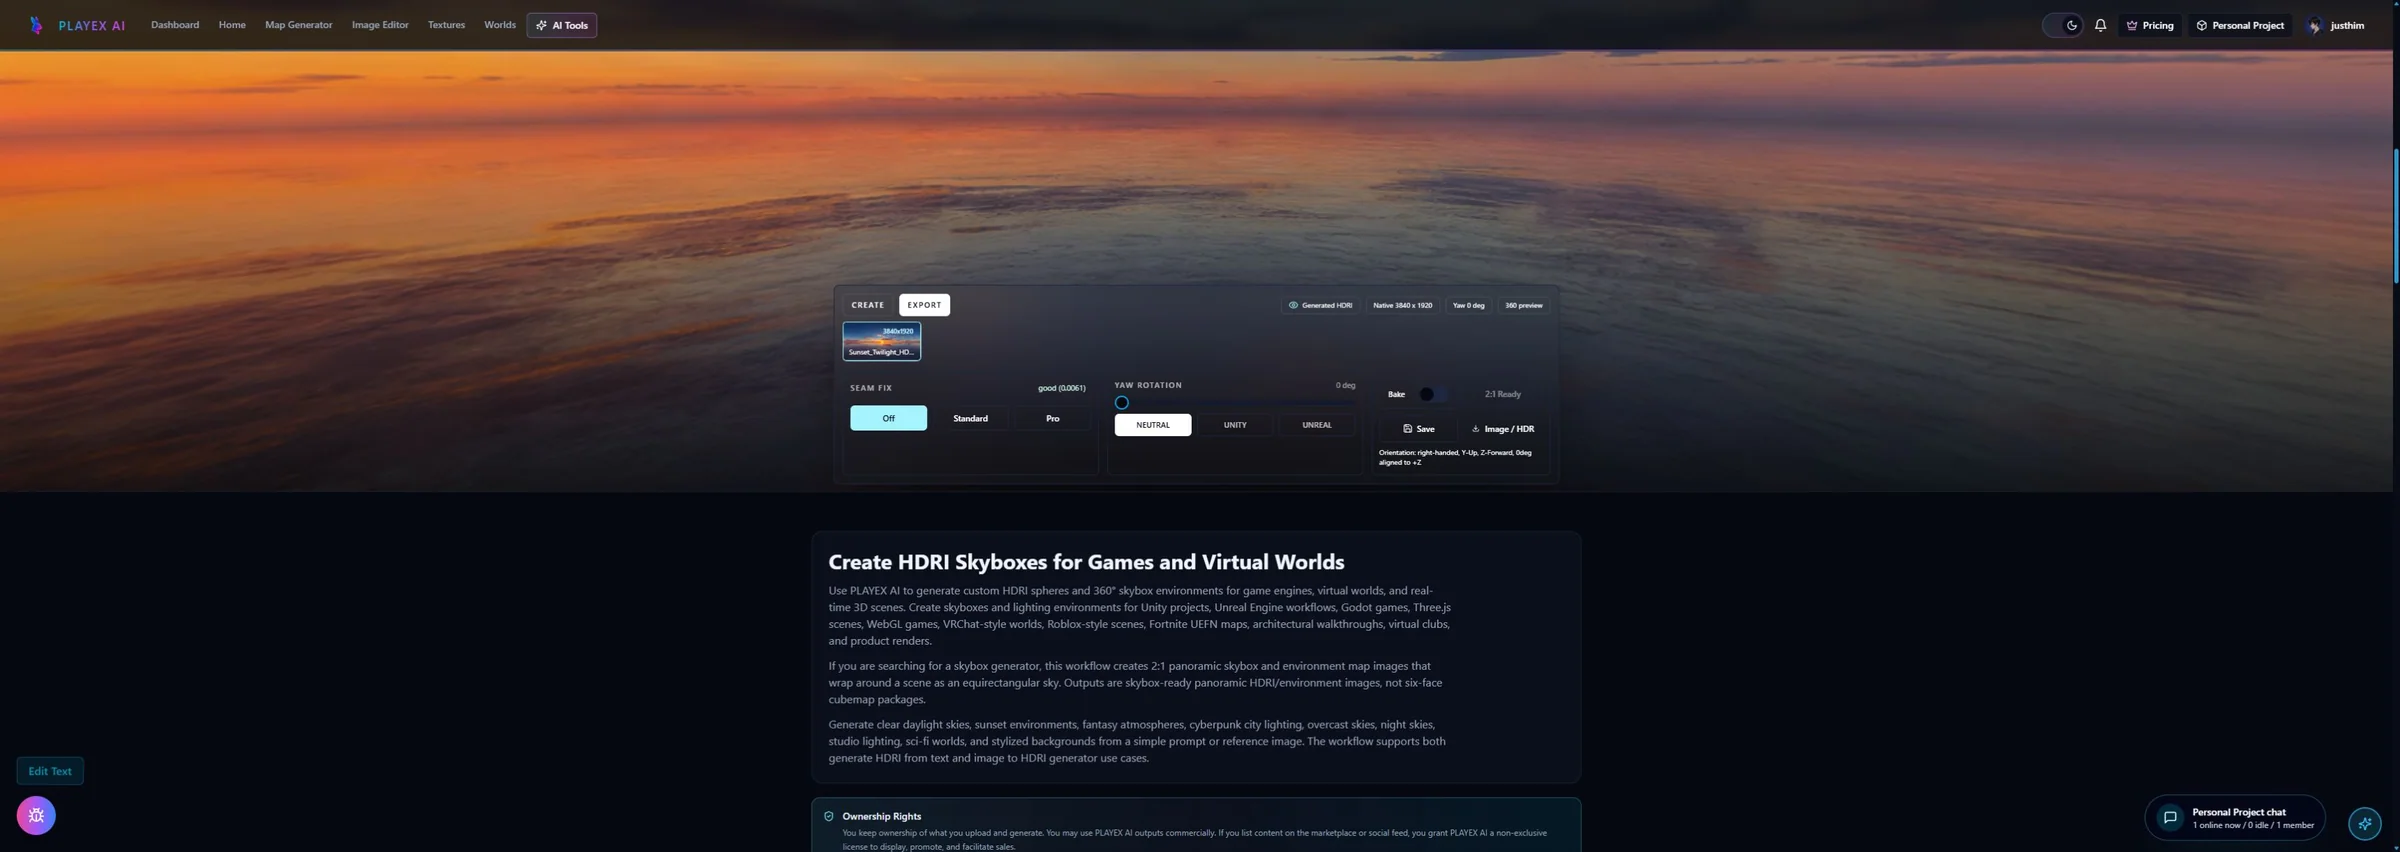
What this HDRI Sphere Generator page covers
Generated HDR values are AI-estimated from a generated panorama, not a calibrated multi-exposure light probe captured on location. Validate exposure, reflections, and color response in the actual Blender scene.
How to use HDRI Sphere Generator with Blender
Describe the complete environment
Specify location, time, atmosphere, horizon character, main light direction, and unwanted objects. Ask for a full environment, not a framed landscape photograph.
The generation brief covers the entire sphere used by the Blender World.
Review from inside the 360-degree result
Rotate around the viewer and inspect the wrap seam, horizon continuity, zenith, nadir, sun placement, and bright outliers that could dominate reflections.
Projection failures are caught before the environment reaches Cycles or Eevee.
Download the panorama or HDR once
Use Image for a standard color panorama or HDR for the Radiance compatibility output. Preserve the 2:1 aspect ratio.
Blender receives the environment as one spherical image asset.
Build the Blender World connection
Load the file with Environment Texture, connect Color to Background Color, then Background to World Output. Use Texture Coordinate and Mapping to rotate yaw without editing the original file.
The environment can provide visible background, reflections, and lighting direction.
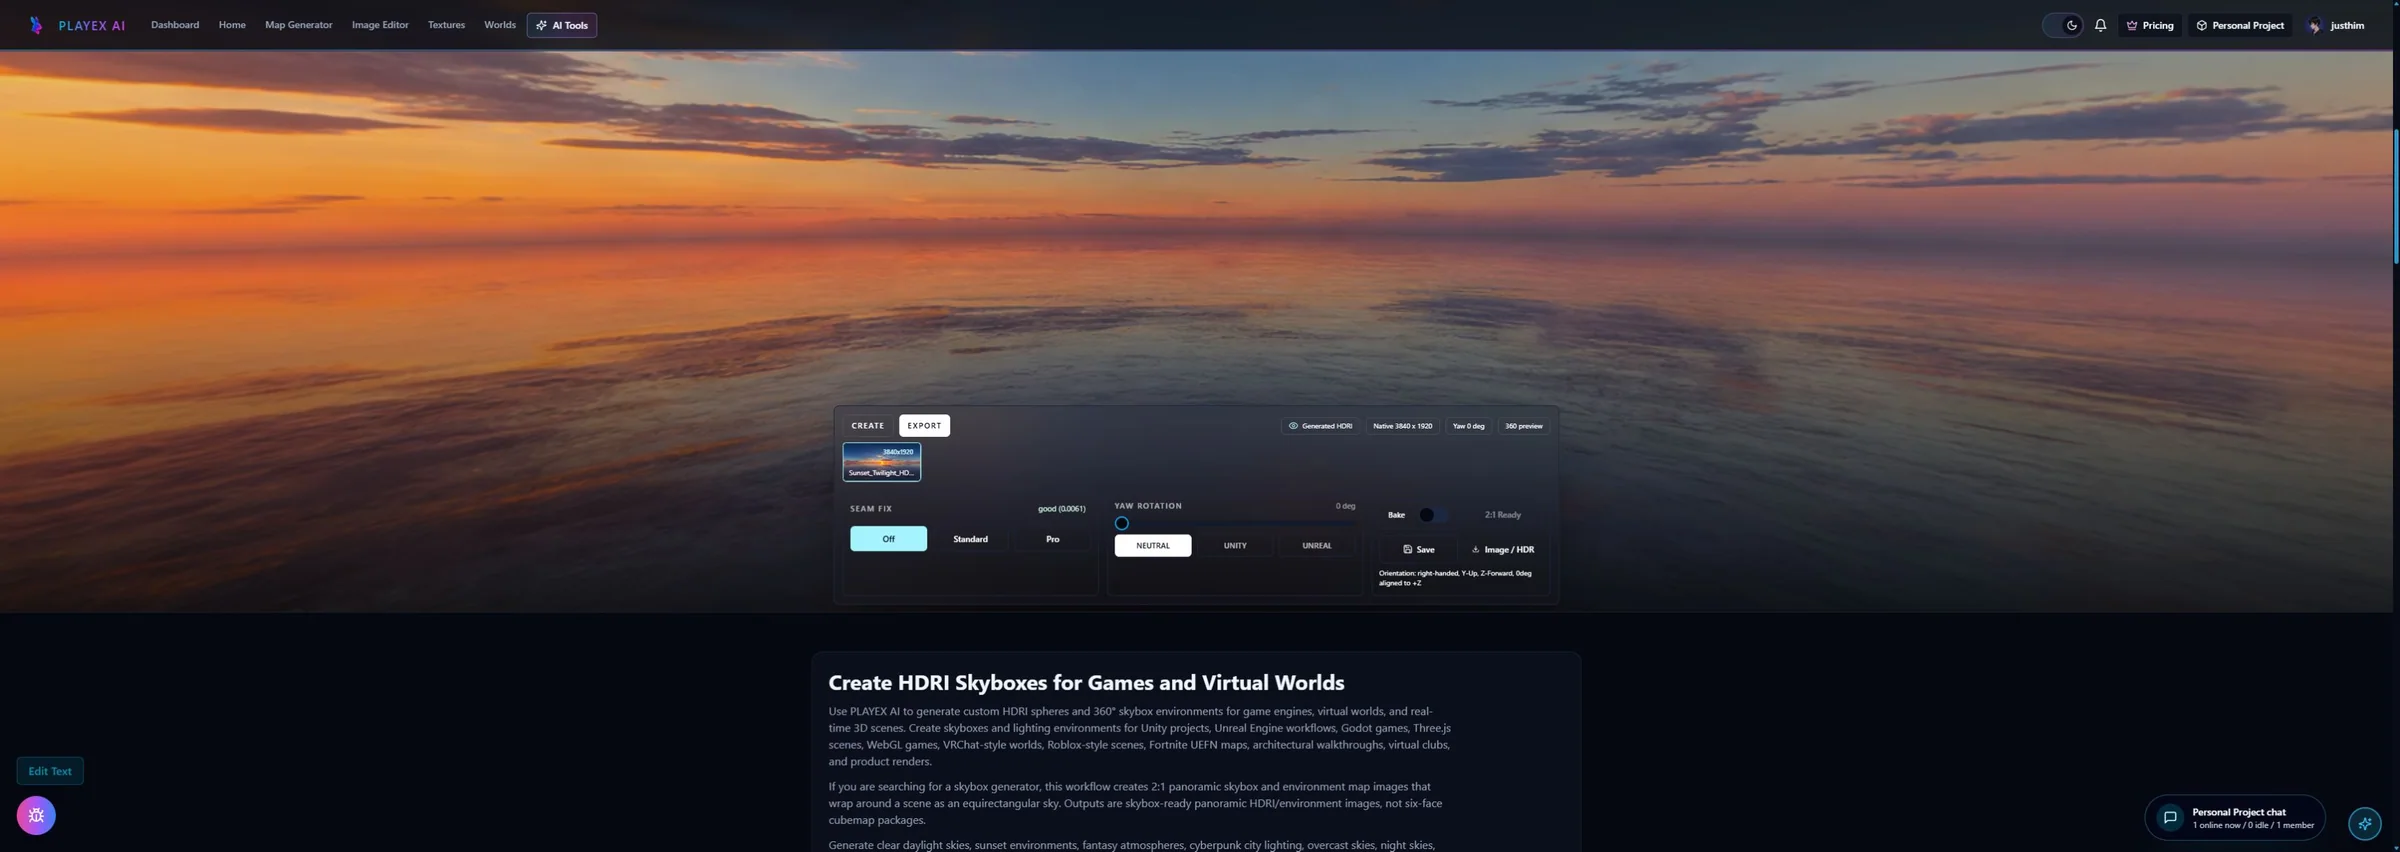
Blender World hookup and validation
The environment is not connected to Principled BSDF on an object. It belongs in the World shader graph.
| PLAYTEX AI output | Blender destination | Verify in engine |
|---|---|---|
| 2:1 image or HDR | World: Environment Texture → Background → World Output | Projection is Equirectangular and the horizon is level. |
| Environment rotation | Texture Coordinate Generated → Mapping → Environment Texture Vector | Rotate yaw to place the main light; avoid accidental tilt. |
| Lighting intensity | Background Strength and render color management | Check exposure on neutral objects and reflective probes. |
One click returns the reviewed environment file
Click Image or HDR in the export controls after the panorama passes the 360-degree review.
What remains after the click
PLAYTEX AI does not create a .blend file or calibrated real-world illumination. Blender import, World nodes, strength, rotation, and render validation remain in Blender.
Included in this handoff
- 2:1 equirectangular panorama
- Standard image or Radiance HDR compatibility output
- Environment ready for Blender World setup
Product visualization
Build a controlled background and reflection environment around a staged object.
Concept environments
Create a bespoke world mood when a captured HDRI does not match the art direction.
Fast look development
Rotate through lighting directions while testing materials and composition.
Pre-handoff QA
- The source is exactly a 2:1 panorama, not a square material tile.
- The seam, horizon, zenith, and nadir pass the 360-degree review.
- Environment rotation is handled in the World graph without tilting the horizon.
- Exposure and reflections are validated on neutral matte and glossy objects.
HDRI Sphere Generator and Blender FAQ
Why is my HDRI stretched in Blender?
Confirm the file is a complete 2:1 equirectangular panorama and the Environment Texture projection is Equirectangular. A square texture or ordinary camera image does not contain full spherical coverage.
How do I rotate an HDRI in Blender?
Drive the Environment Texture Vector through a Mapping node and rotate around the vertical axis to change yaw. Keep the horizon level unless an intentional tilt is required.
Can I hide the HDRI background but keep its lighting?
Yes, Blender node setups can separate what the camera sees from environment contribution, often with Light Path logic. The exact setup depends on the renderer and scene requirements.
Should I use Image or HDR download for Blender?
Use HDR when the workflow benefits from the Radiance HDR compatibility file, and use Image for a standard panorama or background. Because the values are generated rather than calibrated captures, compare both under the target color-management and exposure settings.
Does Blender need six cubemap faces?
Not for the normal World environment workflow. Blender’s Environment Texture can use the 2:1 equirectangular panorama directly, so a six-face engine pack is unnecessary.
Environment Texture supports equirectangular projection
Blender documents Environment Texture for image-based environment lighting and background projection.
Mapping controls environment orientation
The Mapping node transforms texture coordinates, providing a non-destructive way to rotate the panorama.