When to Use Which Texture Maps in Game Development
Demystify PBR texture maps. Learn the distinct purpose of Albedo, Normal, Roughness, Metallic, AO, and Height maps to create visually stunning and performant game assets.
PBR texture maps like Albedo, Normal, Roughness, Metallic, AO, and Height each serve a distinct purpose in defining how light interacts with a material.
A structured texture pipeline, from source acquisition to engine export, is crucial for producing high-quality, consistent game assets.
AI texture generation tools significantly speed up the creation of PBR maps from text prompts or reference images, enhancing efficiency.
Always validate your PBR materials in a 3D preview environment to catch visual issues like tiling, normal errors, or incorrect roughness before export.
Tools like PLAYTEX AI provide comprehensive workflows for generating, previewing, and managing production-ready PBR texture maps for game development.
Who Informed This
none
How It Was Evaluated
none
Proof And Evidence
none
Limits And Caveats
none
Creating compelling 3D environments and assets in games relies heavily on textures. But in the world of Physically Based Rendering (PBR), it's not just about a single image; it's about a stack of specialized maps, each telling the renderer something specific about how light should interact with your material. Understanding when and why to use each texture map is the bedrock of visually consistent, high-fidelity game visuals.
This guide will demystify the essential PBR texture maps, explain their individual roles, and outline how they fit into a modern game development workflow. We'll cover everything from the foundational color to the subtle details that make a surface feel real, helping you make informed decisions for your next project.
The Essential PBR Texture Maps and Their Uses
At its core, PBR aims to simulate how light behaves in the real world. This means materials need to communicate a lot of information beyond just their color. Each PBR texture map carries a specific data channel, influencing properties like surface reflectivity, bumpiness, and ambient light interaction.
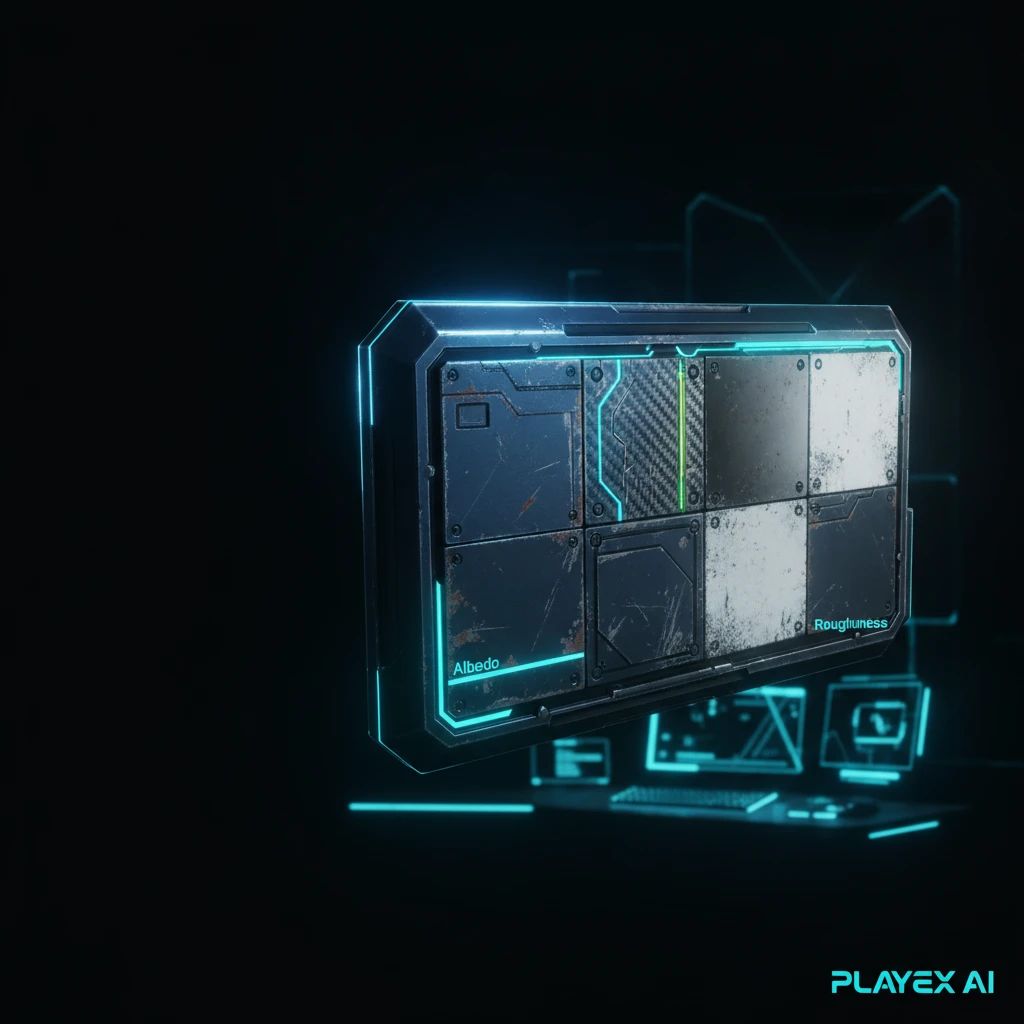
PBR texture maps work in concert to define how light interacts with a surface, from its base color to its reflective properties.
Albedo (Base Color) Map
The Albedo map, often called the Base Color map, defines the intrinsic color of your material without any lighting information. Think of it as the raw paint on a surface, before any shadows or highlights are applied. It's crucial for establishing the fundamental visual identity of your asset.
When to use: Always. This is your primary color channel.
Key characteristics: Flat, desaturated colors are often preferred for metallic surfaces to let the Metallic map handle color. Avoid baking in shadows or highlights.
Normal Map
Normal maps are perhaps the most common trick in a 3D artist's book for adding detail without adding polygons. These maps store directional information (normals) that tell the renderer how light should bounce off a surface, creating the illusion of intricate bumps and grooves without increasing mesh complexity. It's like whispering secrets to the light, making it believe a flat surface is actually quite lumpy.
When to use: For adding fine surface detail like scratches, fabric weaves, or stone imperfections without impacting performance.
Key characteristics: Appears as a purple/blue image. Generated from high-poly models or sculpted details.
Roughness Map
The Roughness map controls how light scatters off a surface. A perfectly smooth surface (low roughness) will reflect light sharply, like polished metal or wet plastic. A rough surface (high roughness) will scatter light in many directions, creating a diffused, matte appearance, like concrete or unpolished wood. This map is key to defining a material's shininess or dullness.
When to use: For virtually all materials to define their level of specularity and reflectivity.
Key characteristics: Grayscale image, where black (0) is perfectly smooth and white (1) is completely rough.
Metallic Map
The Metallic map distinguishes between metallic and non-metallic (dielectric) surfaces. Metallic surfaces reflect light differently and typically have their color defined primarily by the Albedo map's desaturated tones, with the Metallic map dictating their 'metalness.' Non-metallic surfaces have a more uniform reflective property across their surface.
When to use: For any material that needs to be metal (e.g., steel, gold, copper) or non-metal (e.g., wood, plastic, cloth).
Key characteristics: Grayscale image, where white (1) indicates a metallic surface and black (0) indicates a non-metallic surface.
Ambient Occlusion (AO) Map
Ambient Occlusion maps simulate soft, diffuse shadows caused by local obstructions of ambient light. Essentially, they darken crevices, corners, and areas where light struggles to reach, enhancing depth and realism. It's like giving your model a subtle, built-in tan where shadows naturally linger.
When to use: To add realistic depth and contact shadows, making surfaces feel more grounded and less 'floating.'
Key characteristics: Grayscale image, where darker areas represent occluded regions. Often baked from the model's geometry.
Height (Displacement) Map
Height maps, sometimes called Displacement maps, store information about the vertical displacement of a surface. Unlike Normal maps which only *simulate* depth, Height maps can actually *displace* the geometry of a mesh at render time, creating true 3D detail. This is often used for highly detailed surfaces like rocky terrain or intricate carvings.
When to use: For significant geometric displacement, such as complex terrain, brick walls with real depth, or highly detailed sculptural elements. Requires tessellation or displacement shaders.
Key characteristics: Grayscale image, where white represents peaks and black represents valleys.
Integrating Texture Maps into a Production Workflow
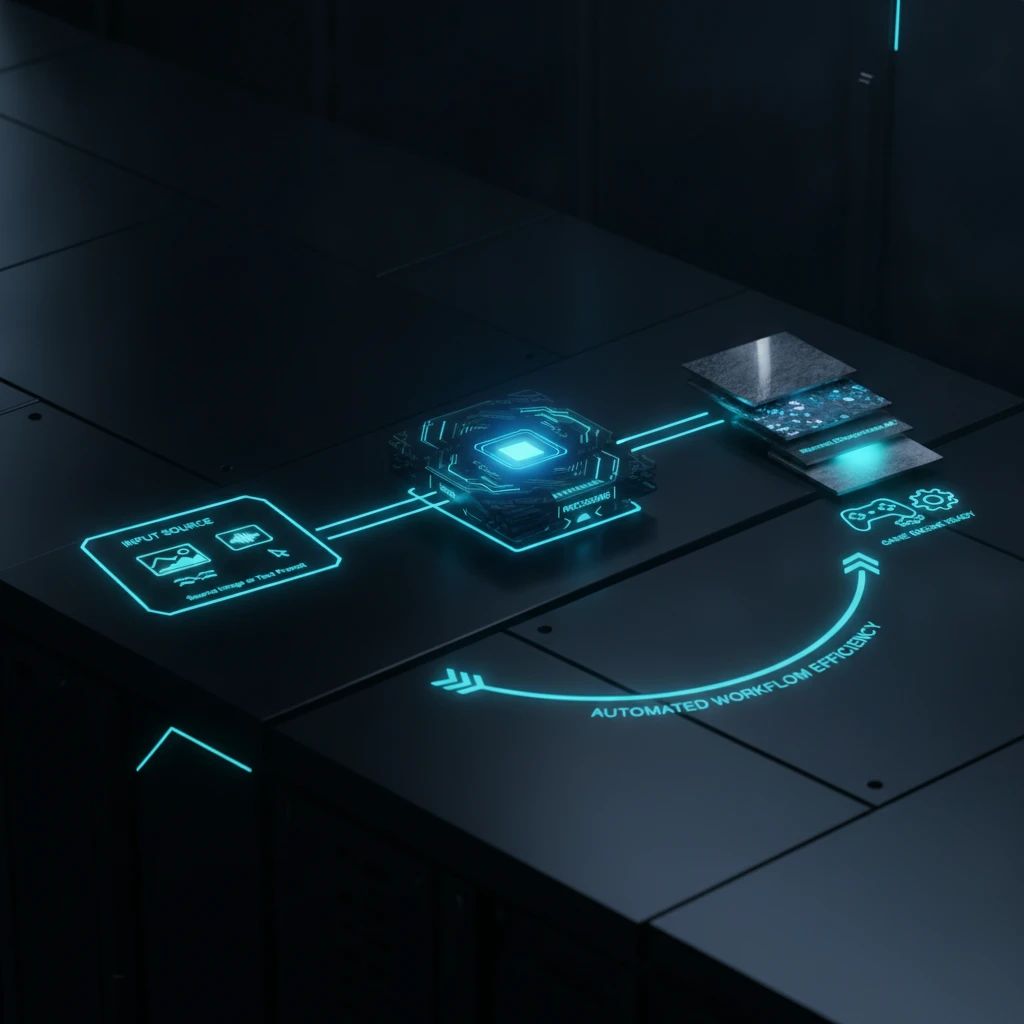
A robust texture workflow isn't just about knowing what each map does; it's about a structured sequence of decisions and actions, from your initial source to the final engine-ready asset. As outlined by PLAYTEX AI's texture pipeline guide, this process involves source acquisition, cleaning, map generation, channel review, and precise asset packaging.
Modern texture pipelines integrate various steps, from raw source to optimized PBR map stacks, often accelerated by AI.
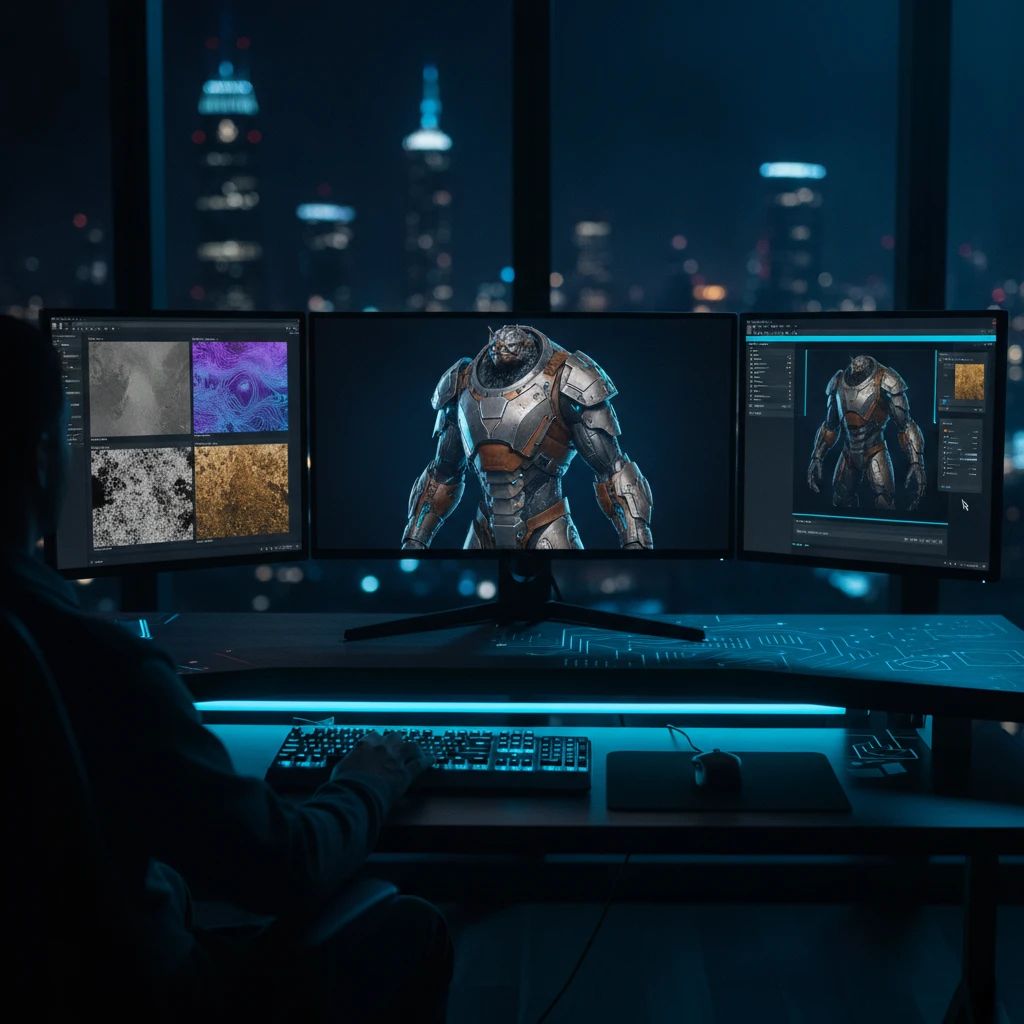
Many artists start with a base texture, either created from scratch, sourced from a library, or generated using tools. From this base, the various PBR maps are extracted or generated. For instance, a detailed sculpt might be baked down to a normal map, or a photographic reference might be processed to derive roughness and metallic values.
Tools like Adobe Substance 3D Painter are well-known for their detailed texture painting capabilities, allowing artists to paint directly onto models using parametric brushes and smart materials. This non-destructive workflow provides immense flexibility, letting creators iterate and refine textures with ease.
Leveraging AI for Efficient Texture Map Generation
The rise of AI has dramatically accelerated the initial stages of texture map creation. Instead of laboriously crafting every detail, artists can now leverage AI tools to generate high-quality PBR maps from simple prompts or reference images, significantly reducing iteration time and freeing up creative energy for refinement.
For example, the Meshy AI Texture Generator can effortlessly create 3D textures from text descriptions or uploaded images, offering PBR map generation at resolutions up to 8K. Similarly, platforms like Scenario AI go a step further, allowing users to train custom models on their art bible or style references. This ensures that AI-generated assets, including textures, maintain a consistent artistic style across an entire project, which is invaluable for maintaining visual cohesion.
Best Practices for Working with Texture Maps
Even with powerful tools at your disposal, a few key practices will ensure your texture maps perform optimally and look their best:
Consistency is Key: Ensure all your PBR maps for a single material are at the same resolution and cover the same UV space. Mismatched maps can lead to visual glitches.
Channel Packing: Optimize your game's memory usage by packing multiple grayscale maps (like Roughness, Metallic, and Ambient Occlusion) into different color channels (R, G, B) of a single texture file. This reduces the total number of textures the engine needs to load.
Validate in 3D: Always preview your materials in a 3D viewer or directly in your target game engine. What looks good in a 2D editor might behave unexpectedly under different lighting conditions. This is where a dedicated 3D material preview becomes invaluable, allowing you to catch tiling, normal response, roughness, and lighting issues before export.
Non-Destructive Workflows: Whenever possible, use tools that support non-destructive editing. This allows you to make changes and iterate without permanently altering your original source files, saving countless hours.
Understand Your Engine: Different game engines (Unity, Unreal Engine, Godot, etc.) might have slightly different conventions for how they interpret PBR maps. Familiarize yourself with your engine's specific requirements for map types and channel packing.
Quality Checks, Common Mistakes, and Troubleshooting
Even seasoned artists encounter issues. Here's how to spot and fix common texture map problems:
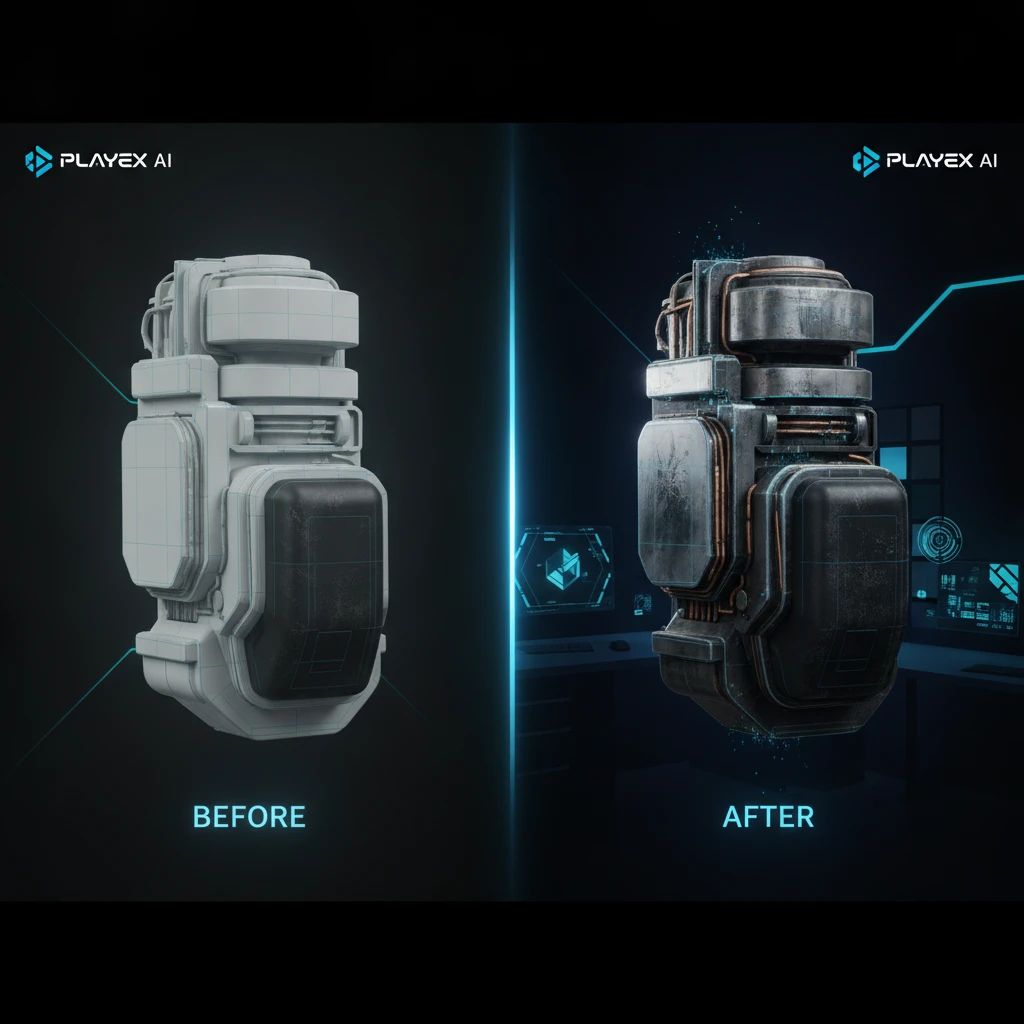
The right combination of PBR texture maps transforms a basic model into a visually compelling asset.
Tiling Artifacts: If your texture repeats noticeably, your seamless tiling might be off. Check your source image and ensure proper tiling in your texture generation tool.
Incorrect Normal Map Orientation: If your normal map looks inverted or strange, it might be using the wrong tangent space (e.g., OpenGL vs. DirectX). Most tools have options to flip channels (often Green or Y) to correct this.
Explore Related PLAYTEX AI Tools
These tools connect directly to the workflow covered in this article.
Texture Pipeline for Game Development - Provides a broader context for the entire texture creation workflow, complementing the specific focus on map types.
3D Material Preview - Directly relates to the importance of previewing PBR materials, a key aspect of successful texture map usage.