Converting an Image to a Game-Ready Texture: A Practical Guide
Learn how to transform any source image into a high-quality, game-ready PBR texture. This guide covers the essential steps, from defining 'game-ready' to advanced quality checks and efficient workflows for modern game development.
game texturespbr workflowimage to textureai texture generation
Key Takeaways
Game-ready textures are optimized PBR materials with specific maps (Albedo, Normal, Roughness, Metalness, Height, AO) for real-time rendering.
Converting images to PBR textures significantly boosts efficiency and realism in game development, especially for real-world references.
A structured workflow involves image preparation, PBR map generation, seamless tiling, refinement, 3D preview, and engine-ready export.
Quality checks for baked-in lighting, seams, map intensity, and material response are crucial for avoiding common texture issues.
PLAYTEX AI's Image to Texture Generator streamlines this process, offering deterministic PBR map generation and a 3D preview for validation before export.
Who Informed This
This article draws on extensive product knowledge of PLAYTEX AI's texture generation and PBR material workflows, combined with a comprehensive review of industry standards and competitor tools. The content reflects practical understanding of game development pipelines and artist needs.
How It Was Evaluated
The workflow described is based on standard 3D art production practices and validated against the documented capabilities of PLAYTEX AI and general industry expectations for PBR material creation from source images. Claims about PLAYTEX AI features are directly supported by internal documentation.
Proof And Evidence
PLAYTEX AI features like the Image to Texture Generator, PBR Map Generator, and 3D Material Preview are designed specifically for the workflow detailed, offering AI-powered conversion, deterministic processing, and visual validation before engine export, as described in linked internal sources.
Limits And Caveats
The article focuses on the technical workflow and benefits of image-to-texture conversion, primarily through a PBR lens. It does not delve into advanced material blending, complex shader graphs, or highly stylized art pipelines where manual painting or specialized procedural generation might be preferred.
Turning a raw image into a texture that performs flawlessly in a game engine isn't just about slapping it onto a model. It's a precise process that transforms a simple picture into a complex material, ready to interact with light and shadows in a realistic, performant way. For game developers and 3D artists, mastering this conversion means faster iteration, higher visual fidelity, and ultimately, a more immersive experience for players.
This guide will walk you through what defines a 'game-ready' texture, why this workflow is so crucial, and the practical steps involved in converting any image into a production-ready PBR material. We'll cover everything from initial image preparation to final engine export, ensuring you have a solid checklist for your next project.
What is a Game-Ready Texture?
At its core, a game-ready texture is a digital image or set of images optimized for real-time rendering in a game engine. Unlike a static photograph, it's designed to provide visual information to a rendering engine, dictating how light interacts with a 3D surface. The gold standard for modern games is Physically Based Rendering (PBR), which relies on a stack of texture maps to accurately simulate material properties.
A typical PBR material requires several key maps, each serving a distinct purpose:
Albedo (Base Color): The pure color of the surface, free from lighting information.
Normal Map: Simulates surface detail like bumps and grooves without adding extra geometry.
Roughness Map: Controls how diffuse or shiny a surface is, influencing specular reflections.
Metalness Map: Distinguishes between metallic and non-metallic surfaces.
Height/Displacement Map: Provides actual geometric displacement, often for subtle details.
Ambient Occlusion (AO) Map: Simulates soft shadows where objects are occluded, enhancing depth.
Beyond these maps, 'game-ready' also implies seamless tiling (so textures repeat without visible seams), appropriate resolution, and efficient file formats to maintain performance.
Why This Workflow Matters in Game Development
The ability to convert an ordinary image into a game-ready texture is a superpower for environment artists and asset creators. It’s not just about saving time; it's about unlocking creative potential and maintaining visual consistency across diverse assets.
Imagine you've captured a perfect photograph of weathered brick or a unique stone pattern. Manually recreating that PBR map stack from scratch would be a laborious, time-consuming task. Automating this process means you can rapidly prototype environments, integrate real-world details, and keep your art style consistent, even across a large team. It's the difference between painstakingly painting every pore and letting smart tools do the heavy lifting while you focus on artistic direction. This efficiency is critical for meeting production deadlines and iterating quickly on visual feedback.
The General Image-to-Texture Workflow in Practice
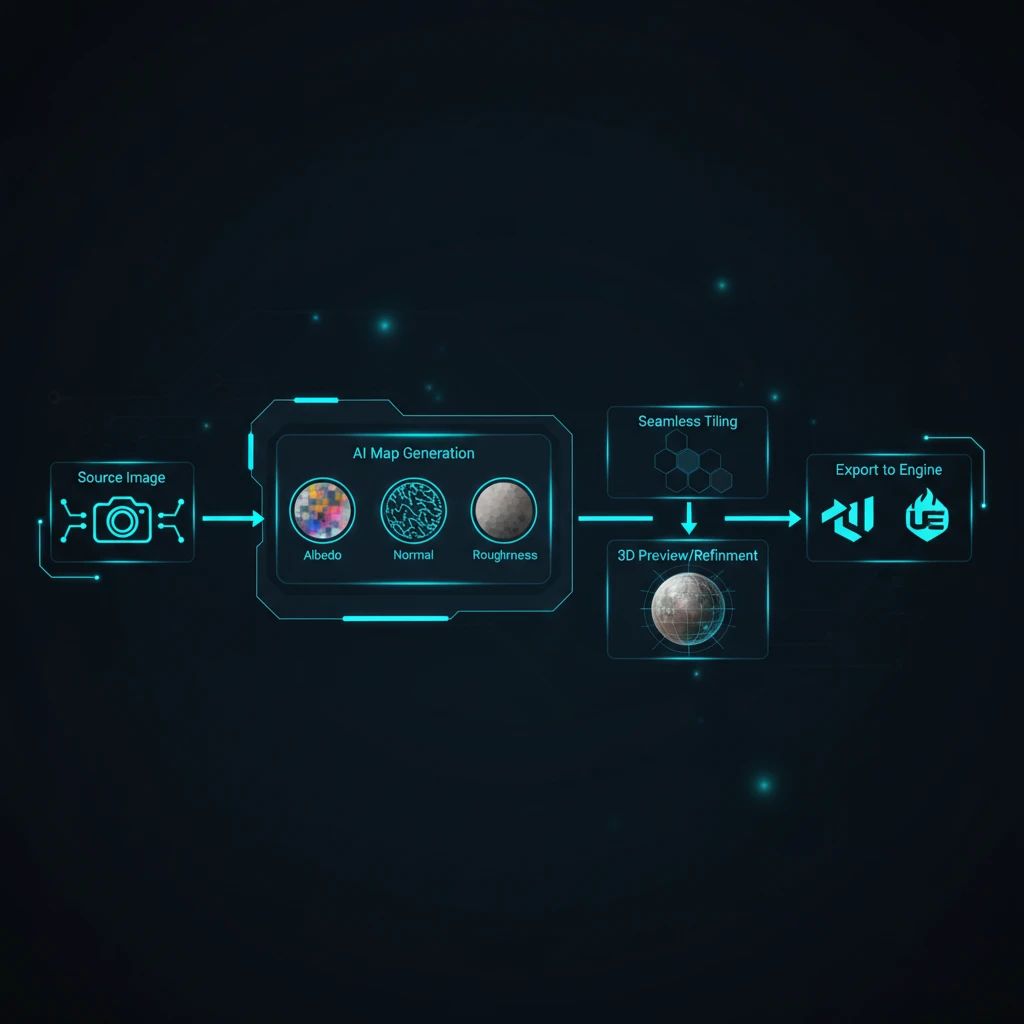
Converting an image to a full PBR texture set typically follows a structured sequence. While specific tools may vary, the core steps remain consistent to ensure a high-quality, engine-ready output.
The complete image-to-texture workflow involves several critical stages, from initial image preparation to final engine export.
Step 1: Preparing Your Source Image
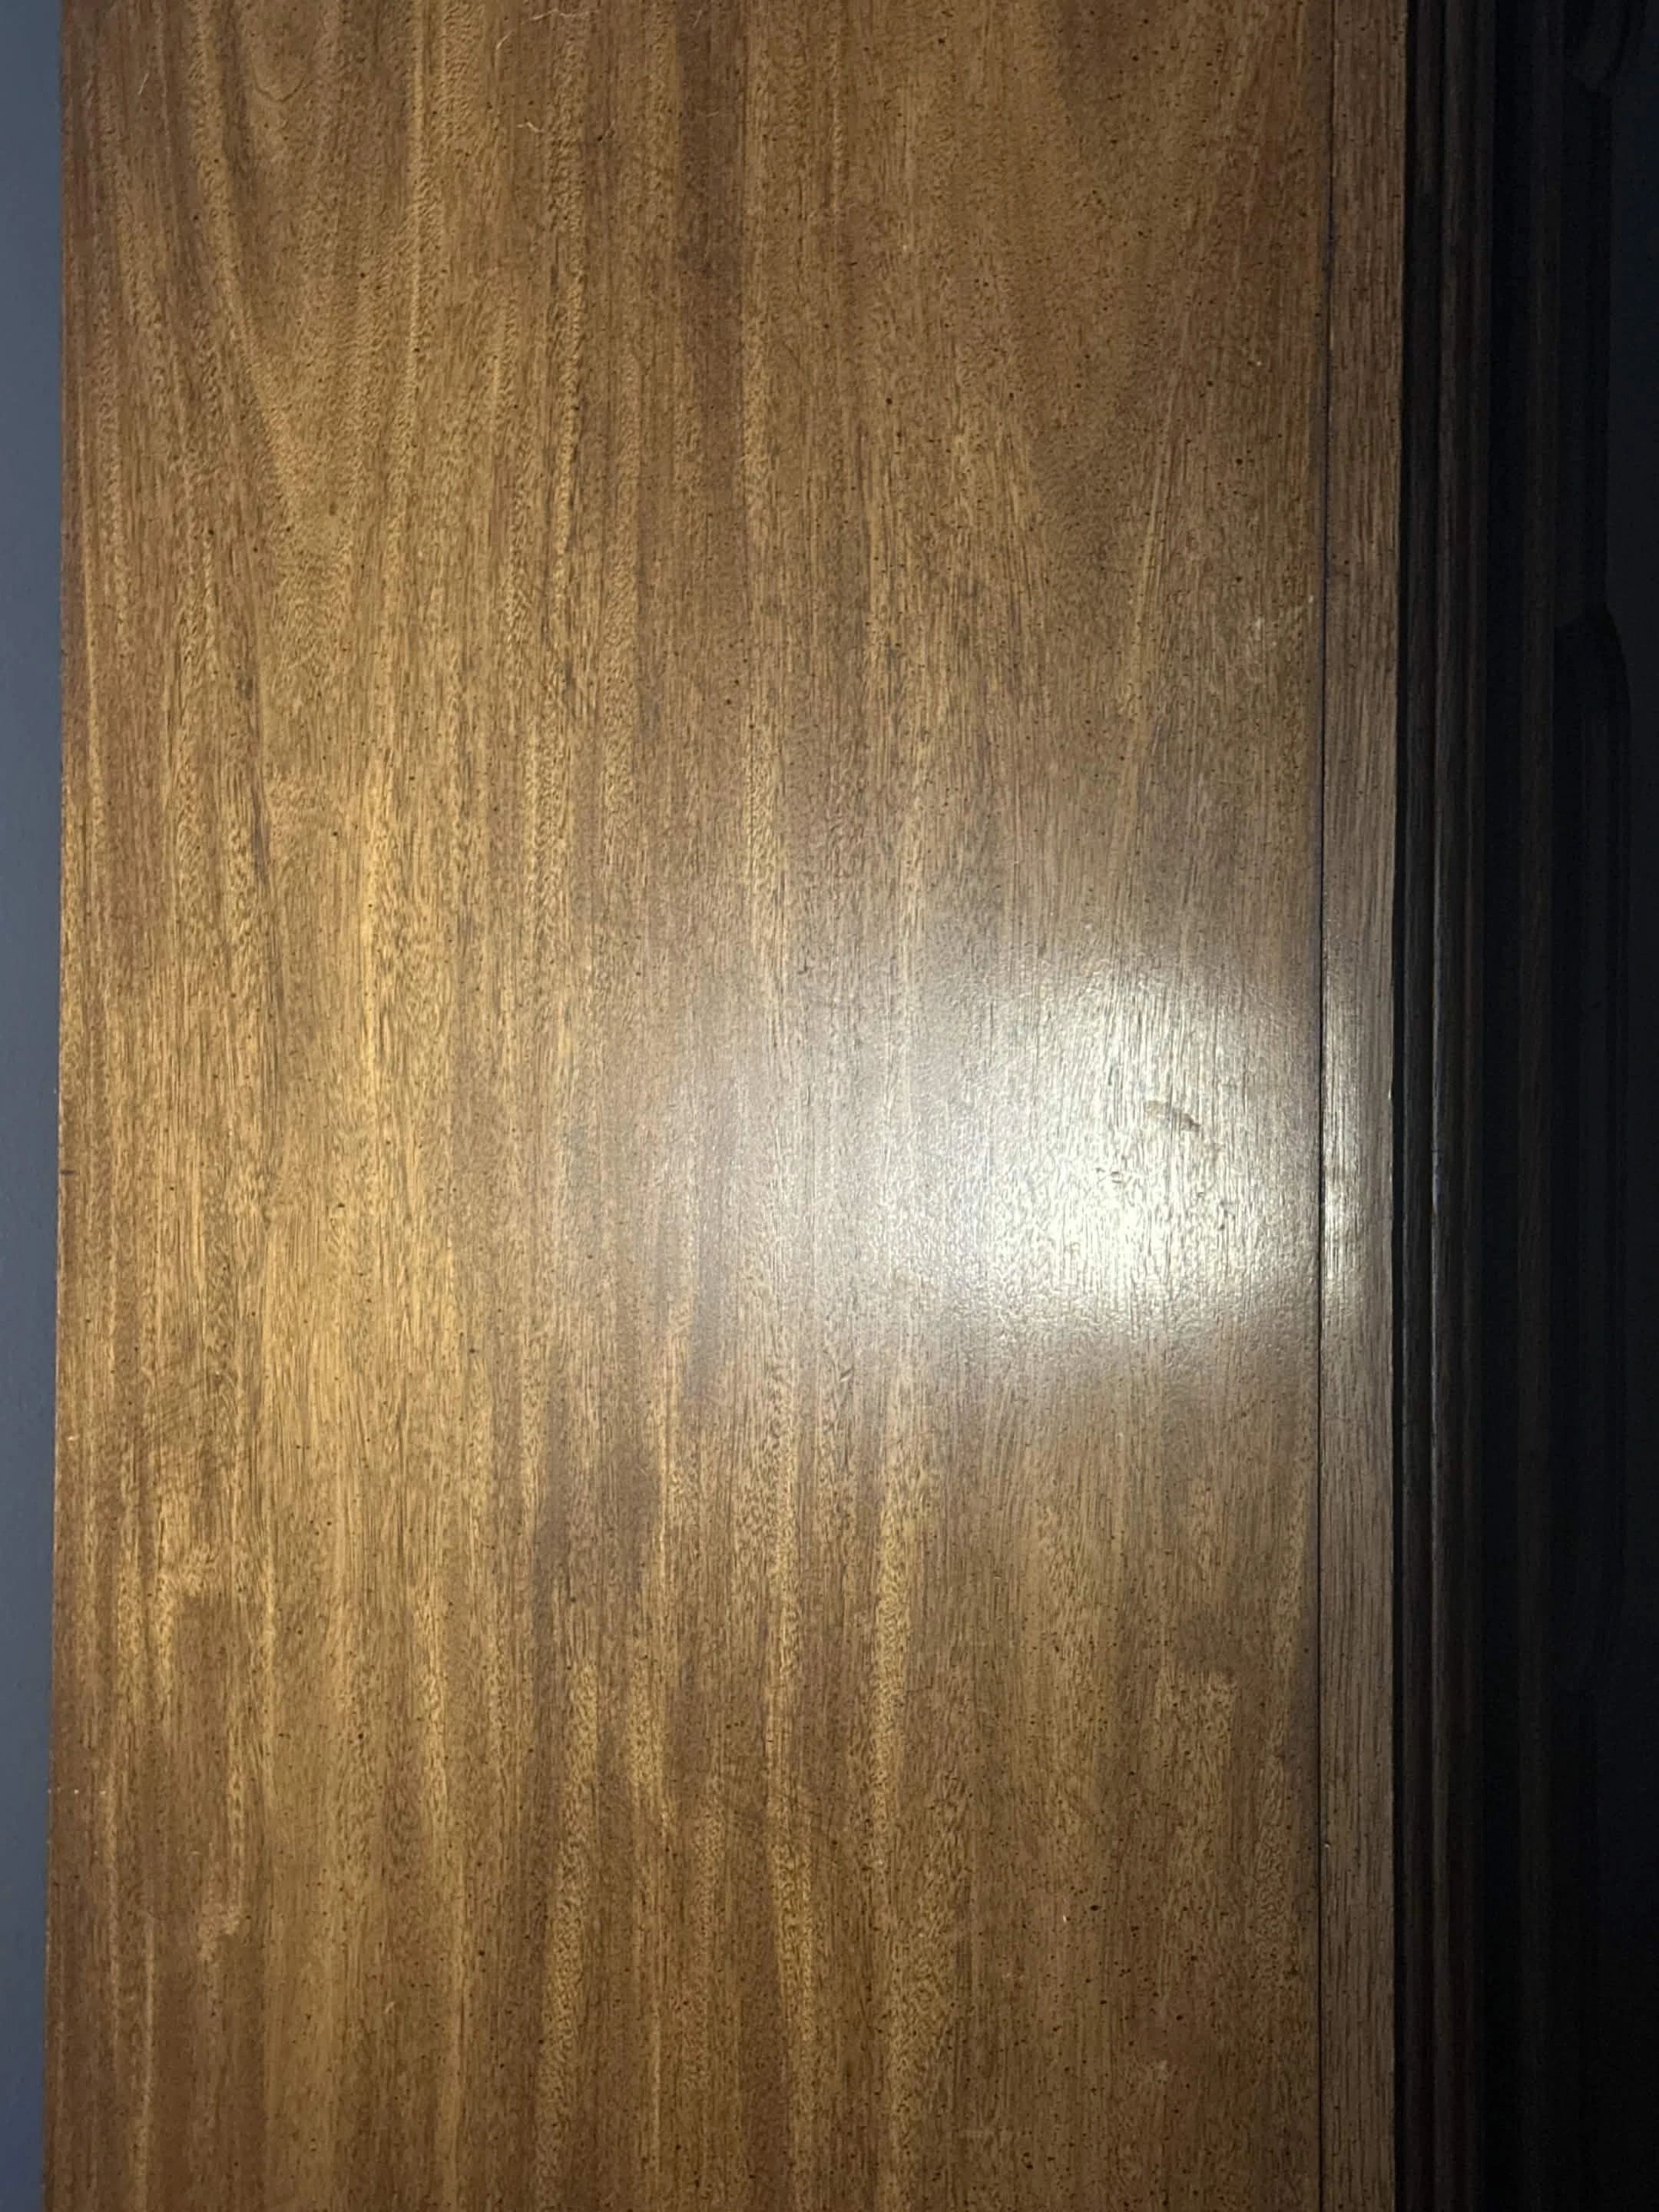
The journey begins with a high-quality source image. This could be a photograph, a scan, or even a hand-drawn reference. The cleaner the input, the better the output. Aim for:
Even Lighting: Avoid harsh shadows or blown-out highlights that can bake unwanted lighting information into your Albedo map.
Flat Perspective: Orthographic or near-orthographic shots work best to minimize distortion when projecting onto a flat surface.
High Resolution: More pixels mean more detail for the map generation process to interpret.
Color Accuracy: Ensure your image colors are true to life, as this forms the base of your Albedo.
Basic image editing, such as cropping, color correction, and removing distracting elements, can significantly improve the final texture quality. Think of it as giving your texture generator the best possible raw ingredients.
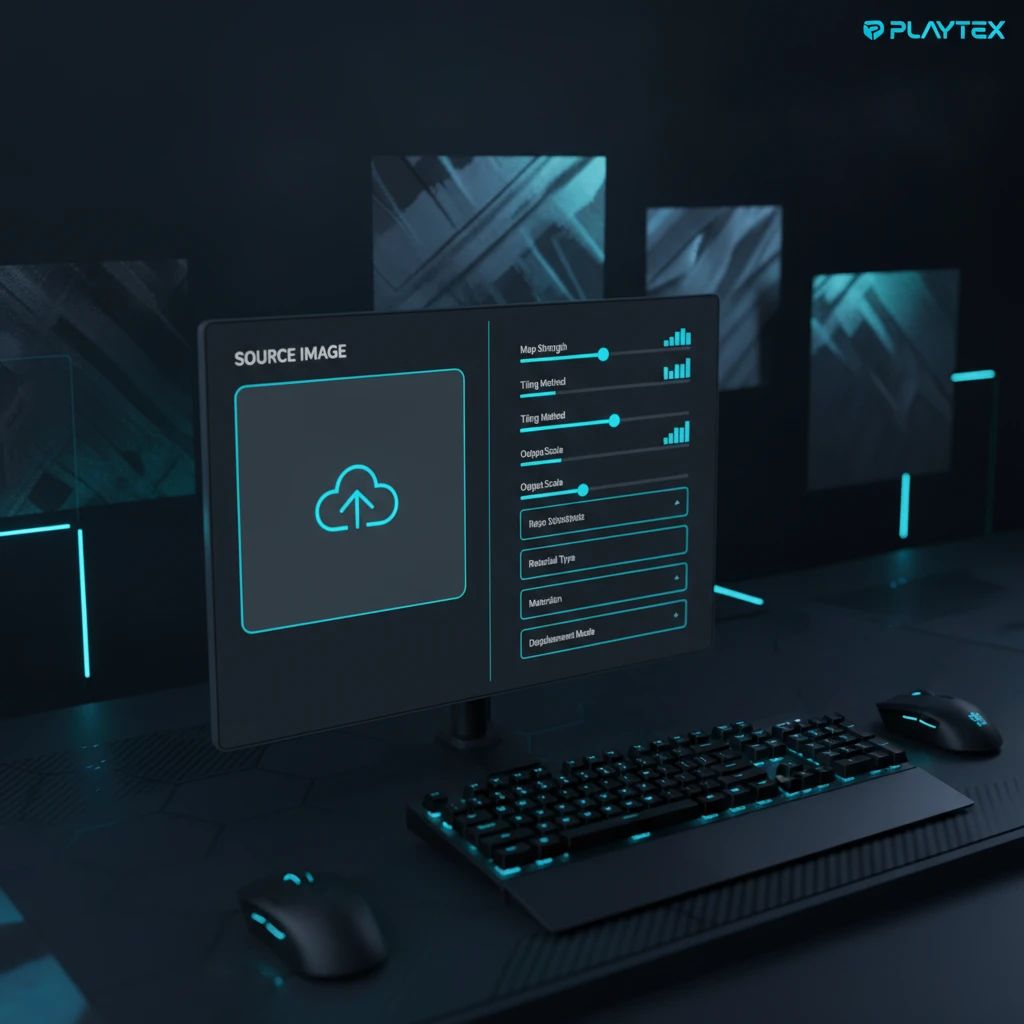
A typical image-to-texture interface allows users to upload a source image and configure generation parameters before creating PBR maps.
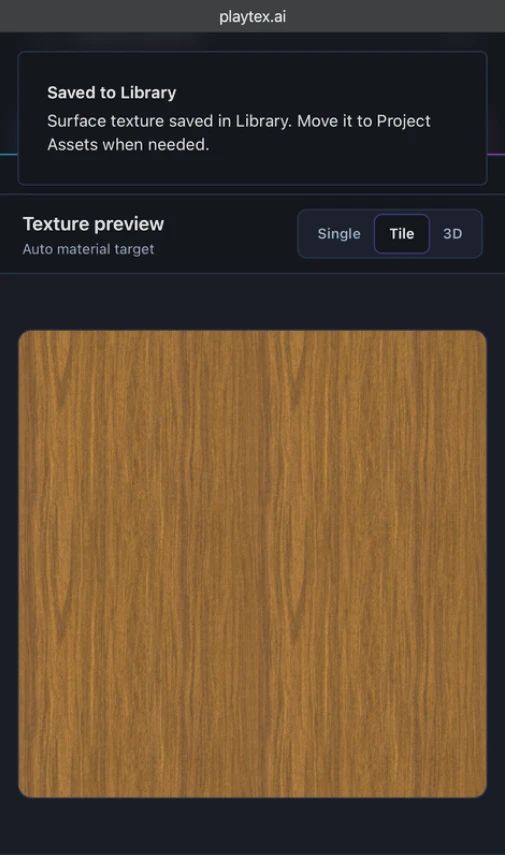
A 3D preview allows artists to inspect how generated PBR materials respond to lighting and ensure seamless tiling before export.
Step 2: Generating the PBR Map Stack
Once your source image is ready, the next step is to generate the various PBR maps. This is where specialized software truly shines. These tools analyze the luminance, contrast, and color information in your single input image to infer the necessary data for each PBR channel.
For instance, brighter areas might be interpreted as less rough (shinier), while high-frequency details become the basis for the Normal map. Different algorithms handle this translation, aiming to produce a cohesive set of maps that accurately represent the material properties of your original image.
Step 3: Ensuring Seamless Tiling
Most game textures need to tile seamlessly across large surfaces without obvious repetition. The map generation process often includes tools to automatically detect and blend edges, creating a repeatable pattern. This can involve clever image manipulation, sometimes using algorithms that identify similar pixels at opposing edges and smoothly transition between them. Achieving a perfect tile can feel like magic, but it's essential for avoiding distracting visual artifacts in your game environments.
Step 4: Refining and Iterating on Your Material
Automated generation is a fantastic starting point, but rarely the final word. Professional workflows always include a refinement stage. This involves adjusting individual map intensities, blending different layers, or even painting out small imperfections that the automated process might have missed. Many tools offer non-destructive workflows, allowing you to tweak parameters and see changes in real-time without committing to a final render. It's like having a digital darkroom for your textures, letting you fine-tune every aspect until it's just right.
Step 5: 3D Preview and Validation
A texture only truly comes to life when applied to a 3D model under dynamic lighting. This step is crucial for identifying any issues that aren't apparent in 2D views. You'll want to review your generated material in a 3D environment to inspect its behavior. Check for:
Tiling Artifacts: Do you see any obvious seams or repeating patterns?
Normal Map Intensity: Are the bumps and details too strong or too subtle?
Roughness/Metalness Response: Does the material react realistically to light, reflecting or diffusing as expected?
Lighting Interaction: How does it look under different lighting conditions (e.g., direct sun, ambient light)?
Catching these issues early saves significant time down the line. It's far easier to adjust a map now than to debug a texture once it's integrated into a complex game scene.
Step 6: Exporting Engine-Ready Assets
The final step is to export your validated PBR maps in a format compatible with your target game engine (e.g., Unity, Unreal Engine, Godot). This often involves packaging the individual maps into a single material asset or ensuring they adhere to specific channel packing conventions (e.g., combining Roughness, Metalness, and AO into a single RGB texture). Modern tools typically offer direct export options or customizable presets to simplify this handoff.
When to Use Image-to-Texture Conversion (and When Not To)
Image-to-texture conversion is a powerful technique, but it's not a one-size-fits-all solution. Knowing when to deploy it can save you time and produce superior results.
Use it when:
Working with Photogrammetry or Scans: If you have real-world data, this workflow is ideal for translating that raw visual information into PBR materials.
Creating Realistic Environments: For natural surfaces like rock, dirt, wood, or concrete, a photo-based approach often yields highly believable results quickly.
Rapid Prototyping: Need a placeholder texture fast? Image conversion can get you a functional PBR material in minutes.
Iterating on Reference Images: If you have strong concept art or real-world references, you can quickly generate PBR maps that capture the essence of your inspiration.
Avoid it when:
PLAYTEX AI: The AI Texture Generator creates texture concepts from text or image references, while the separate deterministic PBR Map Generator converts a source image into a coordinated material map stack for game and 3D workflows.
Stylized Art: For highly stylized, hand-painted, or non-realistic textures, a procedural or manual painting approach will give you more artistic control.
Complex Layered Materials: If your material has intricate layers, decals, or wear effects that aren't present in a single source image, you'll likely need a dedicated material authoring tool like Adobe Substance 3D Painter or Scenario AI to build them up.
Low-Detail Source Images: A blurry or low-resolution input won't magically become a high-detail PBR texture; garbage in, garbage out, as the saying goes.
Quality Checks, Common Mistakes, and Troubleshooting
Even with the best tools, issues can arise. Here’s how to catch them and common pitfalls to avoid:
Check for "Baked-in" Lighting: If your Albedo map looks like it has shadows or highlights that move with your model's lighting, your source image likely had uneven illumination. Recapture or use de-lighting tools.
Seam Visibility: Obvious lines where your texture repeats are immersion-breaking. Ensure your tiling algorithm is robust, or manually clone stamp and blend problem areas.
Flat Normal Maps: If your surface looks too smooth despite having a Normal map, check its intensity. Sometimes, the algorithm might not detect enough depth, or you might need to manually sculpt details.
Incorrect Material Response: If your metal looks like plastic or your rough surface shines like glass, your Roughness and Metalness maps might be inverted or incorrectly generated. Review their grayscale values (e.g., black is smooth/metallic, white is rough/non-metallic).
Resolution Mismatches: Exporting a 4K texture for a tiny background prop is inefficient, while a 512x512 texture for a hero asset will look pixelated. Match texture resolution to asset importance and screen space.
Remember, the goal is not just to generate maps, but to generate *accurate* and *performant* maps. A critical eye and a willingness to iterate are your best assets.
Choosing the Right Tools and Workflow (and a Checklist)
The market for image-to-texture conversion tools is growing, with options ranging from standalone generators to comprehensive material authoring suites. When choosing a tool, consider:
PBR Map Support: Does it generate all the maps you need (Albedo, Normal, Roughness, Metalness, Height, AO)?
Seamless Tiling: How effective is its auto-tiling, and can you manually refine it?
Iteration & Control: Does it offer parameters for tweaking map intensities and properties?
3D Preview: Can you visualize the material on a 3D model before export?
Engine Compatibility: Does it export in formats easily consumable by your game engine?
Speed & Automation: How quickly can it convert an image, and how much manual work is still required?
Here’s a quick checklist for your image-to-texture workflow:
Prepare source image (clean, even lighting, high-res).
Generate initial PBR map stack.
Ensure seamless tiling.
Refine individual maps and material properties.
Validate material in a 3D preview.
Export engine-ready textures.
Streamlining Your Workflow with PLAYTEX AI
For game developers seeking a robust and efficient solution for converting images to production-ready textures, PLAYTEX AI offers an advanced suite of tools designed to accelerate your pipeline. Our Image to Texture Generator is specifically built to transform photos, scans, and other references into seamless, game-ready PBR materials with minimal effort.
PLAYTEX AI leverages powerful processing to generate a full PBR map stack—including Albedo, Normal, Roughness, Metalness, Height, and Ambient Occlusion—from just a single input image. This process is designed for deterministic results, meaning you get consistent and repeatable texture generation every time, which is invaluable for team collaboration and maintaining quality across large projects. You can explore the technical details of our map generation on our PBR Map Generator Technical Overview page.
Crucially, PLAYTEX AI integrates a comprehensive 3D preview environment. This allows you to inspect generated material behavior, catch tiling issues, fine-tune normal response, and verify roughness and lighting interactions before you even think about exporting. This validation step is key to our production texture workflow, which streamlines every decision from source image to final engine-ready PBR maps. By providing a clear sequence of steps for cleaning, map generation, channel review, and asset packaging, PLAYTEX AI ensures your textures are not just beautiful, but also truly game-ready.
Sources and further reading
Primary documentation and research consulted for the claims in this article.