What you will get
- Turn complex builder screenshots into quick annotated learning moments.
- Reduce time spent explaining basic UI controls repeatedly.
- Pair screenshot analysis with build-helper support for faster onboarding.
Studio Workflow
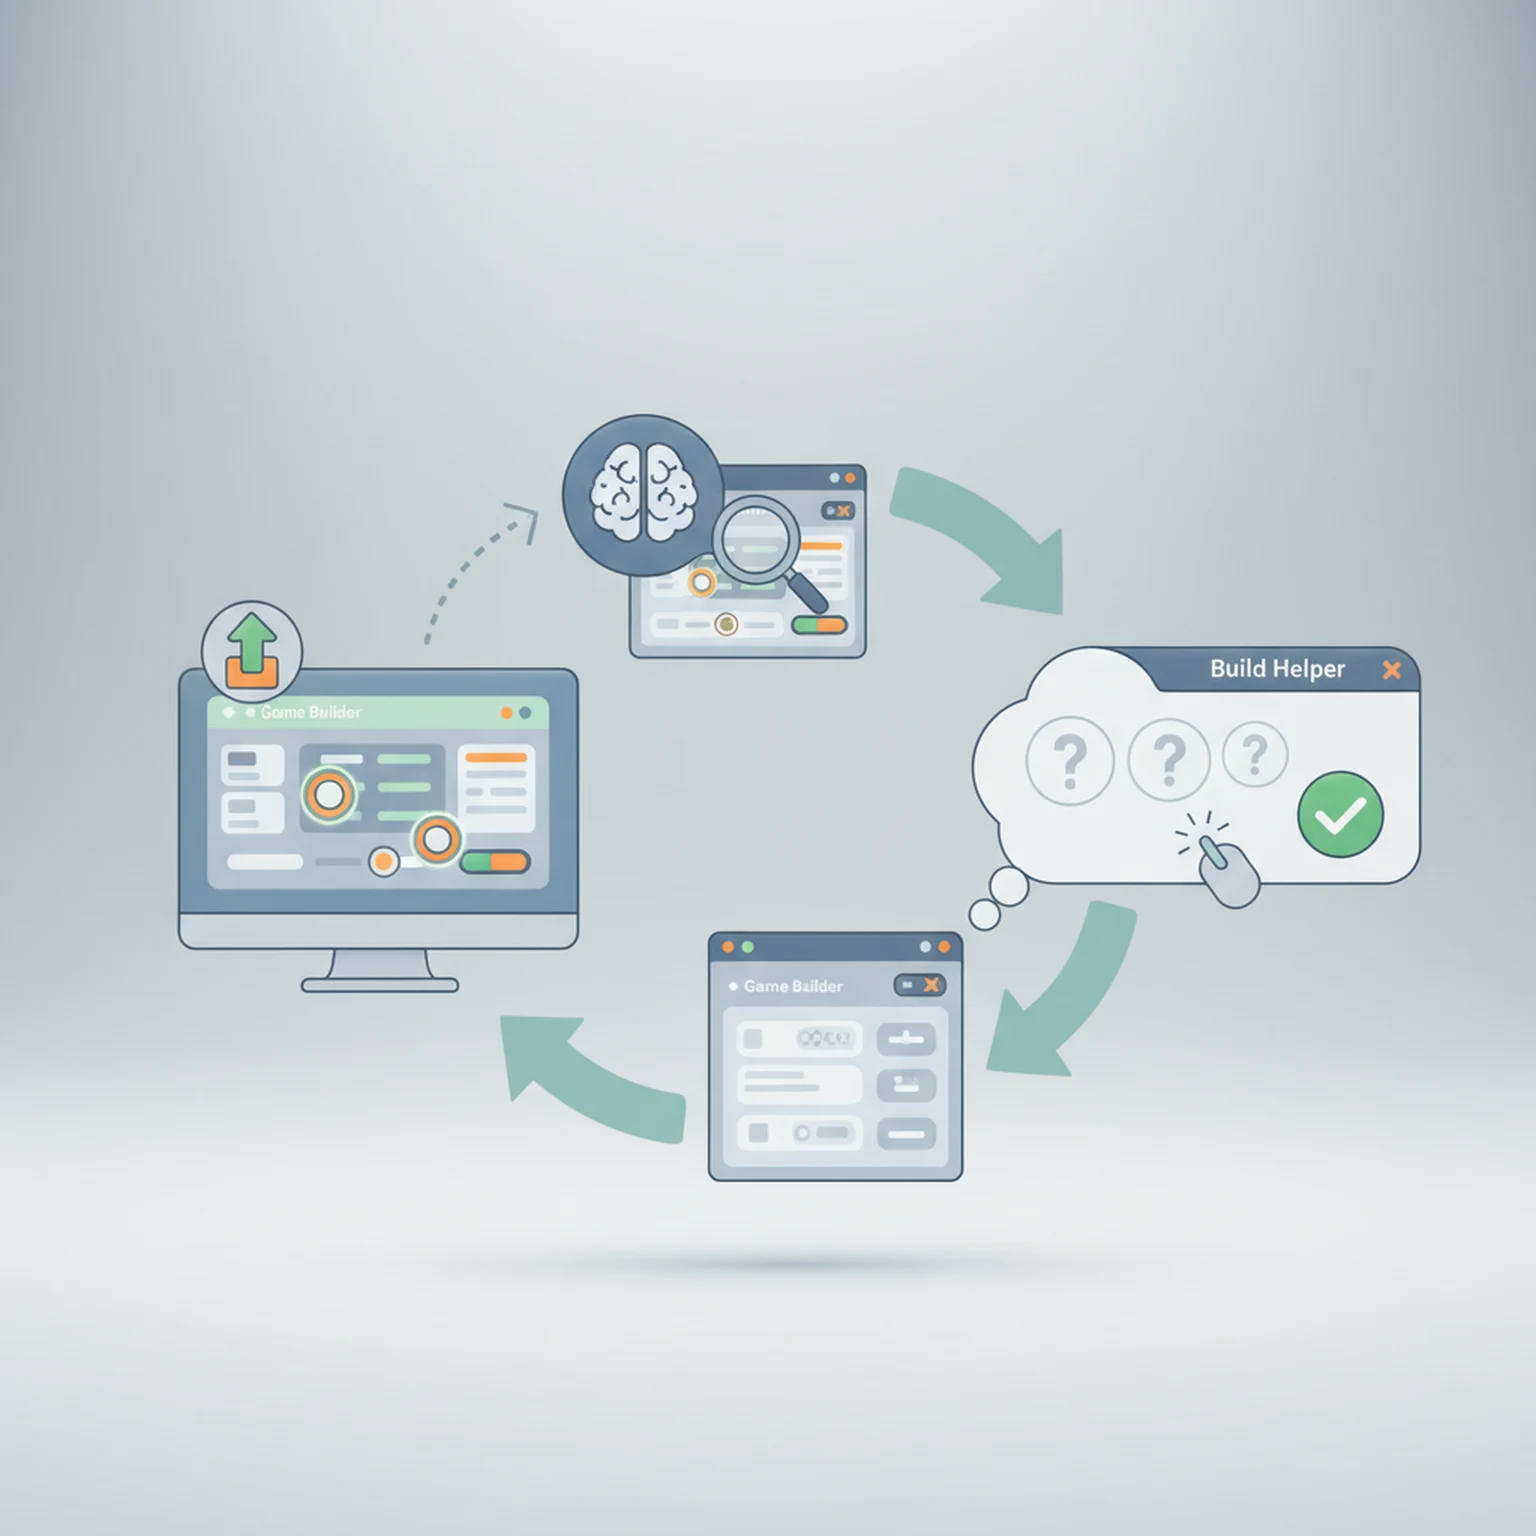
Use Builder Trainer to upload a builder or editor screenshot, let AI detect the important interface elements, and turn the screenshot into a teachable walkthrough for your workflow.
The interface is intentionally simple because the screenshot does most of the teaching.
Use Builder Trainer to upload a builder or editor screenshot, let AI detect the important interface elements, and turn the screenshot into a teachable walkthrough for your workflow.
The tool works best when the screenshot shows readable controls and interface labels. Busy or blurry screenshots reduce detection quality.
Builder Trainer automatically focuses on the most important UI elements instead of trying to explain everything at once.
Use the hotspot list and sidebar to learn what each control does, when to use it, and what to watch out for.
Screenshot analysis explains visible controls. Build Helper is better when you need broader advice about building or workflow decisions.
A clear screenshot with visible controls, readable labels, and one dominant interface context gives the best detection results.
Open the live workflow that this guide is documenting.
Getting Started with PLAYTEX AI Texture ToolsUse this guide to choose the right PLAYTEX AI workflow, understand where each tool fits, and move from idea to game-ready material without bouncing between random experiments.
Asset Binder Guide for Mesh Slots, Material Versions, and Review WorkflowsUse Asset Binder to import a mesh, parse material slots, assign approved material versions, preview bindings, and review slot-level logic inside a project-scoped workflow.
Image Editor Guide for Texture Cleanup, Region Work, and Background RemovalUse the Image Editor to crop, transform, remove backgrounds, tune tone and detail, work on isolated regions, and prep textures before they move into the rest of the PLAYTEX AI pipeline.