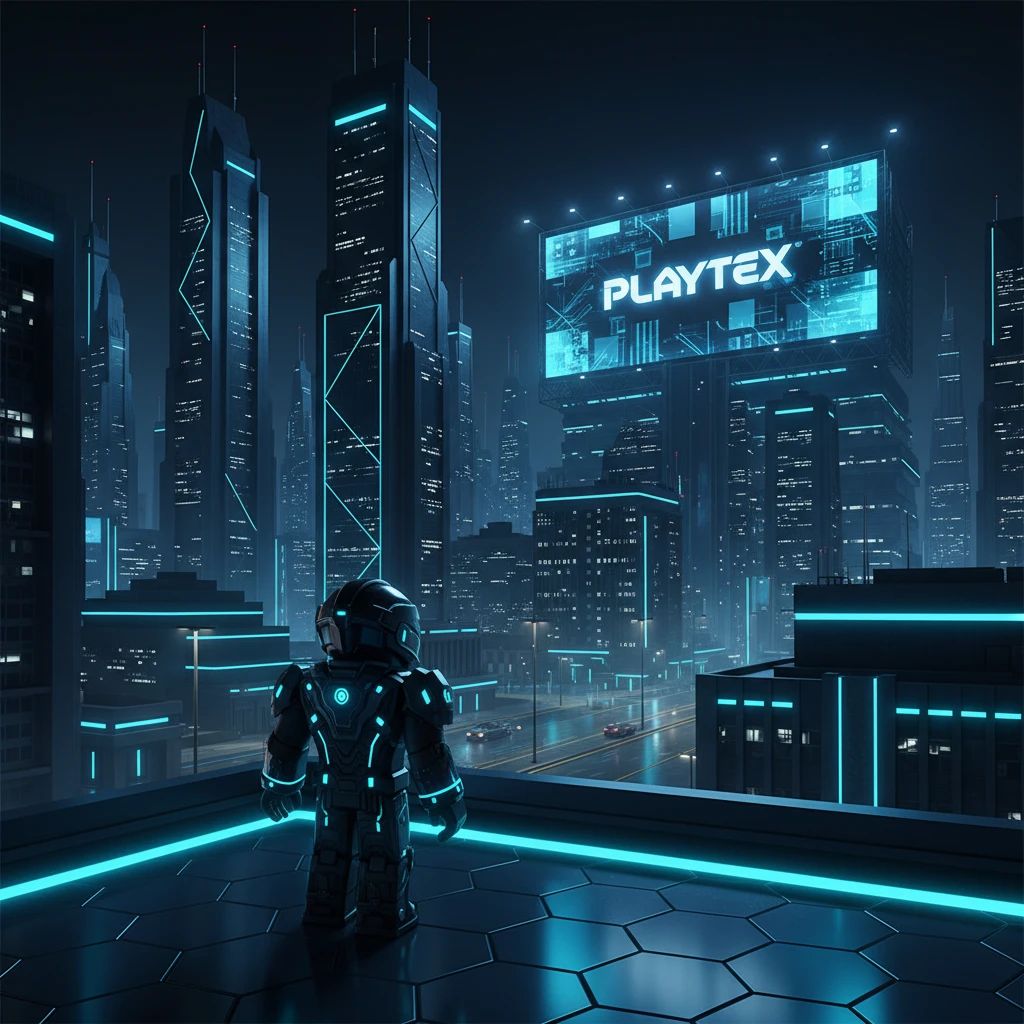
Roblox now gives SurfaceAppearance a direct emissive path: an emissive mask, strength, and tint. That makes glowing screens, runes, windows, and sci-fi trim easier to control than baking bright paint into the color map.
The useful setup has three parts: the surface that appears bright, the camera response that makes it feel bright, and any separate light that affects nearby objects.
Build a mask for the light source
Create a grayscale image aligned to the same UV layout as the SurfaceAppearance maps. White selects full emission, black selects none, and gray can provide partial intensity. Keep the mask simple enough to survive texture filtering and distance.
For a monitor, select the screen pixels. For a magic stone, select the glowing cracks. For a spacecraft panel, select the buttons and indicators. Do not paint the colored halo on the wall into the mask; the wall is receiving light, not producing it.
Assign the SurfaceAppearance properties
- Add a
SurfaceAppearance to the MeshPart.
- Assign the ordinary PBR maps such as ColorMap, NormalMap, RoughnessMap, and MetalnessMap.
- Assign the mask through
EmissiveMaskContent.
- Set
EmissiveTint to the desired glow color.
- Raise
EmissiveStrength gradually while viewing the real game lighting.
Start low. If the material becomes a flat white cutout, lower strength and check the scene exposure before softening the mask.
| Roblox control | Role | Useful check |
|---|
| EmissiveMaskContent | Selects emitting pixels | Preview it as grayscale to confirm UV alignment. |
| EmissiveTint | Colors the emitted region | Set it to white while debugging intensity. |
| EmissiveStrength | Scales the visible response | Test both bright and dark gameplay lighting. |
| PointLight/SurfaceLight | Lights nearby parts | Disable it to separate material glow from scene light. |
Decide whether the room needs a light
A surface that appears emissive does not automatically behave like a PointLight or SurfaceLight in every real-time situation. If a blue terminal should cast blue light on the player's hands, add and tune a Roblox light near the visible source.
Match the light color to the emissive tint, but do not assume the numeric values should match. One controls material rendering; the other controls scene illumination. Use range and angle to keep the supporting light from leaking through walls or illuminating the back of the fixture.
Make a good fallback
Rendering quality and device capability affect material appearance. The source should still read when the emissive response is subtle. A modestly brighter ColorMap region can help, but avoid painting a full bloom halo or permanent cast light into the base color.
For simple geometry that does not use a suitable MeshPart UV layout, a Neon material and Roblox light objects may be a better solution than forcing a SurfaceAppearance workflow.
Debug the layers separately
- Show the mask: temporarily use it as color. Check alignment, unwanted gray, and UV seams.
- Set tint to white: confirm color is not hiding the response.
- Disable supporting lights: see what the surface itself contributes.
- Reduce other lighting: verify the glow in a dark scene without tuning only for darkness.
- Step away: thin emissive lines may vanish or flicker in mipmaps.
Use emission as gameplay language
Emission is especially effective when it communicates state. An inactive control can use no mask contribution, an available control can glow steadily, and a warning can animate strength or tint. Keep the animation readable and avoid strobing frequencies that create accessibility or comfort problems.
For many props, one mask can encode several regions that the shader or asset variants tint differently. If the project needs independent animation for each region, separate masks or a custom shader approach may be required.
Budget the supporting lights
A room full of emissive buttons does not need a PointLight behind every pixel. Group nearby fixtures under a small number of lights, limit their range, and disable lights that cannot affect the camera or player. The emissive masks can preserve visual detail while the cheaper lighting approximation handles the broader color cast. Profile the actual scene rather than assuming either approach is free.
Run the real-device check
Test at minimum in a bright scene, a dark scene, and the normal gameplay scene. Change graphics quality. Check a lower-powered device if that audience matters. Verify that the supporting light does not dominate performance when many copies of the prop appear.
The result is successful when players can identify the glowing source, the scene receives only the light it needs, and the effect still reads without a screenshot-perfect camera angle.