Importing PLAYTEX PBR Textures into Roblox Studio: A Workflow Guide
Learn how to seamlessly integrate high-quality PBR textures generated by PLAYTEX into your Roblox Studio projects, enhancing visual fidelity and realism.
By justhimReviewed June 4, 2026
June 4, 2026roblox studiopbr texturesgame developmenttexture workflow
Key Takeaways
PBR textures from PLAYTEX significantly enhance visual realism and immersion in Roblox Studio.
PLAYTEX generates comprehensive PBR map sets (Albedo, Normal, Roughness, Metallic, AO) using AI and deterministic processes.
The workflow involves exporting maps from PLAYTEX, uploading them as assets in Roblox Studio, and applying them via SurfaceAppearance or MaterialVariant.
Best practices like consistent resolution, seamless tiling, and testing in varied lighting ensure optimal results.
Integrating PLAYTEX streamlines the texture creation pipeline, enabling faster iteration and higher quality for Roblox developers.
Who Informed This
This guide is based on an understanding of modern game development PBR workflows, PLAYTEX's texture generation capabilities, and Roblox Studio's material system.
How It Was Evaluated
The workflow described aligns with documented procedures for PBR texture import in Roblox Studio and PLAYTEX's export functionalities. It reflects a practical approach to integrating these tools.
Proof And Evidence
PLAYTEX is specifically designed for 'production-ready outputs' and 'engine-ready materials,' directly supporting the integration needs for platforms like Roblox. Features like the 'PBR Map Generator' and '3D Material Preview' are central to this workflow.
Limits And Caveats
This guide assumes basic familiarity with Roblox Studio's interface and 3D model UV mapping principles. It focuses on the texture import process, not advanced material scripting or complex shader development within Roblox.
Modern game development on platforms like Roblox Studio increasingly relies on Physically Based Rendering (PBR) to achieve photorealistic and visually consistent assets. PBR textures bring depth, realism, and dynamic lighting responses to your creations, moving beyond simple diffuse colors.
This guide will walk you through the process of generating high-quality PBR texture maps using PLAYTEX and then seamlessly importing them into Roblox Studio. You'll learn how to prepare your materials for optimal performance and visual fidelity within your Roblox projects.
Why PBR Textures Elevate Roblox Experiences
PBR materials are crucial for creating immersive and believable environments in Roblox. Unlike traditional texture mapping, PBR simulates how light interacts with surfaces in the real world, accounting for properties like roughness, metallicness, and normal details. This results in more realistic reflections, shadows, and overall visual consistency across different lighting conditions.
For Roblox developers, leveraging PBR means your assets will look more polished and professional, enhancing player engagement and the overall quality of your game world. It allows for a level of detail and realism that was previously challenging to achieve.
Generating Production-Ready PBR Maps with PLAYTEX
PLAYTEX is designed to streamline the creation of production-ready PBR materials, whether you're starting from a concept, a photo, or an AI prompt. Our platform offers both AI-powered texture generation and deterministic PBR map processing, ensuring high-quality outputs for your game development pipeline.
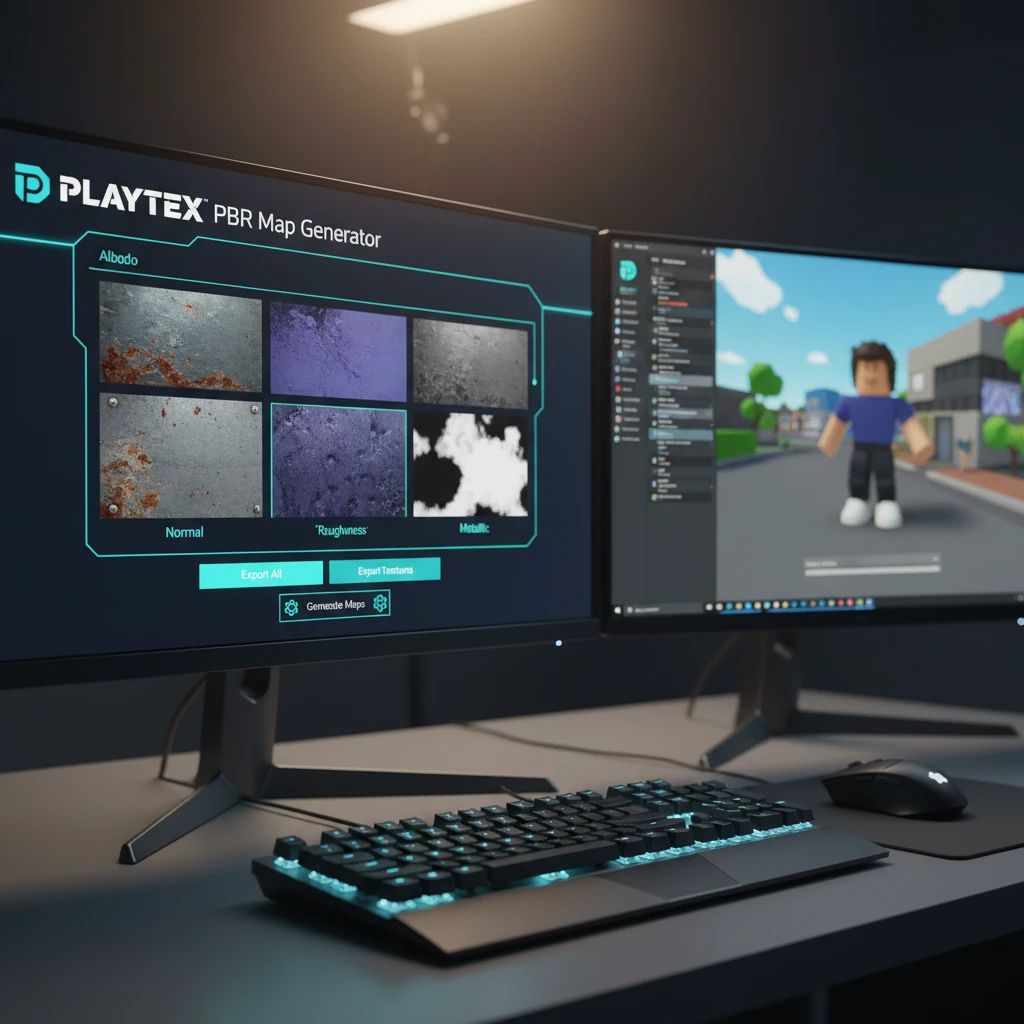
Generate comprehensive PBR texture sets within PLAYTEX, ready for export to Roblox Studio.
With PLAYTEX, you can generate essential PBR maps such as:
Albedo (Color) Map: Defines the base color of the surface.
Normal Map: Adds surface detail and bumps without increasing polygon count.
Roughness Map: Controls how rough or smooth a surface appears, affecting reflections.
Metallic Map: Determines which parts of a surface are metallic and which are dielectric.
Ambient Occlusion (AO) Map: Simulates soft shadows where objects are occluded, adding depth.
The PLAYTEX PBR Map Generator ensures that these maps are calibrated for consistent, engine-ready results. You can also utilize our AI Texture Generator to create unique base textures quickly, which can then be refined into a full PBR material set.
Preparing Your PLAYTEX Textures for Roblox Studio
Before importing your textures, it's important to ensure they are correctly formatted and optimized for Roblox Studio. PLAYTEX allows you to export your generated PBR maps in standard image formats like PNG, which Roblox supports.
When exporting, focus on these key maps for Roblox's PBR implementation:
Color Map: The primary visual texture.
Normal Map: For surface detail. Roblox uses a specific normal map format (often tangent space, Y-up).
Roughness Map: Controls specularity.
Metallic Map: For metallic properties.
It's good practice to inspect your material outputs using the PLAYTEX 3D Material Preview before export. This allows you to catch any tiling issues, normal map artifacts, or roughness discrepancies in a real-time 3D environment, ensuring your materials look as intended in Roblox.
Step-by-Step: Importing PBR Assets into Roblox Studio
Once your PBR maps are exported from PLAYTEX, the next step is to bring them into Roblox Studio and apply them to your 3D models or parts.
Uploading Texture Maps to Roblox
Roblox Studio treats each PBR map as a separate image asset. You'll need to upload them individually:
Open Roblox Studio and navigate to the 'Asset Manager' tab (View > Asset Manager).
Click 'Bulk Import' or the 'Import' button and select your exported Color, Normal, Roughness, and Metallic maps.
Ensure each map is uploaded successfully. Roblox will generate a unique Asset ID for each texture.
Applying Materials to Parts and Meshes
Roblox Studio primarily uses the SurfaceAppearance object for applying PBR materials to MeshPart objects, and MaterialVariant for standard Part objects.
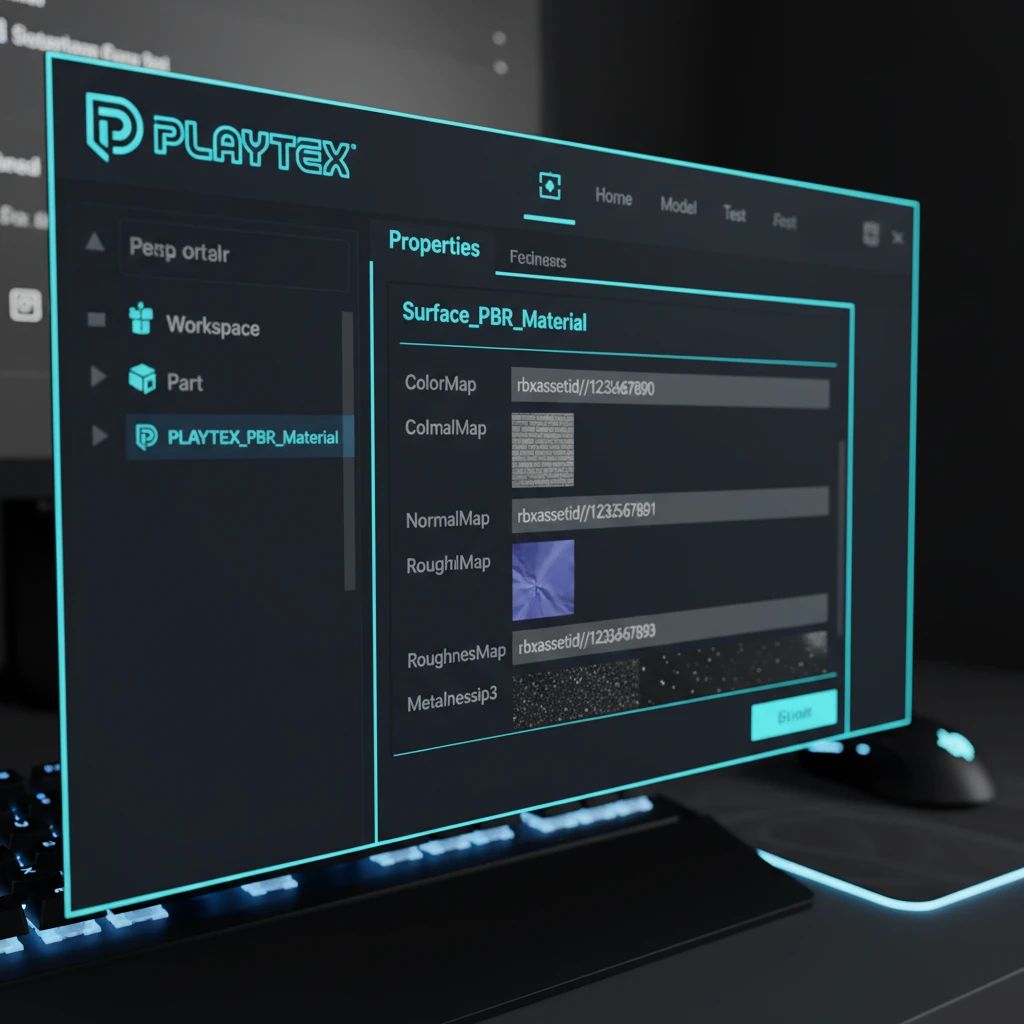
Assign your PLAYTEX-generated PBR maps to the SurfaceAppearance properties in Roblox Studio.
For MeshParts (Recommended for complex models):
If your 3D model is a MeshPart (e.g., imported from Blender or other 3D software), you'll use a SurfaceAppearance object:
Insert your MeshPart into the workspace.
Add a SurfaceAppearance object as a child of the MeshPart (right-click MeshPart > Insert Object > SurfaceAppearance).
In the Properties window of the SurfaceAppearance object, assign the Asset IDs for your PLAYTEX textures to the corresponding properties:
ColorMap: Your Albedo/Color map.
NormalMap: Your Normal map.
RoughnessMap: Your Roughness map.
MetalnessMap: Your Metallic map.
Ensure your 3D model has proper UV mapping for the textures to display correctly.
For Parts (Using MaterialVariants):
For standard Roblox parts, you can leverage MaterialVariant objects to define custom PBR materials:
In the 'Material Manager' (Model > Material Manager), click 'Create MaterialVariant'.
Give your new material a descriptive name.
Assign your PLAYTEX texture Asset IDs to the respective slots: 'Color', 'Normal', 'Roughness', 'Metalness'.
You can then apply this custom material to any standard part in your game.
Best Practices for Roblox PBR Material Workflows
To ensure your PLAYTEX textures look their best and perform optimally in Roblox Studio, consider these best practices:
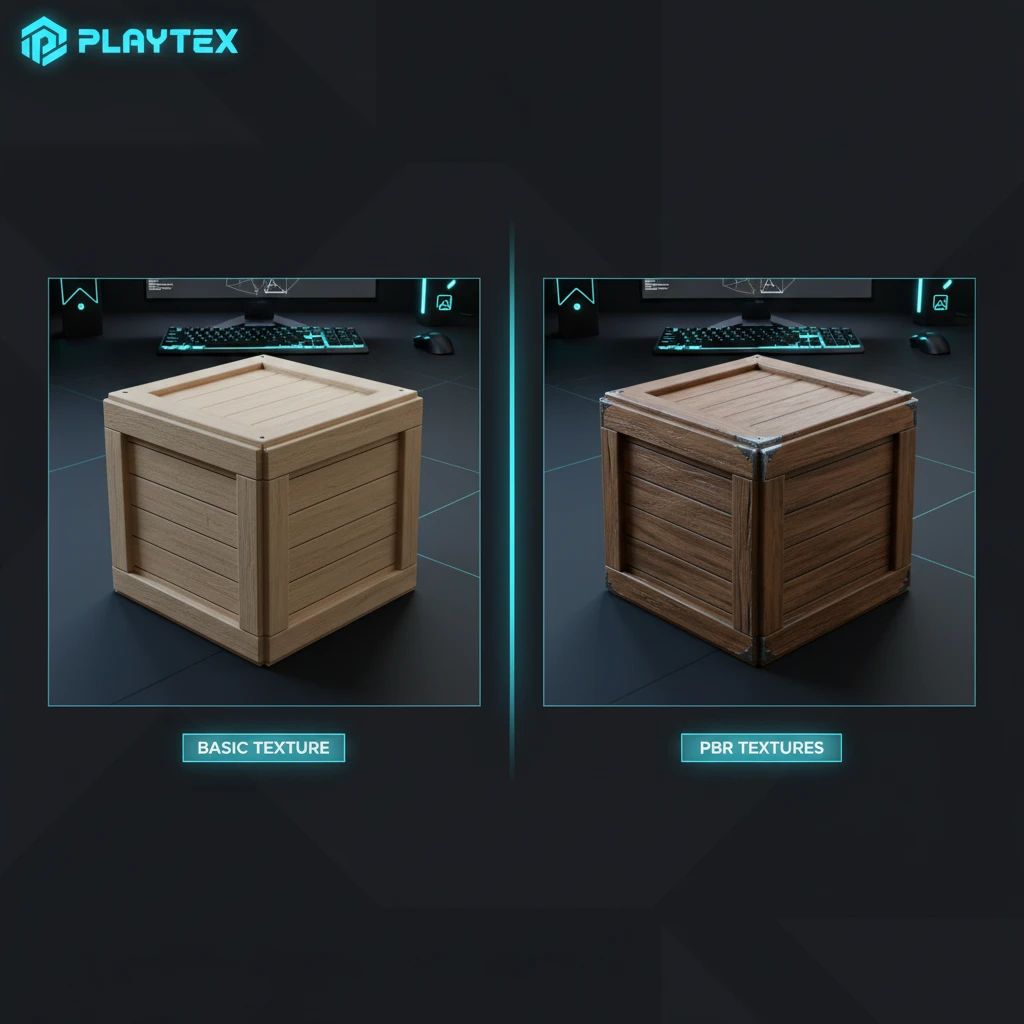
Observe the dramatic visual improvement when applying PLAYTEX PBR textures to a Roblox asset.
Consistent Resolution: Use consistent texture resolutions (e.g., 1024x1024, 2048x2048) across your PBR maps for a single material.
Seamless Tiling: Design your textures in PLAYTEX to tile seamlessly, especially for large surfaces like terrain or walls.
Performance Optimization: While PBR enhances visuals, be mindful of texture file sizes. Optimize where possible without sacrificing too much quality.
Test in Varied Lighting: Always test your PBR materials under different lighting conditions and times of day within Roblox Studio to ensure they react as expected.
UV Mapping: Ensure your 3D models have clean and efficient UV mapping. Poor UVs will lead to distorted or stretched textures.
Streamlining Your Roblox Workflow with PLAYTEX
Integrating PLAYTEX into your Roblox development pipeline significantly accelerates the creation of high-quality PBR assets. Instead of manually creating each map, PLAYTEX provides a unified platform for generating, previewing, and exporting complete material sets.
This means faster iteration times, consistent material quality across your projects, and more time spent on core game design. Whether you're an indie developer or part of a larger studio, PLAYTEX offers a robust solution for modernizing your texture workflow and bringing your Roblox visions to life with stunning realism.
Conclusion
Importing PLAYTEX PBR textures into Roblox Studio is a straightforward process that unlocks a new level of visual fidelity for your games. By following this workflow, you can leverage PLAYTEX's powerful AI and deterministic map generation capabilities to create production-ready materials that enhance realism and player immersion.
Elevate your Roblox experiences with high-quality PBR materials and streamline your texture creation process. Try PLAYTEX today and see the difference a professional texture pipeline can make.