PBR Fundamentals
Normal Map vs Height Map: Which Surface Signal Should You Use?
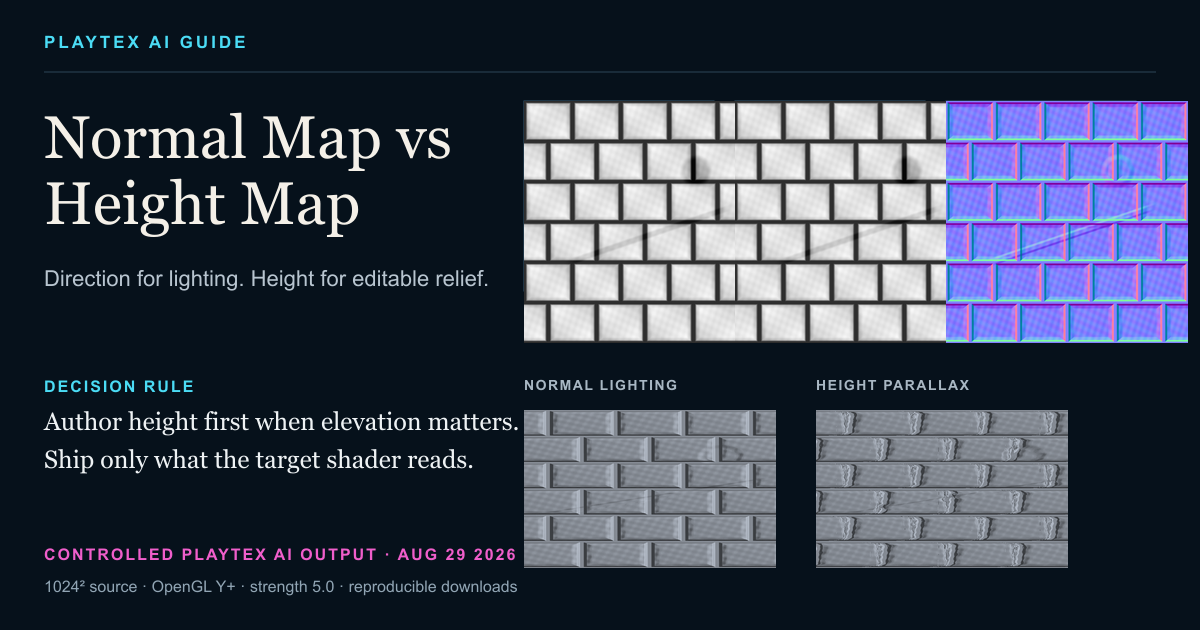
Use a normal map when the shader needs fast, direct per-pixel surface direction. Keep a height map when you need editable elevation for parallax, displacement, terrain, or later normal generation. For many production materials, author height first and ship a derived normal; ship both only when the renderer actually uses both.
Direct answer
Should you use a normal map or a height map?
If the feature must move the outline, a normal map is ruled out. If the renderer has no height path, a height map is ruled out at runtime. Otherwise, keep height when its editability or depth sampling matters and choose normal for the most direct lighting representation.
Guide and tool boundary: This page owns the normal-versus-height decision and controlled comparison. Normal Map Generator owns focused normal output, Height/Bump to Normal Converter owns the file conversion, PBR Map Generator owns the coordinated material stack, and PBR Engine Converter owns target packaging.
What you will get
- Choose stored surface direction or scalar elevation from the final visual requirement.
- Explain why normal, parallax, and real displacement behave differently at grazing angles.
- Budget map memory using the resident GPU format rather than PNG channel count.
- Carry the chosen signal through current renderer conventions without creating a duplicate tool workflow.
Best use cases
- A material needs crisp lighting detail but no geometry change.
- A terrain, parallax material, or displacement workflow needs an editable scalar master.
- A team must decide whether one normal, one height, or both belong in the runtime package.
- An engine import looks inverted, flat at the silhouette, noisy, or unstable at steep camera angles.
Acceptance test
Approve the asset only when these are true
- The chosen map stores the information the final shader actually reads.
- Normal Y orientation is named and verified with a moving light.
- Height range is tested at the final parallax or displacement scale.
- Silhouette-critical detail uses geometry or real displacement.
- The runtime texture format and complete mip cost are recorded separately from PNG file size.
Direction and elevation preserve different information
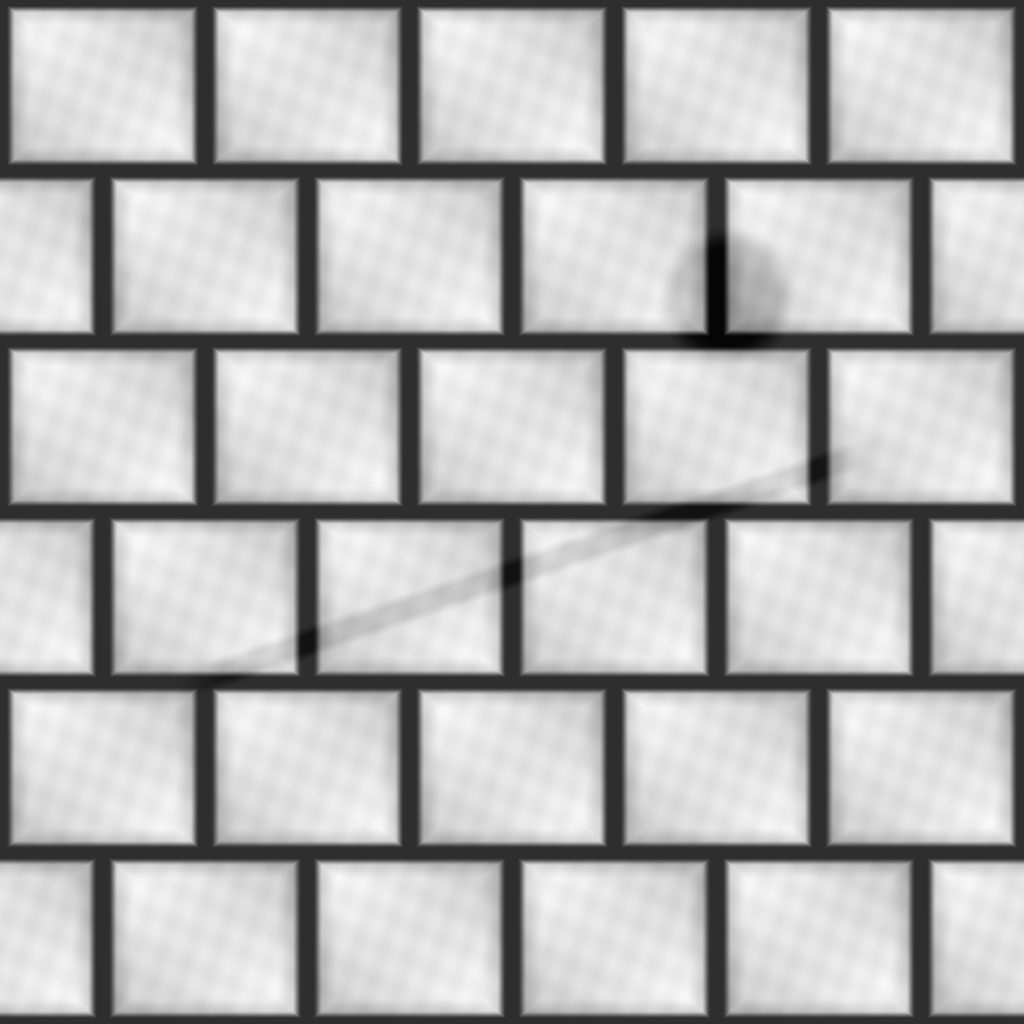
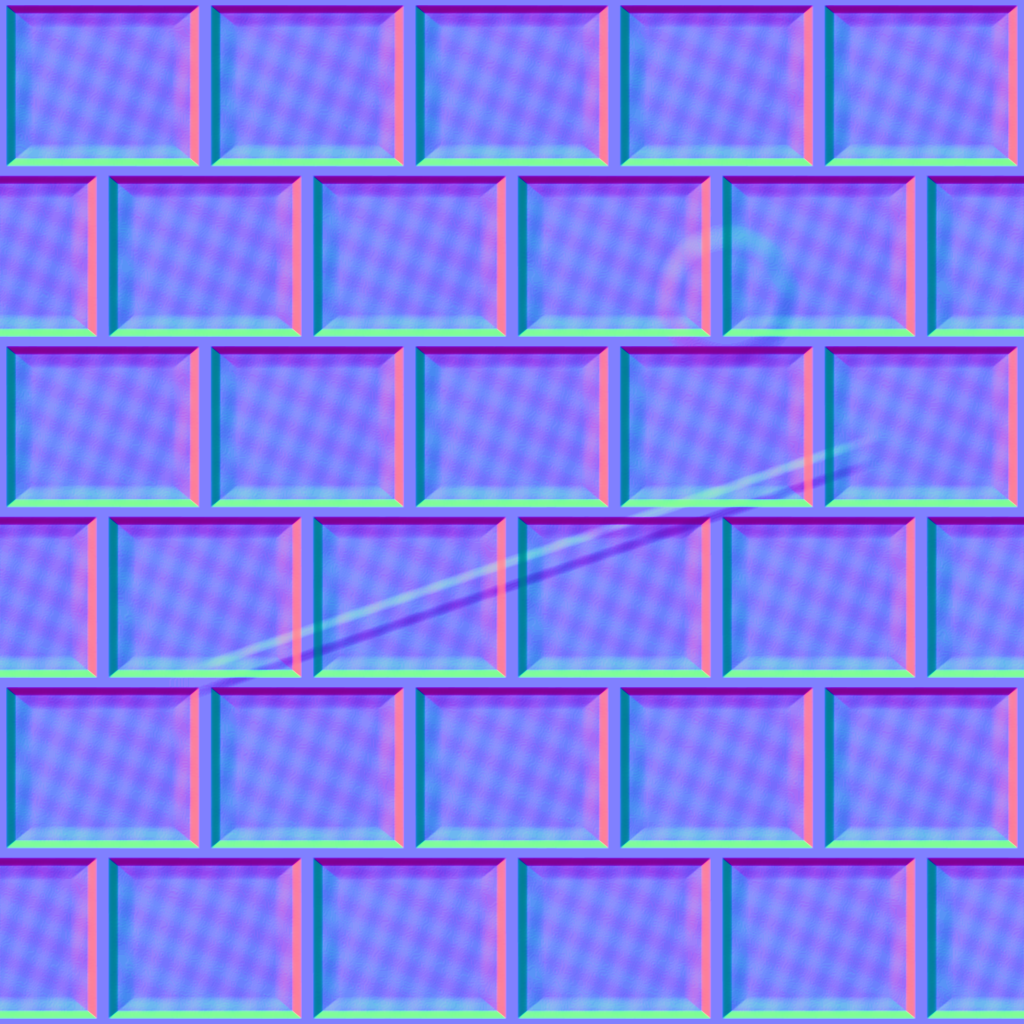
A tangent-space normal map stores a direction relative to the mesh tangent frame. It gives the lighting equation the orientation it needs immediately, but it does not store an absolute surface position.
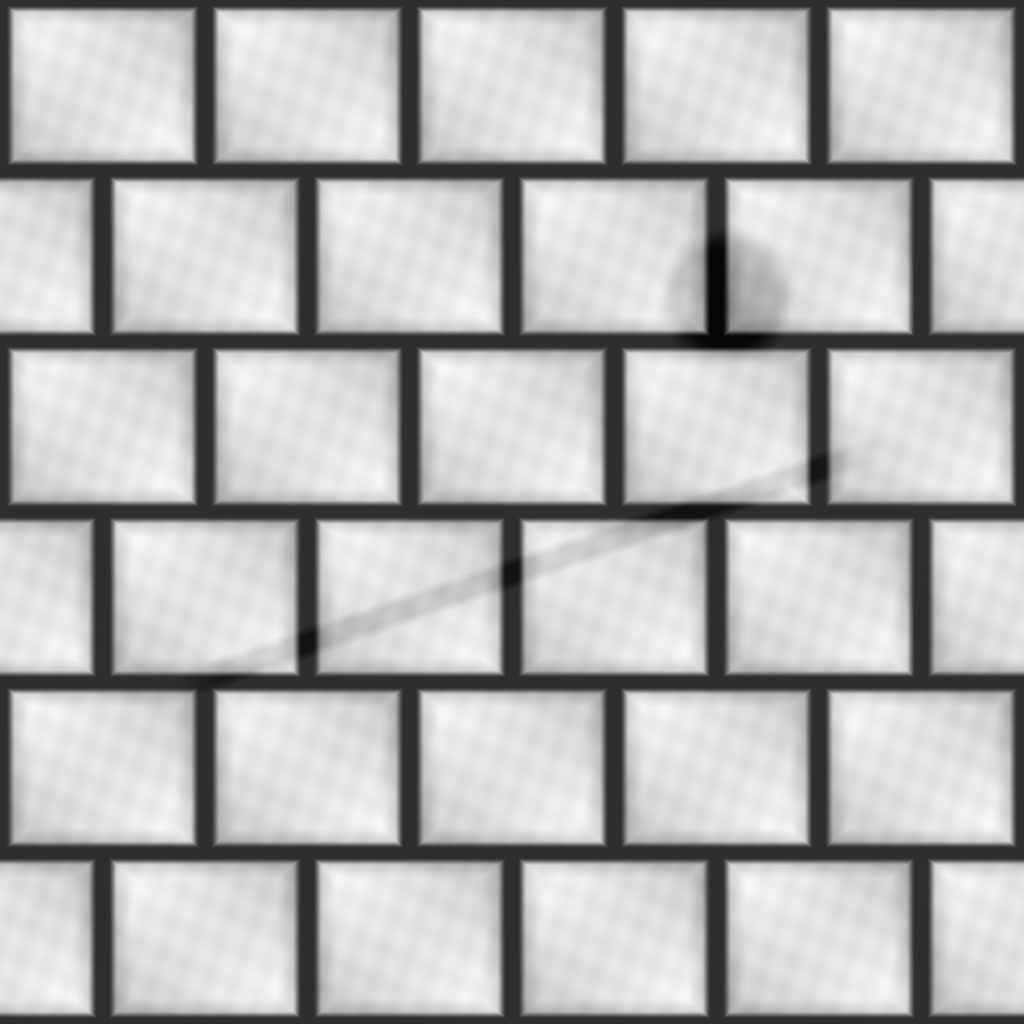
A height map stores one relative scalar. Neighboring differences can be converted into normals, while the scalar field can also drive parallax, bump, terrain, or vertex displacement. That flexibility moves interpretation and cost into the shader or geometry pipeline.
Grazing angles expose the boundary
Normal mapping changes light response while the original triangles remain fixed. At a steep angle, the flat outline reveals that no surface was added. Parallax can shift texture coordinates and create local occlusion cues but still leaves the real mesh outline unchanged.
Only real displacement moves vertices. Its result depends on mesh density or tessellation, displacement scale, bounds, shadows, and the renderer. A height file alone does not promise any geometry change.
Memory follows the runtime format
At 2048 × 2048 with a complete mip chain, R8 height and BC5 normal both model to 5.33 MiB. R16 height models to 10.67 MiB; uncompressed RGB8 normal models to 16.00 MiB. The surprising result is deliberate: channel count does not determine cost after a runtime selects a block format.
Keep encoded download bytes, CPU staging memory, GPU residency, texture samples, parallax iterations, and vertex work as separate measurements. A smaller PNG can still be a more expensive material path.
Settings that change the comparison
Normal conversion settings
These are the controlled evidence settings used by the current focused converter.
- Strength 5.0: Scales source gradients before vector normalization. Lower it when bevels become harsh under grazing light; raise it only when the final material scale justifies steeper slopes.
- OpenGL Y+: Stores the positive tangent Y direction in the green channel. Choose DirectX Y− when the destination expects the opposite convention; do not flip the whole image.
- Blur 0 / detail 1: Preserves the controlled source signal without extra filtering or sharpening. Filter the height master before conversion when source noise is becoming false direction detail.
Height authoring settings
Height remains a scalar field; range and precision decide whether it survives displacement or parallax.
- Midpoint and range: Places the neutral elevation and the available low-to-high span. Avoid clipping broad areas to black or white unless the material deliberately uses hard steps.
- 8-bit versus 16-bit: Changes available scalar precision and potential banding. Preserve a 16-bit or floating master when the displacement scale reveals 8-bit steps; PLAYTEX AI browser exports are engine-ready 8-bit PNG.
- Parallax / displacement scale: Turns normalized texture values into view-dependent UV shift or geometric movement. Keep the unit conversion in the material and test it on the final mesh and camera range.
Author once, then ship what the target uses
Use a normal map when the shader needs fast, direct per-pixel surface direction. Keep a height map when you need editable elevation for parallax, displacement, terrain, or later normal generation. For many production materials, author height first and ship a derived normal; ship both only when the renderer actually uses both.
Step 1: Approve one grayscale relief source
Decide what is physically higher and lower. Remove color, cast shadows, glare, and compression noise that should not become surface relief.
Step 2: Edit broad elevation in height
Set the midpoint, range, large forms, bevels, and cavities while the signal is still one intuitive scalar field.
Step 3: Derive the target normal convention
Convert the approved height gradients to tangent-space RGB and choose OpenGL Y+ or DirectX Y− for the destination.
Step 4: Test the shipping mesh at grazing angles
Use the real UVs, tangents, compression, camera range, lights, parallax settings, and vertex density. A thumbnail cannot prove the depth treatment.
Step 5: Export only what the material reads
Keep the editable master in source control. Ship the normal, height, or both only when the final shader and platform justify every texture and sample.
Normal map and height map roles side by side
| Decision | Normal map | Height map |
|---|---|---|
| Stores | A local XYZ surface direction encoded in RGB. | One scalar elevation value per texel. |
| Best at | Direct, fast lighting detail in a tangent-space material. | Editable relief, parallax sampling, displacement, terrain, and later normal generation. |
| Silhouette | Never moves geometry or changes the real outline. | Changes the outline only when the renderer performs real vertex or tessellated displacement. |
| Editability | Direction edits are specialized; arbitrary RGB painting can create invalid vectors. | Levels, curves, blur, sculpting, inversion, and range edits remain intuitive. |
| Color space | Linear / non-color direction data. | Linear / non-color scalar data. |
| Conversion | Can be derived from neighboring height gradients. | Cannot be uniquely recovered from a normal map because absolute elevation was not stored. |
Failure symptoms that reveal the wrong assumption
- Relief flips under a moving light: The tangent-space Y convention does not match the renderer. Flip green once, verify with one asymmetric feature, and record OpenGL Y+ or DirectX Y−.
- Detail looks right head-on but flat at the edge: A normal map can change shading but not the mesh silhouette. Use modeled geometry or real displacement for the outline-critical feature.
- Parallax swims, clips, or tears at steep views: Height range, step count, or UV sampling is too aggressive for the camera. Reduce scale or steps, soften steep transitions, and test the final camera path.
- The surface is noisy everywhere: Brightness variation, compression, or photographed light became false relief. Clean or blur the height master, then regenerate the normal instead of blurring RGB directions blindly.
Can I convert a height map to a normal map?
Yes. A converter samples neighboring height values, turns the horizontal and vertical gradients into tangent-space X and Y, adds a positive Z component, normalizes the vector, and encodes it into RGB. Choose the destination Y convention before export.
Can I recover a height map from a normal map?
Only approximately. A normal map stores local direction, not a unique absolute elevation. Integrating the slopes needs boundary assumptions, accumulates error, and cannot recover a constant height offset or every authored shape.
Should I ship both a normal map and a height map?
Only when the material reads both and the visual gain survives the final camera, mesh, compression, and platform tests. A common workflow keeps height as the editable master and ships only the derived normal.
Does a height map always change the silhouette?
No. Bump and parallax techniques change shading or UV sampling while the mesh remains flat. The silhouette changes only when vertices or tessellated geometry are actually displaced.
Which map is cheaper at runtime?
There is no format-free answer. One normal lookup in a dedicated GPU format is usually a predictable lighting path. Height can be one channel, but parallax adds samples and displacement adds vertex or tessellation work. Compare the shipping shader and resident format, not PNG channel count.
Primary sources
Official specifications and renderer documentation
PLAYTEX AI guidance is paired with official specifications and platform documentation where the handoff depends on an outside convention.
Open the live workflow that this guide is documenting.
PBR Texture Maps Explained: Albedo, Normal, Roughness, Metallic, AO, Height, and EmissionA PBR material separates visible surface properties into coordinated texture maps. Base color describes surface color, normal and height describe relief, roughness controls reflection spread, metallic classifies conductors, ambient occlusion adds limited local contact shading, and emission identifies self-lit regions.
The Game Developer's PBR Texture HandbookAs of August 2026, this handbook gives game developers and material artists one engine-aware PBR texture system: map semantics, base color and delighting, normals and height, roughness, metallic classification, support maps, seamless authoring, calibrated material families, controlled-light review, color space, formats, channel packing, eight renderer targets, runtime budgets, production QA, and troubleshooting.
How to Create PBR Textures: A Production Workflow from Source to EngineCreate a PBR texture by preparing a neutral, tile-safe source; deriving a coordinated map set; reviewing each channel as data and as a lit material; validating dimensions, normals, seams, and classifications; then exporting with the destination engine’s color-space, normal, and packing conventions.