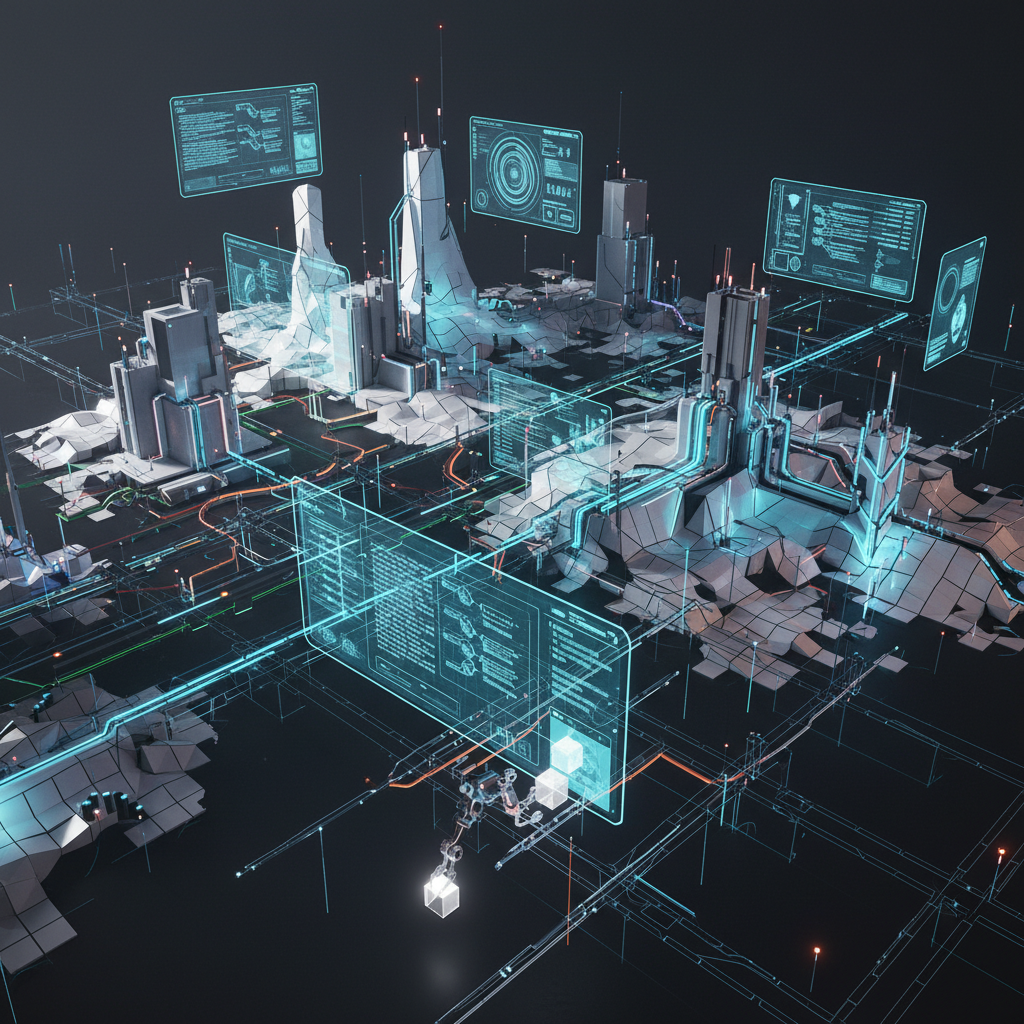
A PLAYTEX AI Material Workflow: From Source Image to Engine Check
A factual tour of the PLAYTEX AI material workflow, including source preparation, map generation, previewing, export, organization, and final engine checks.
PLAYTEX AI separates image creation from technical map derivation instead of treating them as the same task.
A neutral preview is a checkpoint, not proof that a material will look identical in every engine.
Consistent naming and saved source context make later corrections easier than anonymous download folders.
The destination engine remains the final authority for color space, channel packing, normal direction, and memory settings.
Who Informed This
A documentation-led walkthrough of the current public PLAYTEX AI texture and PBR map tools.
How It Was Evaluated
Each stage is defined by an observable artifact: source image, map set, preview, downloaded files, and imported engine material.
Proof And Evidence
The article limits PLAYTEX AI claims to visible workflow capabilities and explicitly requires destination-engine validation.
Limits And Caveats
PLAYTEX AI cannot infer project budgets, repair UVs, choose a studio naming convention, or guarantee identical shading across renderers.
A texture pipeline becomes difficult long before it becomes glamorous. The usual villain is not a missing shader. It is a folder containing rock_final2_REAL.png, four mystery grayscale maps, and no record of which source or settings produced them.
PLAYTEX AI groups image creation, PBR map generation, previews, and saved assets into one workflow. That can reduce handoffs, but only if the stages stay explicit. This walkthrough shows what each stage contributes and where the artist still needs to make a decision.
Stage 1: start with a source that has a job
A source can be a photograph, a scan, an exported design, or an image generated from a prompt. Decide its intended job before generating maps. Is it a repeating wall material, a unique prop skin, a decal, or a visual reference? A repeating floor needs even lighting and edge continuity. A unique prop texture needs UV alignment. Those are different problems.
The PLAYTEX AI Texture Generator is useful when the visual surface does not exist yet. If the image already exists, begin with the map workflow rather than generating a replacement merely because AI is available.
Stage 2: clean the source image
Before deriving maps, remove information that should belong to the renderer. Strong cast shadows, highlights, perspective, and lens distortion can be mistaken for material properties. Crop to a representative area, correct the perspective, and decide the physical scale of one tile.
Stage 3: generate maps as hypotheses
The PLAYTEX AI PBR Map Generator can derive maps such as normal, roughness, metallic, height, ambient occlusion, and emission from an image. Each output is an interpretation, not a laboratory measurement.
Normal and height: check that pigment was not mistaken for depth.
Roughness: check that light pixels do not simply mirror the source brightness.
Metallic: keep ordinary dielectrics near non-metal values; dirt on metal may create transitions, but random gray metalness is rarely a sound default.
AO: use it gently. Heavy ambient occlusion can bake a dirty halo into every lighting setup.
Emission: mask only regions intended to glow. Bright base color is not automatically emitted light.
Stage 4: preview the relationships
A map can look plausible by itself and fail as part of a material. Preview the complete set on more than one shape. A plane reveals tiling. A sphere reveals roughness transitions and normal response. A beveled cube exposes edge behavior.
Change the light as well. A front-lit preview hides normal errors. A moving side light makes inverted channels obvious. A broad environment shows whether roughness variation reads naturally instead of sparkling like television static.
Stage 5: export for a named target
There is no universal "engine-ready" folder. Blender, Unity, Unreal, Roblox, and glTF agree on the broad PBR ideas but differ in inputs, channel packing, and import behavior. Name the target in the export task.
Decision
Why it matters
Normal Y direction
An inverted green channel reverses vertical relief.
Roughness or smoothness
Smoothness is the inverse concept and may be packed into alpha.
Color versus data
Base color is usually sRGB; map data should not receive gamma correction.
Channel packing
One packed file can save samples, but only if the shader expects the layout.
Resolution and compression
The correct choice depends on camera distance and target hardware.
Stage 6: save context, not just files
Keep the source, intended scale, generation settings, export target, and a thumbnail together. Use predictable suffixes such as _basecolor, _normal, _roughness, and _metallic. If an engine requires an inverted normal or packed mask, make that transformation visible in the filename or export preset.
A saved material should answer four questions without archaeology: Where did this come from? What scale does it represent? Which maps belong together? Which renderer was it tested in?
Stage 7: let the engine disagree
The final test happens in the project that will ship. Import the maps, use the project's actual shader, enable its real compression settings, and inspect the material under representative lighting. The preview and the engine may disagree because tone mapping, normal conventions, texture sampling, and channel expectations differ.
That disagreement is useful. It tells you which assumption needs correction. A connected workflow should make that correction easy to trace, not pretend the correction is unnecessary.
Sources and further reading
Primary documentation and research consulted for the claims in this article.