In the world of modern game development, achieving visual fidelity often hinges on the subtle details that bring a scene to life. Physically Based Rendering (PBR) has become the industry standard for creating realistic materials, and at the heart of PBR's ability to simulate intricate surface geometry without excessive polygon counts lies the normal map.
Normal maps are a fundamental component of any PBR workflow, allowing artists to add depth, texture, and fine surface variations to low-polygon models. This guide will demystify normal maps, exploring their function, various generation methods, common pitfalls, and best practices for integrating them into your game development pipeline to achieve truly realistic results.
The Foundation: What Are Normal Maps?
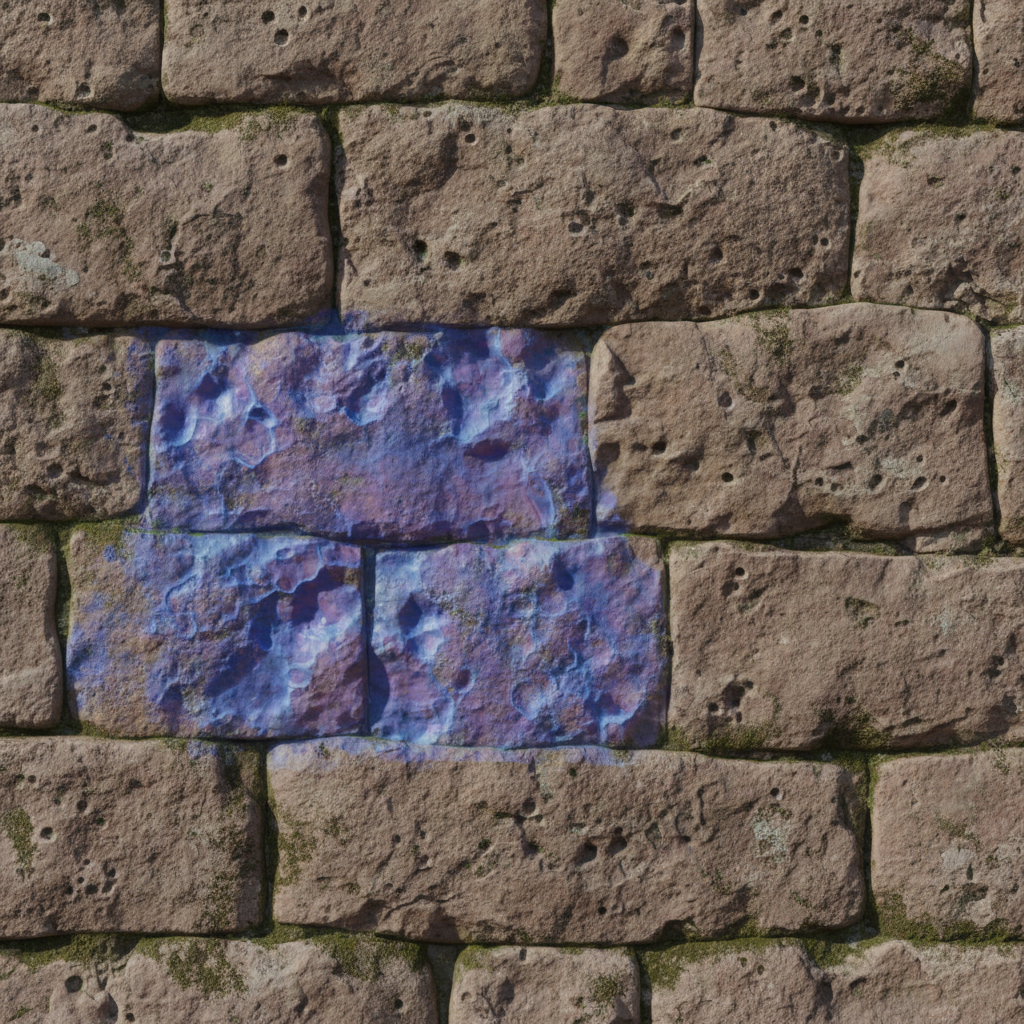
A normal map is a special type of texture map that stores directional information about the surface normals of a 3D model. Instead of adding actual geometric detail, it manipulates how light interacts with the surface, making flat surfaces appear bumpy, grooved, or textured. This illusion of depth is incredibly efficient, allowing for highly detailed assets that remain performant in real-time game engines.
Essentially, a normal map tells the rendering engine which way each pixel on a surface should appear to be facing relative to the light source. This directional data is encoded into the RGB channels of the texture, where red, green, and blue typically correspond to the X, Y, and Z axes of the surface's tangent space.
Why Normal Maps Are Essential for PBR
PBR relies on physically accurate light interactions to render materials realistically. Normal maps play a critical role here by providing the micro-surface detail that influences how light reflects and scatters. Without them, a low-polygon model would look flat and unrealistic, even with high-quality albedo, roughness, and metallic maps.
Consider a rusted metal panel or a weathered stone wall. The intricate scratches, dents, and cracks that define these surfaces would be impossible to model geometrically for every asset in a game. Normal maps allow you to project this high-frequency detail onto a simple mesh, dramatically enhancing visual realism while keeping polygon budgets manageable. This efficiency is paramount for maintaining high frame rates and optimizing asset pipelines.
Understanding Normal Map Types and Channels
While various types of normal maps exist, the most common in game development is the Tangent Space Normal Map. These maps store normal information relative to the surface of the mesh itself, meaning they can be applied to deforming meshes (like character animations) without issues. They are characterized by their predominantly blue color, as the Z-axis (blue channel) typically points directly away from the surface.
Less common but still relevant is the Object Space Normal Map, which stores normal information relative to the object's local coordinate system. These are typically multi-colored and are not suitable for deforming meshes but can be useful for static props or specific visual effects. For most PBR workflows, you'll be working with tangent space maps.
Tangent Space Normal Map Channels:
- Red (X): Represents the normal's direction along the U-axis (tangent).
- Green (Y): Represents the normal's direction along the V-axis (bitangent/binormal).
- Blue (Z): Represents the normal's direction perpendicular to the surface (normal).
Generating High-Quality Normal Maps
There are several primary methods for generating normal maps, each suited to different stages of the asset creation pipeline:
Baking from High-Poly to Low-Poly
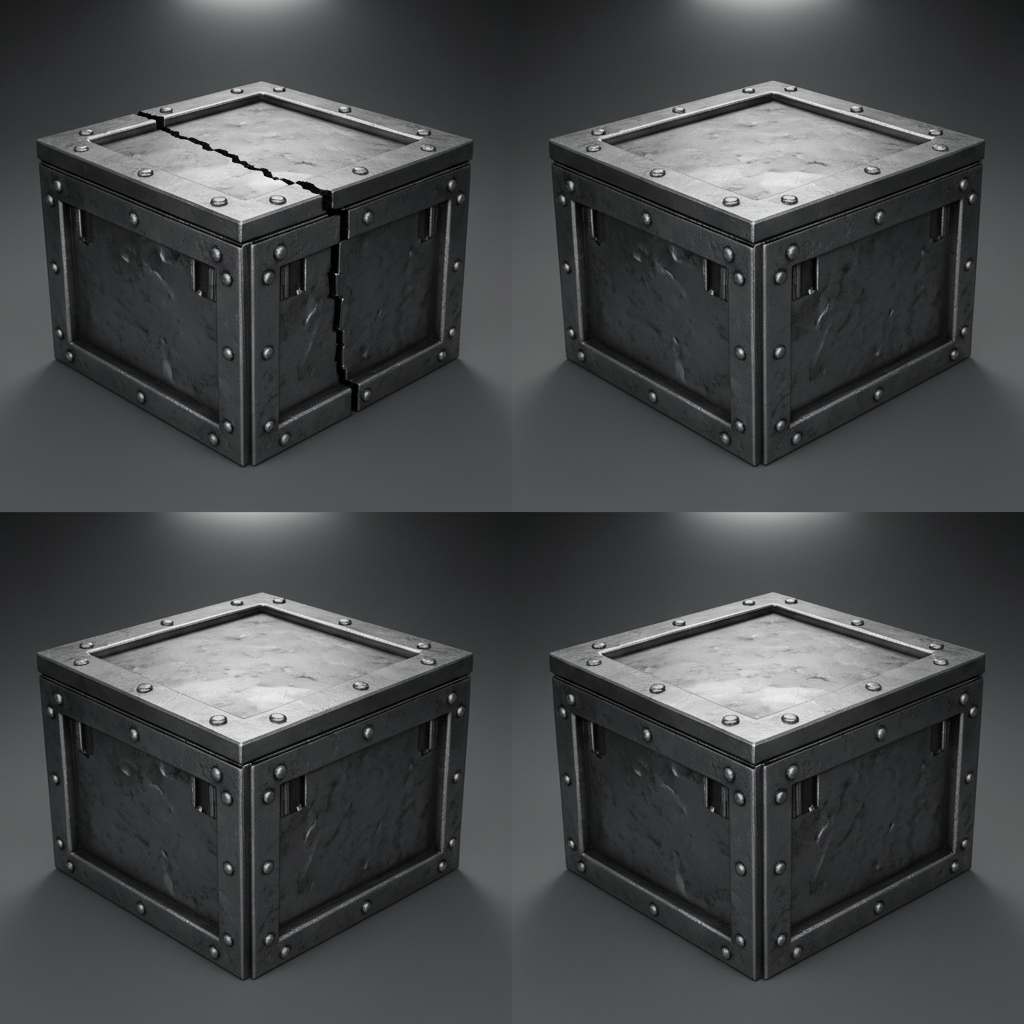
This is the most common method for creating game-ready assets. A highly detailed mesh (sculpted in ZBrush, Blender, or Mudbox) is used to project its surface normal information onto a lower-polygon game mesh. Tools like Substance Painter, Marmoset Toolbag, and Blender's built-in baker excel at this. Proper cage setup and UV unwrapping are crucial for clean bakes.
Generating from Height or Displacement Maps
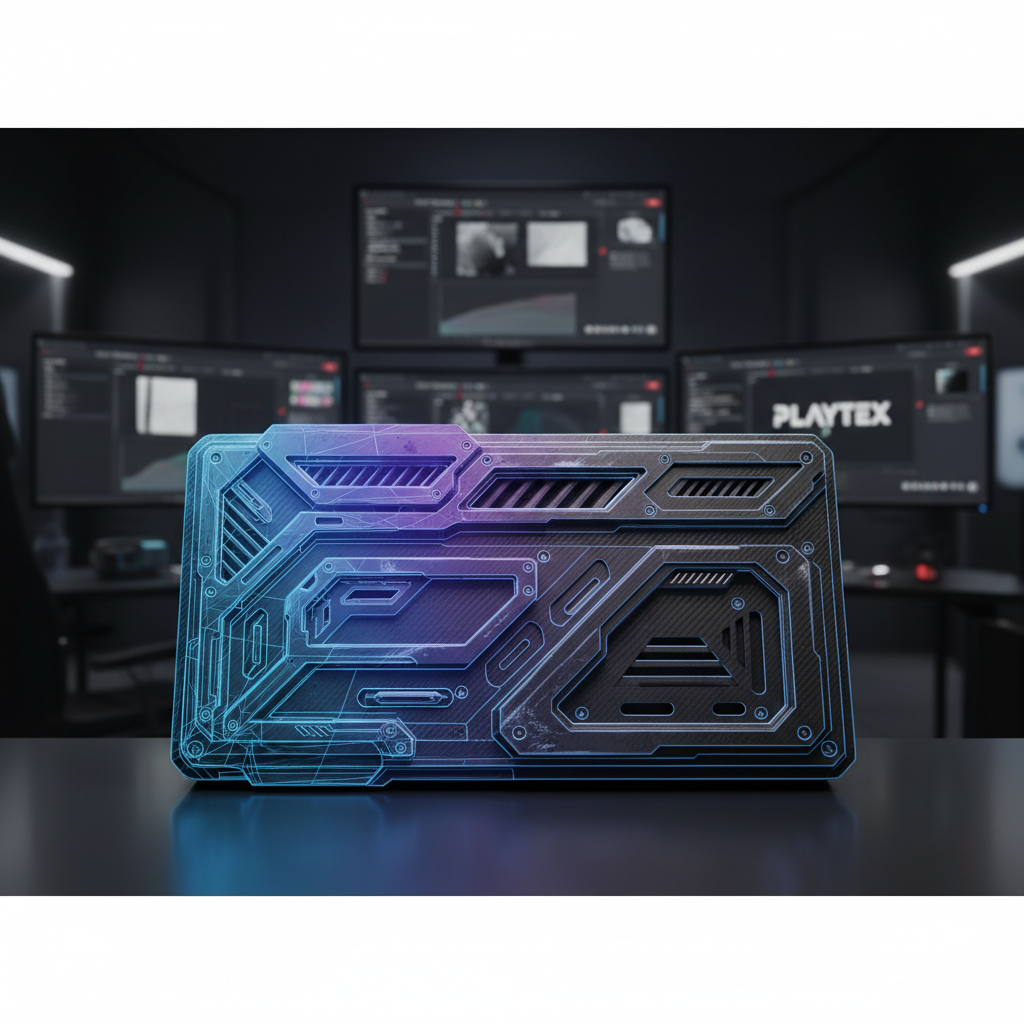
If you have a grayscale height map (where white is high and black is low), you can convert it into a normal map. Many texture generation tools, including PLAYTEX, offer this functionality. This is particularly useful for procedural textures or when working with photographic sources that have corresponding depth information. PLAYTEX's deterministic PBR map generation can take a height map and automatically derive a high-quality normal map, ensuring consistency across your material sets.
Procedural Generation
Tools like Substance Designer or PLAYTEX allow for the creation of normal maps entirely from mathematical functions and noise patterns. This offers immense control and flexibility, enabling artists to create highly customizable and tileable normal maps that can be tweaked on the fly. This method is ideal for creating a library of reusable material components.
Common Normal Map Challenges and Solutions
Even with the right tools, normal maps can present challenges:
- Seams: Visible lines where UV islands meet. This often indicates issues with tangent space synchronization between the baking software and the game engine, or incorrect UV padding. Ensure consistent tangent basis generation and sufficient UV padding.
- Incorrect Orientation/Flipping: Surfaces appearing inverted or lighting incorrectly. This is usually due to mismatched normal map formats (e.g., OpenGL vs. DirectX) or flipped green channels. Most engines and tools have options to flip the green channel (Y-axis) to correct this.
- Intensity Issues: Normal maps appearing too strong or too weak. This can be adjusted in the material shader within your game engine or by modifying the map itself in an image editor or texture tool like PLAYTEX, which often provides intensity controls during generation.
- Compression Artifacts: Blocky or pixelated appearance, especially on subtle details. Use appropriate compression settings (e.g., BC5 for normal maps in DirectX, or specific normal map compression in engines) and ensure the source texture has enough bit depth.
Optimizing Normal Maps for Real-Time Performance
While normal maps are efficient, they still consume VRAM and processing power. Optimization is key:
- Resolution: Use the lowest effective resolution. A 2K normal map might be overkill for a small, distant prop, while a 4K map might be necessary for a hero asset. Test different resolutions to find the sweet spot.
- Compression: Utilize engine-specific normal map compression formats. These are designed to minimize artifacts specific to normal map data, often using fewer channels or specialized algorithms.
- Mipmaps: Ensure mipmaps are generated for normal maps. This allows the engine to use lower-resolution versions of the map for objects further away, saving memory and improving performance.
- Detail Normal Maps: For very large surfaces, consider using a tiling detail normal map blended with a unique baked normal map. This allows for high-frequency detail across vast areas without requiring massive texture resolutions.
Integrating Normal Maps into Your Engine Workflow
Once generated and optimized, integrating normal maps into your game engine is straightforward. In Unity, Unreal Engine, or Godot, you'll typically assign your normal map to the 'Normal Map' slot in your material or shader graph. Ensure the texture is imported with the correct 'Normal Map' texture type setting, which often handles gamma correction and compression automatically.
Many engines also provide a 'Normal Intensity' or 'Normal Strength' parameter within the material, allowing you to fine-tune the visual impact of the normal map without re-exporting the texture. This non-destructive adjustment is invaluable for artistic iteration.
Conclusion: Elevate Your PBR Materials
Mastering normal maps is an indispensable skill for any game developer aiming for high-quality, realistic PBR materials. By understanding their function, employing effective generation techniques, troubleshooting common issues, and optimizing for performance, you can significantly enhance the visual fidelity of your game assets.
Tools like PLAYTEX streamline much of this process, offering robust deterministic PBR map generation, AI texture capabilities, and intuitive workflows that empower creators to produce production-ready normal maps with efficiency and precision. Invest time in refining your normal map workflow, and watch your game environments and characters come to life with unprecedented detail and realism.
Explore Related PLAYTEX Tools
These PLAYTEX tools fit naturally into the workflow covered above.
- PBR Map Generator - Create engine-ready PBR maps.
- AI Texture Generator - Generate texture ideas and variations.
- Image to Texture Generator - Turn reference images into texture-ready inputs.